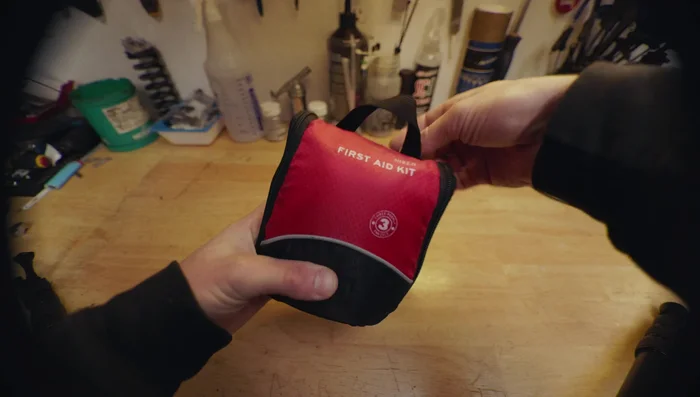
The pristine beauty of untouched backcountry slopes is a siren song to many skiers, but venturing off-piste demands a level of preparedness far exceeding a day on groomed runs. A critical component of this preparedness is carrying a comprehensive repair kit. Forget minor inconveniences; a broken ski binding or snapped pole in the backcountry can quickly transform an exhilarating adventure into a perilous situation, potentially miles from help. The remoteness intensifies the need for self-sufficiency, making a well-stocked repair kit a non-negotiable piece of safety equipment.
This article will guide you through assembling the essential components of a backcountry ski repair kit, providing a step-by-step process for creating a kit tailored to your specific needs and skill level. We’ll cover everything from crucial tools for binding adjustments and ski repairs, to the emergency supplies that could mean the difference between a challenging experience and a potential rescue situation. Let’s get started.
Preparation and Safety Guidelines
- String
- Zip ties
- Bicycle inner tube
- Tip clip (or string)
- Repair tape (or duct tape)
- Ski skin wax
- Ratcheting screwdriver
- Screwdriver bits (Phillips, flathead, T20, P #3)
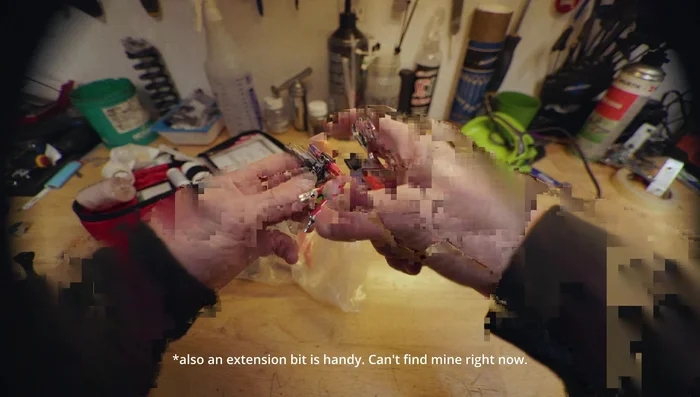
- Elbow bit with T20 and P #3
- Tech binding adjustment tool
- Piece of PEX
- Gorilla tape
- Super glue (or two-part epoxy)
- Screws (short and long)
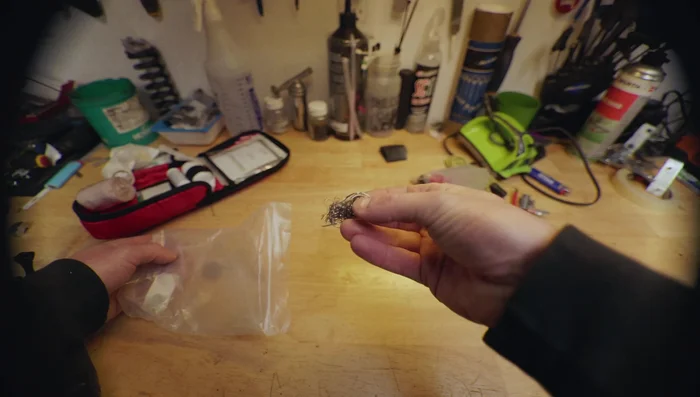
- Steel wool
- Bailing wire
- JB Weld putty
- Always carry a repair kit appropriate for your skill level and the complexity of your planned trip. Don't rely on being able to fix everything on the mountain; plan for potential evacuation.
- Practice repairs before heading into the backcountry. Knowing how to use your tools effectively in a safe, controlled environment is crucial for quick and successful repairs in challenging conditions.
- Pack extra supplies beyond what's in your repair kit. This includes extra food, water, first-aid supplies, extra layers, and a means of communication to ensure a safe return, even if you can't repair your equipment.
Step-by-Step Instructions
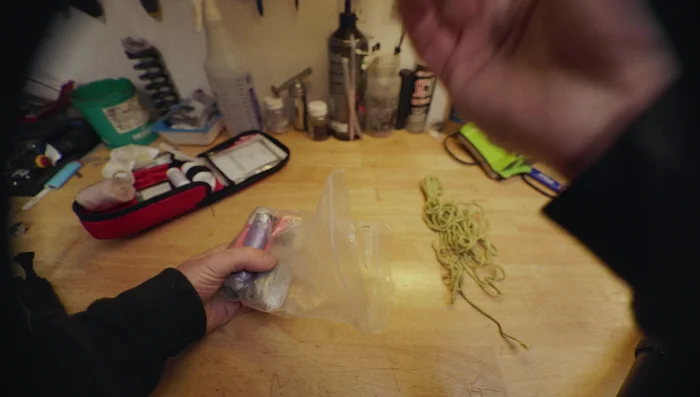
Assemble Basic Repair Kit
- Assemble a basic repair kit with string, zip ties, and a bicycle inner tube (for fire starting).

Assemble Basic Repair Kit Add Essential Repair Tools and Supplies
- Include repair tape for Gore-Tex and other gear, ski skin wax to prevent snow buildup, and a ratcheting screwdriver with assorted bits (Phillips, flathead, T20, P #3).
Add Essential Repair Tools and Supplies Include Redundant Tools and Specialized Items
- Add a redundant elbow bit with T20 and P #3 for easier access in snowy conditions and a tech binding adjustment tool for proper adjustment.
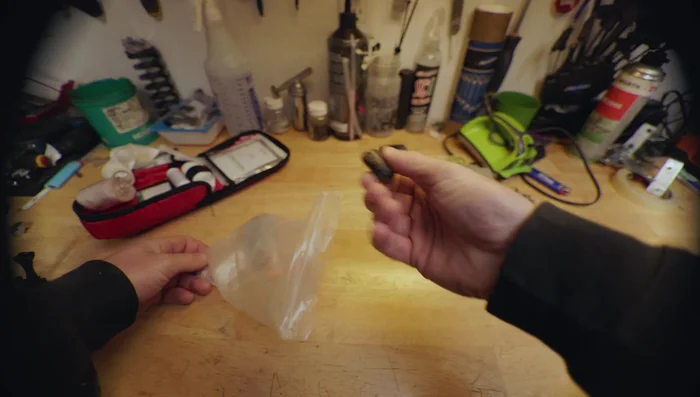
Include Redundant Tools and Specialized Items Add Adhesive and Fasteners
- Include PEX, Gorilla tape (also fire starter), super glue or fast-setting two-part epoxy, and assorted screws.
Add Adhesive and Fasteners Include Materials for Binding Repair
- Pack steel wool for added friction in binding screw holes and bailing wire for additional repairs.
Include Materials for Binding Repair Repairing a Pulled-Out Binding
- If a binding pulls out, use steel wool to fill the enlarged hole before screwing in replacement screws and applying glue or epoxy.
Read more: How to Mount Ski Bindings: A Step-by-Step Guide
Tips
- Use string as a lightweight alternative to a tip clip.
- Gorilla tape and bicycle inner tubes are useful fire starters.
- Use the fastest setting epoxy in cold conditions.