Skiing is a thrilling sport, but the harsh realities of icy slopes and unexpected impacts can leave your boots battered and bruised. A common casualty of this wear and tear is damage to the heel plastics, often leading to discomfort, poor performance, and potentially, injury. Replacing broken heel plastics can be expensive, but fear not, fellow skiers! There’s a surprisingly effective and budget-friendly DIY solution that utilizes readily available materials. This guide explores the remarkable versatility of vinyl plank flooring in repairing cracked or broken ski boot heels.
This inexpensive and readily accessible material offers a surprisingly durable and surprisingly effective alternative to expensive professional repairs. We'll delve into a step-by-step process, guiding you through the repair process from preparation to finishing, transforming your battered boots back into reliable performance machines. Ready to get your skis back on the slopes? Let's get started!
Preparation and Safety Guidelines
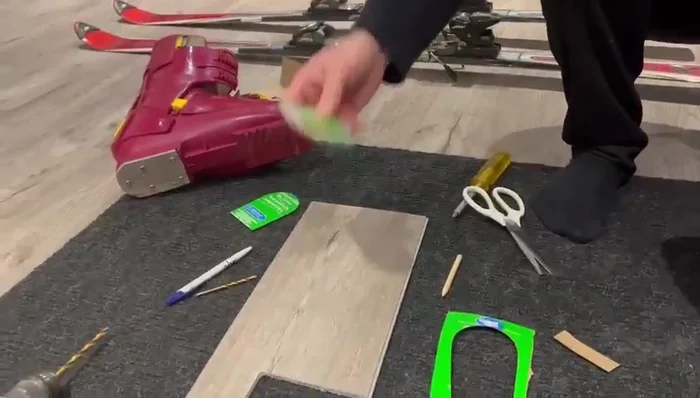
- Cardboard
- Pencil
- Screwdriver
- Scissors
- Drill
- Drill bits (small & larger)
- Vinyl plank (8mm)
- Handsaw or Jigsaw
- Vinyl plank is not a long-term solution. This repair is temporary and intended for minor cracks or damage. For significant structural damage, professional boot repair is necessary.
- Use appropriate safety equipment. Wear safety glasses to protect your eyes from flying debris during cutting and sanding.
- Ensure proper adhesion. Poorly adhered vinyl can compromise boot performance and create a safety hazard. Follow the adhesive manufacturer's instructions carefully.
Step-by-Step Instructions
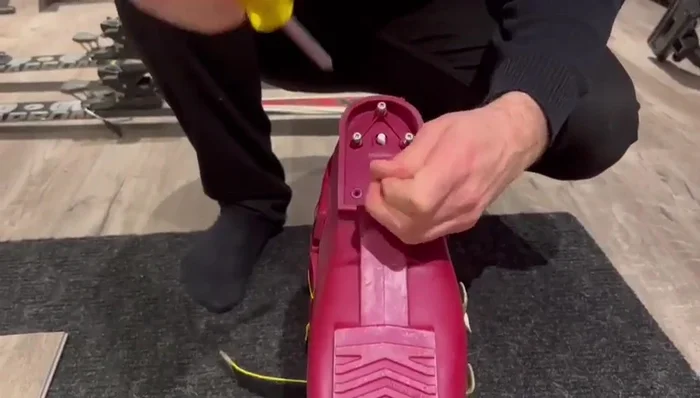
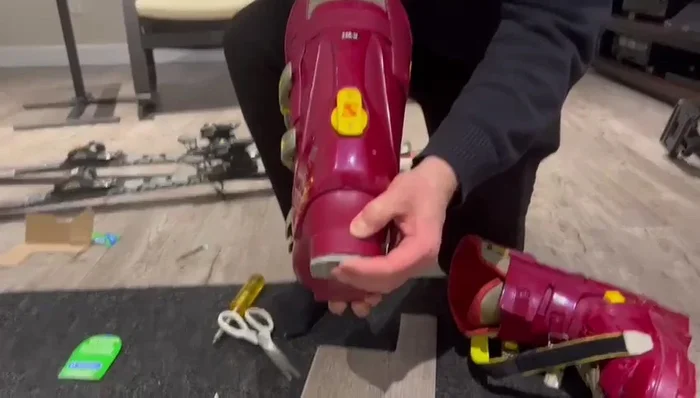
Prepare the Boot
- Remove old screws from the broken heel plastic using a screwdriver.

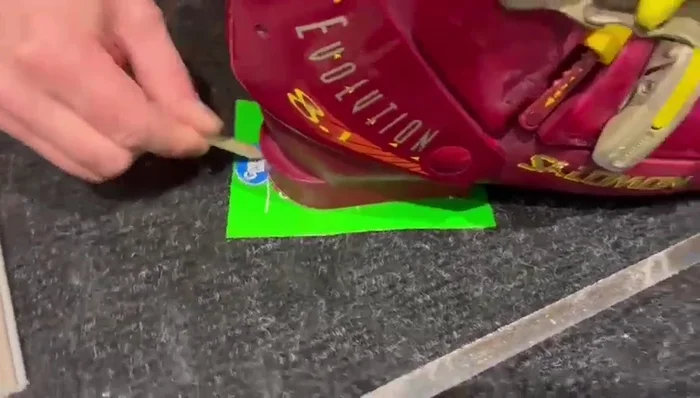
Prepare the Boot Create a Template
- Place the boot on cardboard, trace the broken plastic area with a pencil, and cut out the template using scissors.
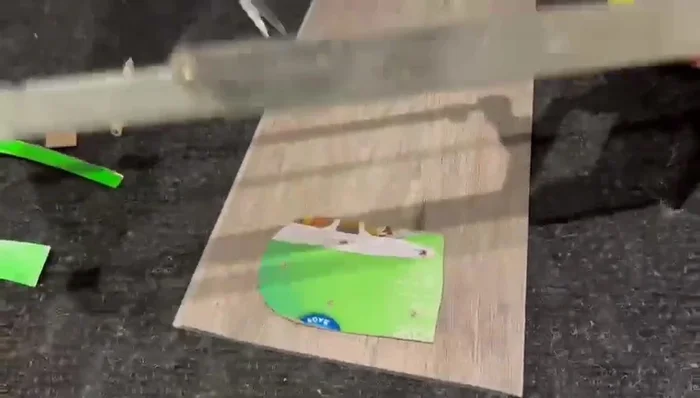
Create a Template Transfer Template and Drill Holes
- Place the template onto the vinyl plank and mark the holes for the screws using a pencil or drill bit.
- Drill pilot holes and countersink holes in the vinyl plank using the appropriate drill bits.
Transfer Template and Drill Holes Cut the Vinyl Plank
- Cut the vinyl plank to the shape of the template using a handsaw or jigsaw.
Cut the Vinyl Plank Install the Replacement
- Attach the vinyl plank replacement to the ski boot using the screws and previously drilled holes.
Install the Replacement
Read more: Mastering Ski Boot Buckle Tightness for Optimal Performance
Tips
- Make the template as accurately as possible for a better fit. The closer you get to the proper shape, the better it is.
- Use an 8mm vinyl plank; it's flexible yet stiff enough for this repair.