Frustrated with worn-out or damaged goggle foam? Do your goggles leak, fog up constantly, or just feel uncomfortable? Replacing the foam is a surprisingly simple and inexpensive fix that can dramatically improve your swimming experience, whether you're a competitive athlete or a casual swimmer. A worn-out foam seal compromises the watertight seal, leading to distractions and performance issues. This ultimately impacts your enjoyment and efficiency in the water. Thankfully, you don't need specialized tools or expertise to tackle this common problem.
This guide provides a clear and concise step-by-step process for quickly and easily replacing your goggle foam. With a few readily available materials and a little patience, you can restore your goggles to their former glory in minutes, saving you money and ensuring comfortable, leak-free swims. Let's dive in and get started!
Preparation and Safety Guidelines
- Replacement foam
- Butter knife
- 3M Super 77 or industrial spray adhesive
- Q-tip
- Paper plate (optional)
- Always use the correct replacement foam for your specific goggle model. Using the wrong size or type can compromise the seal and reduce effectiveness.
- Before installing new foam, thoroughly clean the goggle frame to ensure a secure and hygienic fit. Remove any old adhesive residue.
- If you are struggling to apply the new foam evenly or it doesn't fit snugly, consult the manufacturer's instructions or seek assistance from a professional.
Step-by-Step Instructions
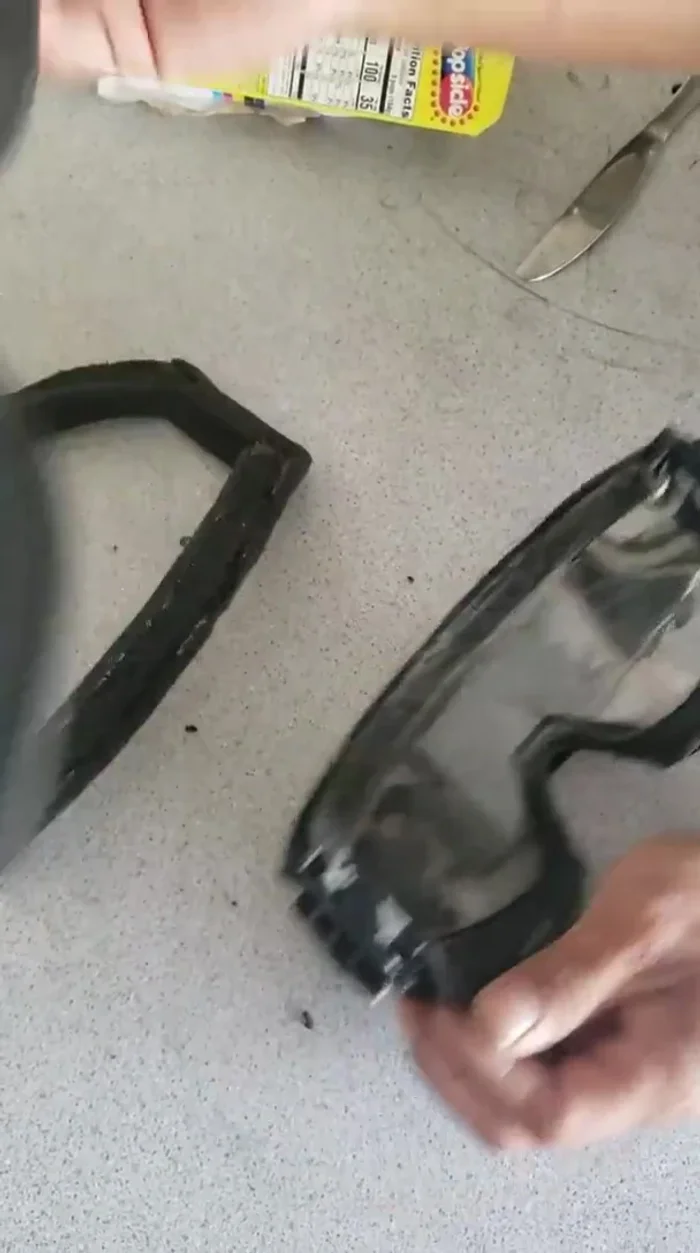
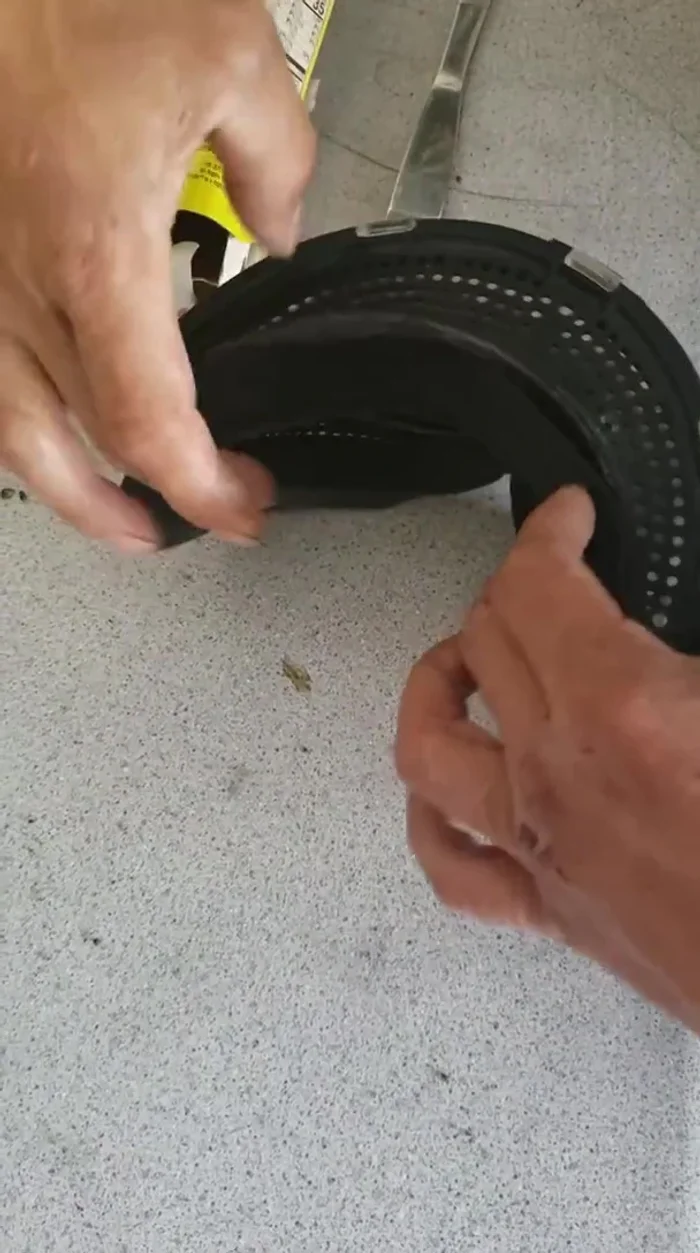
Remove Old Foam
- Remove the old foam by ripping it off.
- Scrape off any remaining old foam using a butter knife.

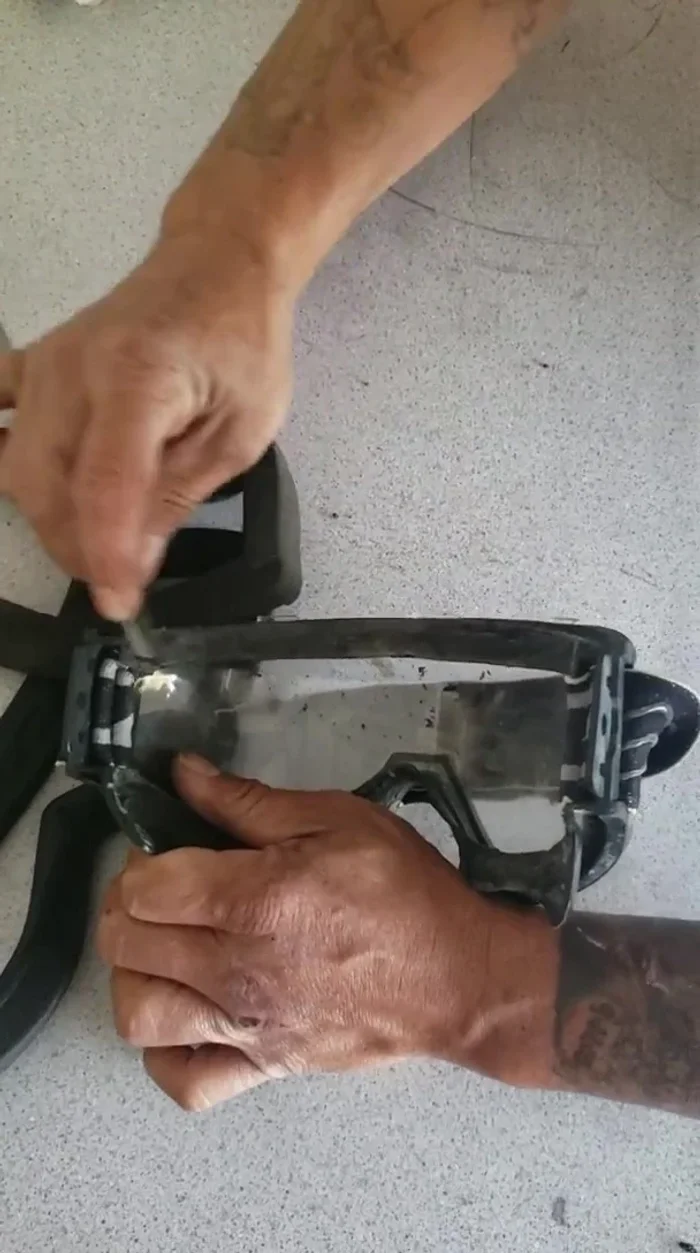
Remove Old Foam Apply Adhesive to Frame
- Apply adhesive (3M Super 77 or industrial spray adhesive) to the goggle frame, not directly to the foam. A thick layer is recommended, especially at the nose area.
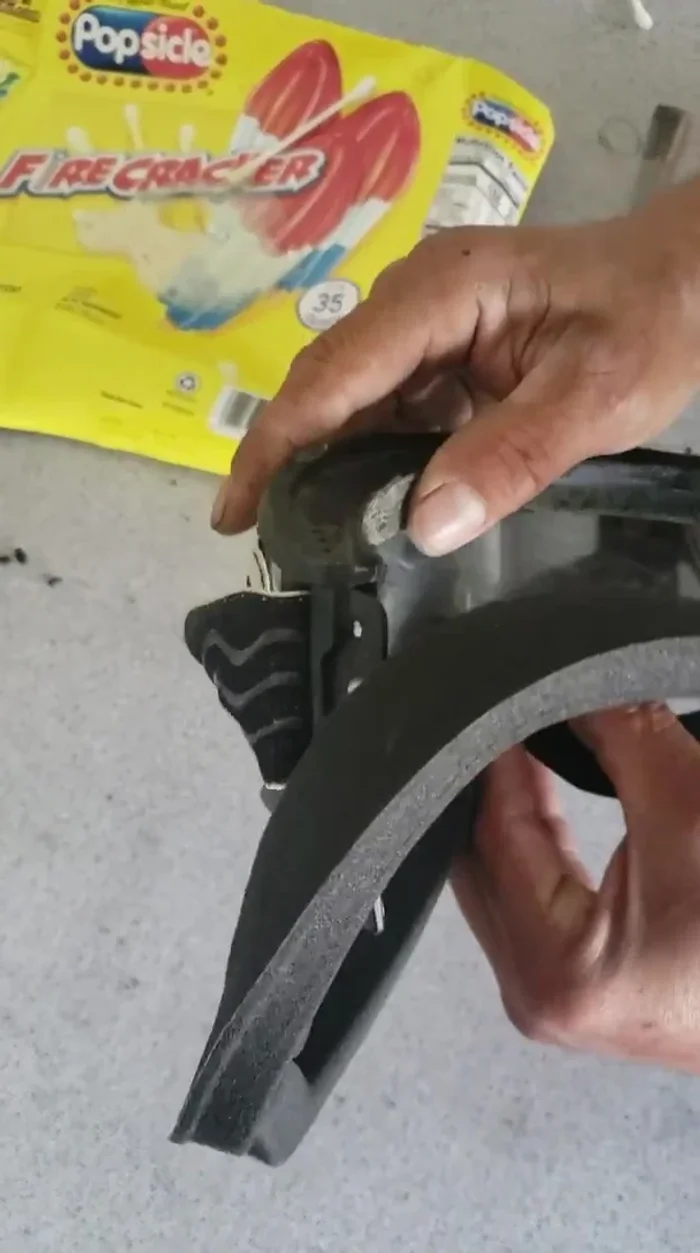
Apply Adhesive to Frame Attach New Foam (Bottom Half)
- Starting at the nose, carefully adhere the new foam to the frame, ensuring it aligns with the perimeter of the goggles.
- Let the adhesive set for a short time, minimizing movement.
Attach New Foam (Bottom Half) Attach New Foam (Opposite Side)
- Repeat steps 3-5 for the opposite side.
Attach New Foam (Opposite Side) Attach New Foam (Top Half)
- Apply adhesive to the top half of the frame and attach the top part of the foam, ensuring a slight overhang.
Attach New Foam (Top Half)


Tips
- Always start applying the new foam at the nose for accurate placement.
- Be generous with the adhesive; it's better to have a little extra than not enough.
- A slight overhang of the foam over the frame is acceptable.
- Work in a well-ventilated area due to the strong smell of the adhesive.
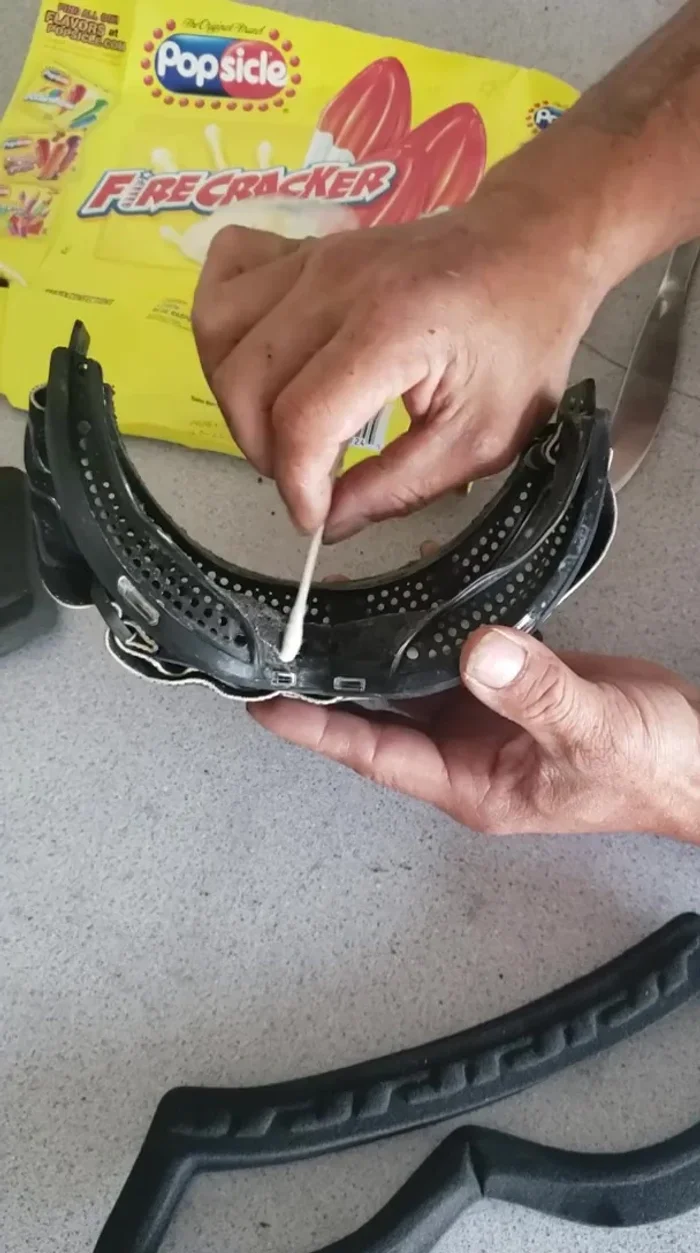
- A q-tip is a cheap and effective tool for applying the adhesive.