Ski boots: the unsung heroes (or villains) of a fantastic—or frustrating—day on the slopes. While impeccable technique is paramount, even the most skilled skier will struggle to control their skis if their boots aren't properly buckled. A poorly fastened boot compromises your connection to your skis, leading to a loss of precision, power, and ultimately, enjoyment. Think of your boots as the crucial link between you and the mountain; a loose connection translates directly into a less responsive and potentially dangerous experience. Mastering the art of precise boot buckling is not just about comfort; it's about achieving superior ski control and unlocking your full potential on the mountain.
This seemingly simple act significantly impacts your skiing performance. In the following sections, we'll guide you through a step-by-step process to ensure your boots are perfectly buckled every time, maximizing your control and confidence on any terrain.
Preparation and Safety Guidelines
- Always buckle your boots securely before clipping into your bindings. Loose boots compromise control and increase the risk of injury.
- Ensure each buckle is fastened evenly and progressively tight; avoid over-tightening, which can restrict blood flow and cause discomfort.
- If you experience any persistent pain or numbness in your feet or legs while skiing, stop immediately, loosen your boots, and assess the situation. Ignoring discomfort can lead to serious injuries.
Step-by-Step Instructions
Preparation
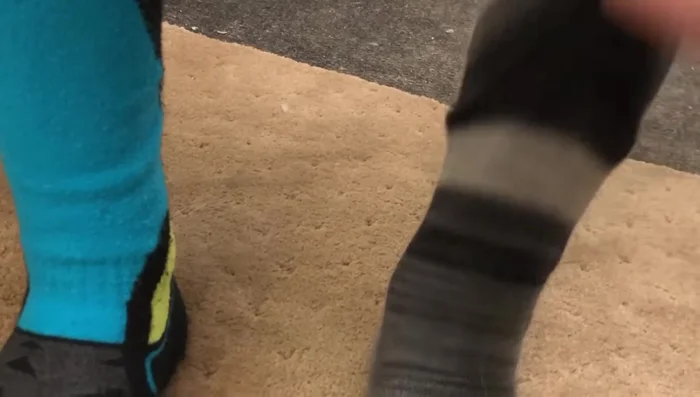
- Wear proper ski socks.
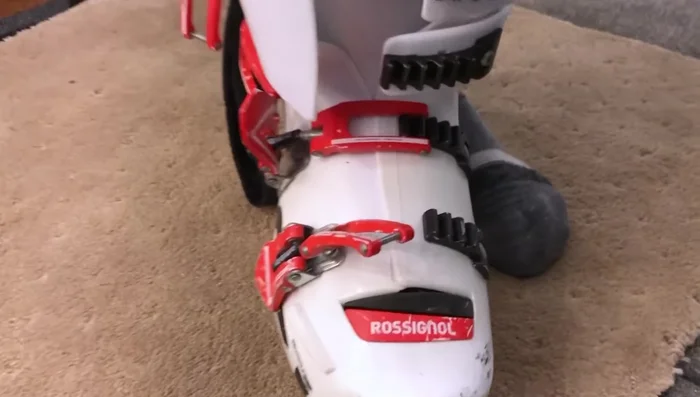
- Fully open all buckles.

Preparation Putting on the Boots
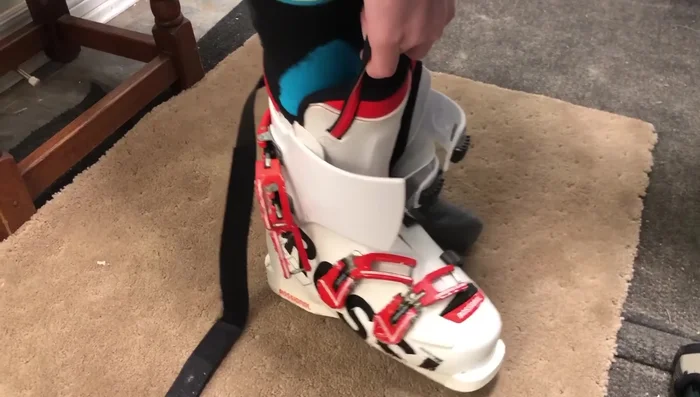
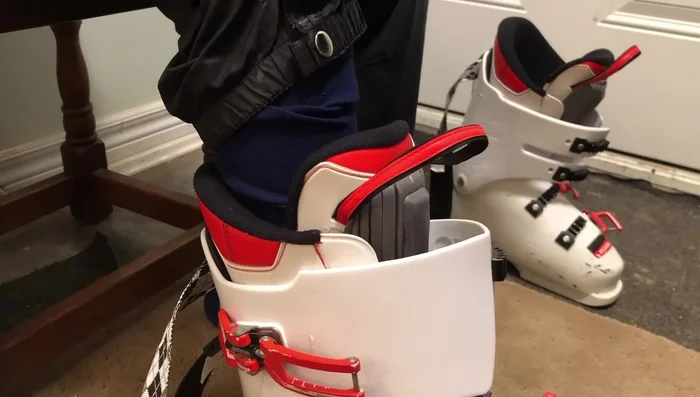
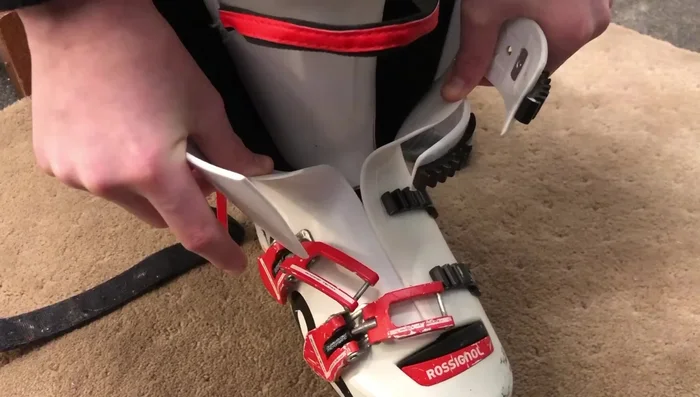
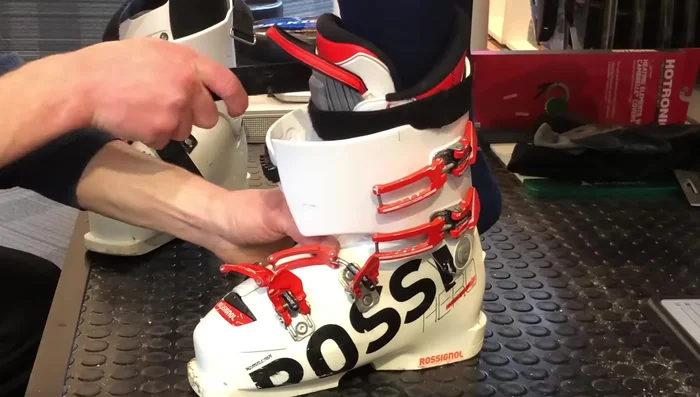
- Slide your foot into the boot, ensuring your heel is at the back.
- Remove extra fabric from inside the boot.
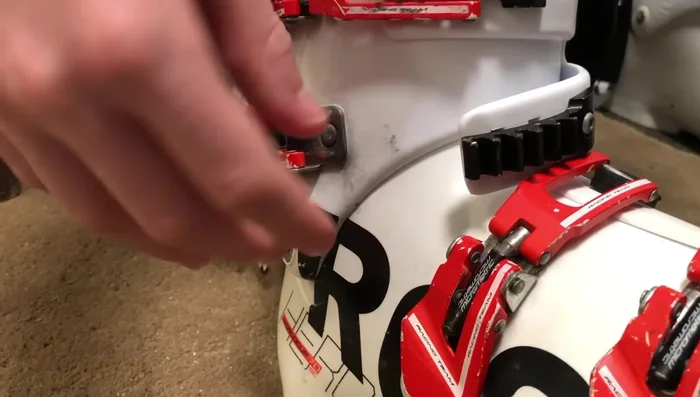
- Ensure the tongue is straight and plastic sleeves overlapped.
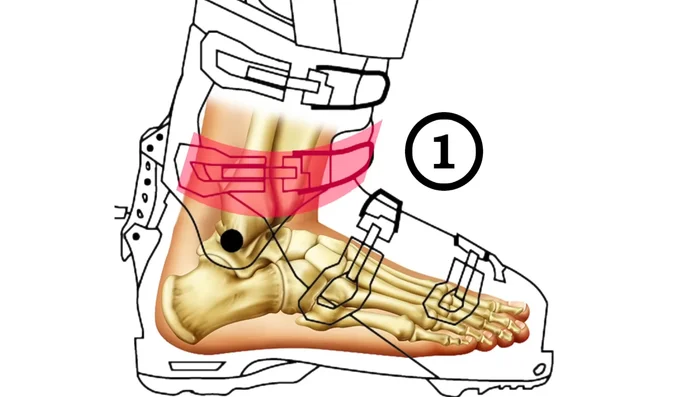
Putting on the Boots Buckling: Key Buckles
- Fasten the ankle buckle snugly to minimize heel lift.
- Fasten the top buckle snugly for lower leg support and forward shin pressure.
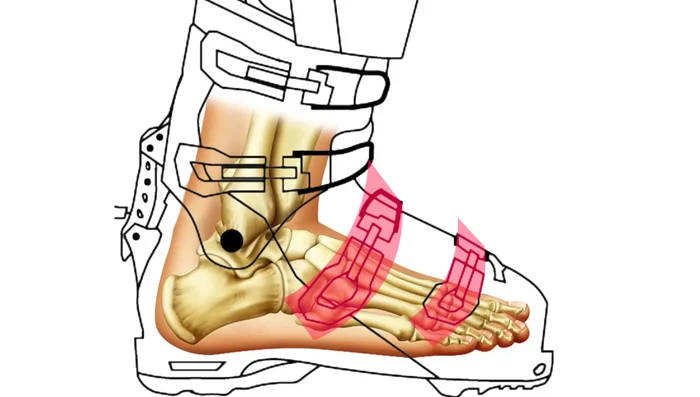
Buckling: Key Buckles Buckling: Secondary Buckles
- Fasten arch and toe buckles for lateral support, allowing toe wiggle room.
Buckling: Secondary Buckles Fine-tuning and Check
- Flex forward to check heel and toe position; adjust buckles as needed.
- Use micro-adjustments on buckles if necessary.
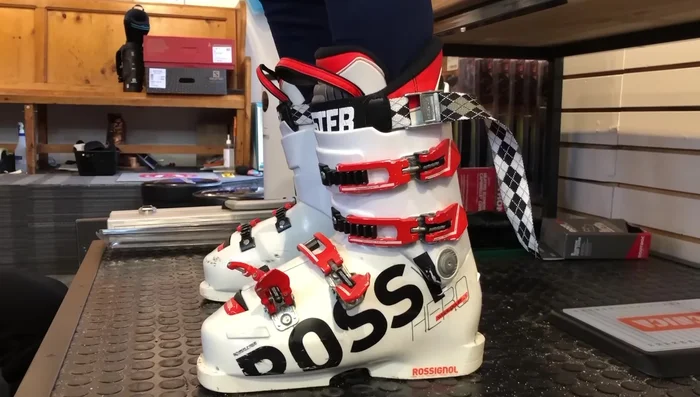
Fine-tuning and Check Final Step
- Fasten the power strap snugly.
Final Step

Tips
- Dry your boots each night and wear clean, dry socks.
- Keep your boots warm before putting them on.
- Don't overtighten buckles immediately; work your way up.
- Think of the tongue as an accelerator pedal; maintain contact for control.