Lost on the slopes? A broken goggle strap snap can quickly turn a thrilling ski day into a frustrating one. The constant readjusting, the fear of losing your goggles altogether – it's enough to ruin anyone's powder day. Fortunately, a simple DIY repair might be all you need to get back to enjoying the pristine snow. This isn't about complex repairs or expensive replacements; instead, we're focusing on a quick, effective fix using readily available materials. We understand that downtime on the mountain is precious.
This article provides a practical, step-by-step guide to repairing a broken ski goggle strap snap, getting you back to carving those turns in no time. With just a few household items and a bit of know-how, you can perform this essential repair yourself, avoiding the expense and inconvenience of buying new goggles. Let's get started!
Preparation and Safety Guidelines
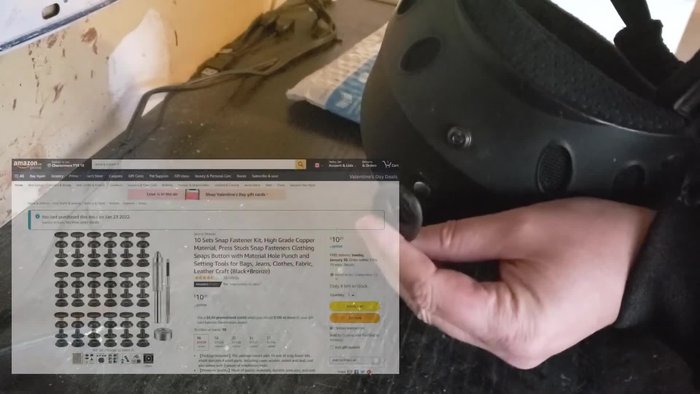
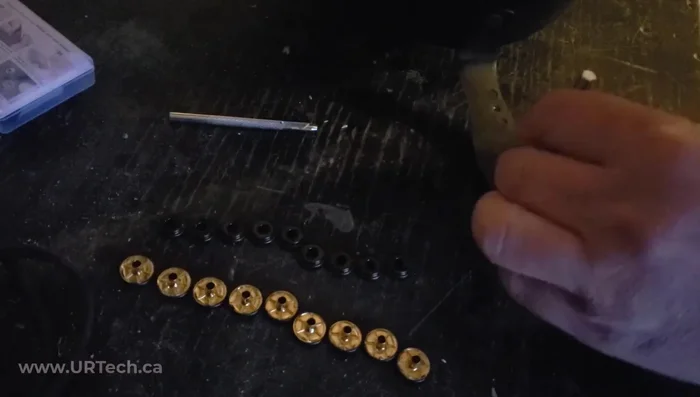
- Snap Kit (from Amazon)
- Hammer
- Drill (if needed)
- Small Anvil or Wood Block
- Always prioritize safety. If you're uncomfortable attempting the repair, take your goggles to a professional.
- Use the correct tools and materials. Improper tools can damage your goggles or helmet further.
- Test the repaired snap thoroughly before using your goggles on the slopes. Ensure a secure fit to prevent them from falling off during activity.
Step-by-Step Instructions
Assessment and Preparation
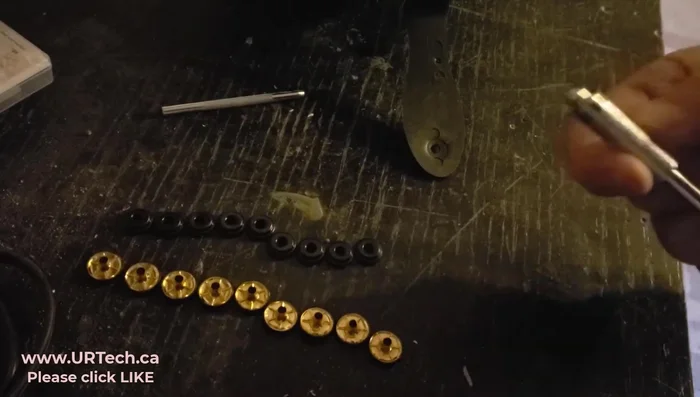
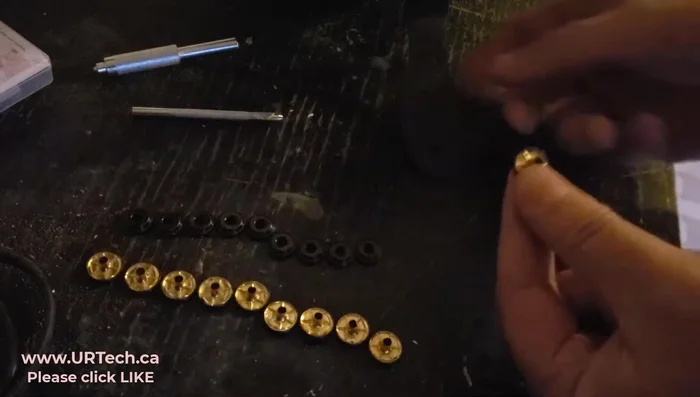
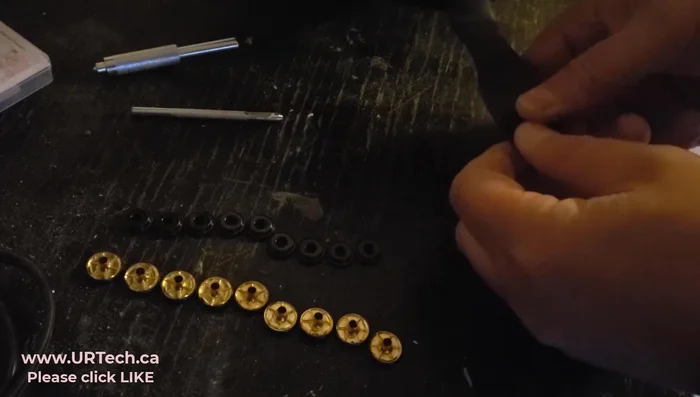
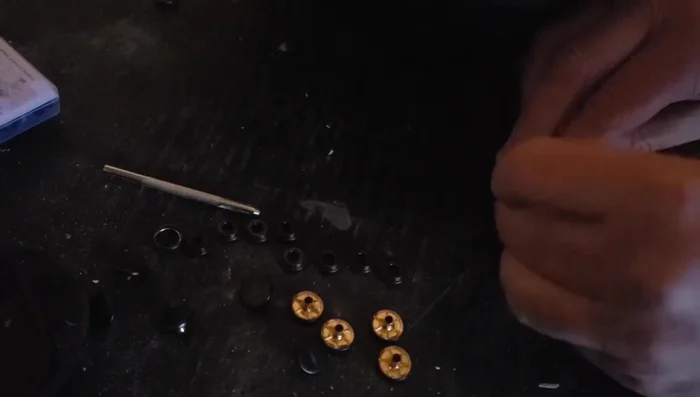
- Assess the damage and gather your materials. Identify the size of the snap needed.

Assessment and Preparation Create Hole (If Necessary)
- If you don't have a pre-existing hole, use a punch tool from your kit or a drill to create a hole in the helmet where the snap will go.
Create Hole (If Necessary) Install Snap
- Insert the snap post through the helmet's hole.
- Place the snap cap onto the post.
- Use the small punch tool and hammer to set the snap securely.
Install Snap Remove Old Snap
- If the original snap is still attached, remove it.
Remove Old Snap Correct Snap Size Issue
- If the initially selected snaps are too small (as happened in the video), use the old snap as a template to drill out the incorrectly placed new one.
Correct Snap Size Issue Reinstall with Correct Snap
- Use a correctly sized snap and repeat steps 3-5.
Reinstall with Correct Snap Test Repair
- Test the repaired snap by attaching your goggles.
Test Repair

Tips
- Measure the size of your existing snap before purchasing a replacement kit to ensure compatibility.
- Use a sturdy surface (wood block or anvil) when setting the snap with the hammer to avoid damaging the helmet.