Winter's icy grip can turn even the warmest gloves into frigid, useless shells. Soggy fingers are not only uncomfortable, they can lead to frostbite and significantly impact your enjoyment of outdoor winter activities. Whether you're a dedicated skier, an enthusiastic snowshoer, or simply someone who braves the elements to walk the dog, maintaining warm, dry hands is paramount. Frozen, wet gloves are a recipe for misery, but there’s a solution that’s both effective and surprisingly simple: waterproofing with Snow Seal.
This remarkable product transforms ordinary gloves into dependable barriers against the elements, providing the ultimate winter protection. Forget constantly wrestling with damp gloves; this guide will take you through a step-by-step process to waterproof your gloves using Snow Seal, ensuring comfortable, dry hands throughout even the harshest winter conditions. Let's get started!
Preparation and Safety Guidelines
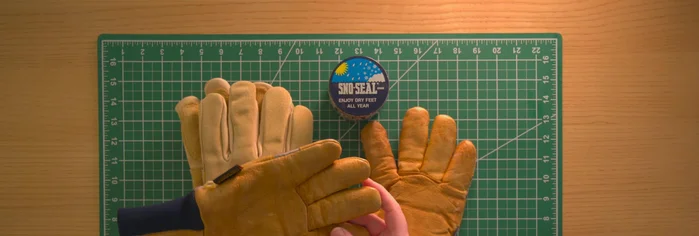
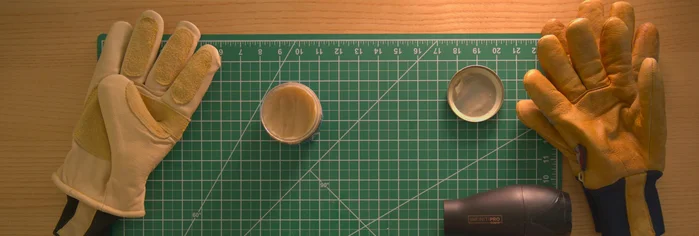
- Snow Seal
- Ziploc bag
- Hair dryer/Heat gun
- Always work in a well-ventilated area. Snow Seal fumes can be irritating.
- Allow the treated gloves to dry completely before wearing to ensure proper waterproofing and avoid skin irritation.
- Test a small, inconspicuous area of your gloves first to ensure Snow Seal doesn't damage the material.
Step-by-Step Instructions
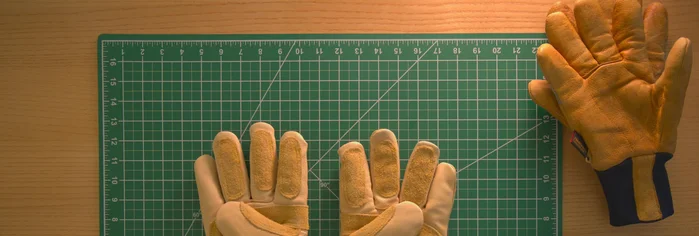
Prepare Gloves
- Prepare your gloves. Inspect for worn areas needing re-waterproofing.

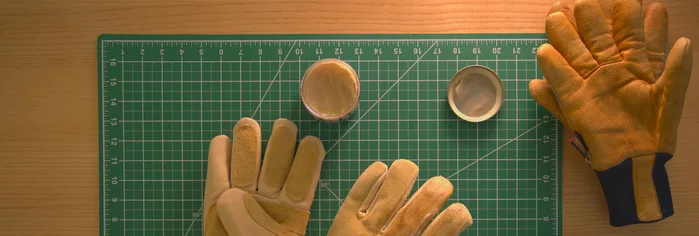
Prepare Gloves Initial Snow Seal Application
- Apply Snow Seal. Use a Ziploc bag and your fingers to apply a generous amount of Snow Seal to the leather portions of your gloves. Work it into the leather thoroughly.
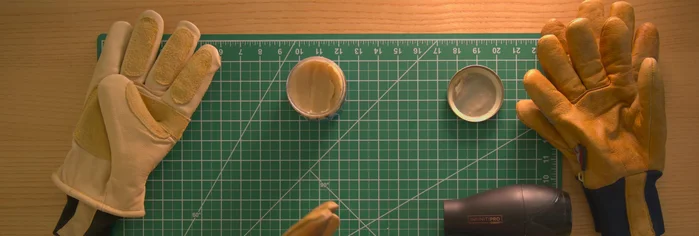
Initial Snow Seal Application Heat Activation & Flexing
- Use heat to melt in the Snow Seal. Use a hair dryer or heat gun on a hot setting to melt the Snow Seal into the leather. Multiple coats may be necessary.
- Flex the gloves while applying heat. This helps to loosen the leather and make the gloves more supple. Repeatedly flex and shape the gloves into the desired position to increase flexibility.
Heat Activation & Flexing Second Snow Seal Coat (Optional)
- Apply a second coat (optional). After the first coat has cooled, apply a second coat of Snow Seal, especially to high-wear areas.
Second Snow Seal Coat (Optional) Final Drying
- Allow to dry completely. Let the gloves air dry to allow the wax to fully penetrate the leather.
Final Drying

Read more: Top 7 Best Ski Gloves for Unforgettable Winter Adventures
Tips
- To soften stiff leather gloves, flex them while applying heat and wax. This process helps loosen the leather and makes them more comfortable to wear.
- Don't be afraid to apply a heavy amount of Snow Seal; the leather will absorb a lot of it.
- Re-waterproof your gloves every season or two. This ensures long-lasting protection.
- Waterproof the pull tabs as well for easier on/off.