Carving crisp, clean turns on a freshly groomed slope is a feeling unlike any other. But that exhilarating experience hinges on one crucial factor: sharp snowboard edges. Dull edges lead to sluggish performance, reduced control, and ultimately, a less enjoyable ride. Whether you're a seasoned pro looking to fine-tune your technique or a beginner eager to maximize your board's potential, maintaining razor-sharp edges is paramount. Ignoring edge maintenance is like driving a car with worn-out tires – it's risky and severely limits your capabilities.
This guide will equip you with the knowledge and techniques to sharpen your snowboard edges effectively, transforming your riding experience from frustrating to fantastic. We'll cover everything from choosing the right tools to mastering the sharpening process itself, ensuring you achieve a professional-level edge that will have you carving with confidence and precision. Follow this step-by-step process, and get ready to experience the difference sharp edges make.
Safety Guidelines
- Always wear safety glasses to protect your eyes from flying metal shavings.
- Use a vise or clamp to securely hold the snowboard in place. A loose board can lead to injury.
- Be mindful of the angle and pressure you apply. Too much pressure or an incorrect angle can damage your snowboard's edges or the sharpening tool.
Methods: Sharpening Snowboard Edges with Multi-Tool and Diamond File
Tools Needed
- Multi-tool
- Diamond file
- File cleaning brush
- Wax remover solution
Step-by-Step Instructions
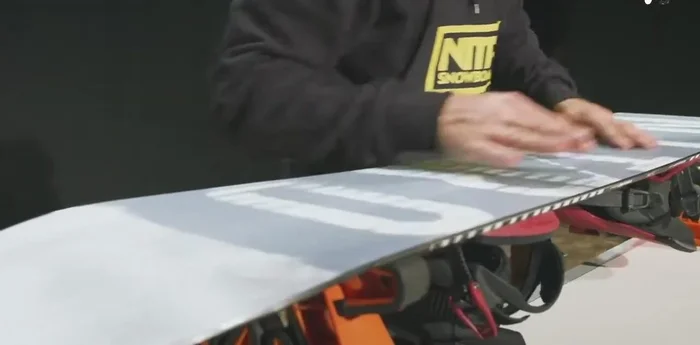
Prepare Base Edge
- Use a multi-tool to smooth the base edge, keeping the angle slightly upward to avoid de-tuning.

Prepare Base Edge Sharpen Base Edge
- Use the flat side of the multi-tool and file back and forth to smooth the edge. Maintain pressure on the inside with control on the outside.
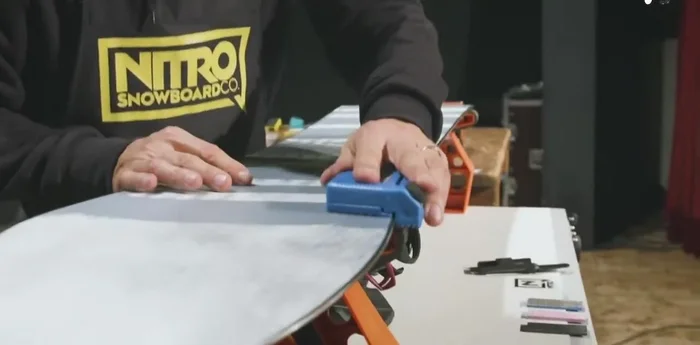
Sharpen Base Edge Polish Base Edge
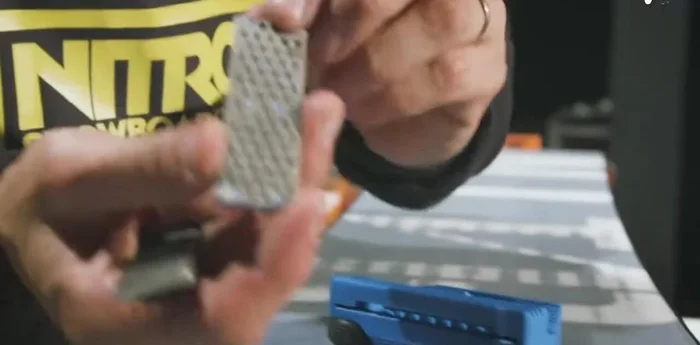
- Use a diamond file to smooth the base edge, making sure the surface is nice and clean. Remove metal shavings from the base.
Polish Base Edge Dull Tip and Tail
- Use a grinding stone or file at a 45-degree angle to dull the tip and tail edges to prevent catching edges and improve safety.
Sharpen Outside Edge
- Use the multi-tool at an 88-89 degree angle (88 for all-mountain, 89 for slightly more forgiving). File from the contact point to the end of the board
Polish Outside Edge
- Use the diamond file on the outside edge after sharpening. Remove metal shavings to maintain a clean, smooth edge.
Polish Outside Edge Remove Edge Splinters
- Using a D-burr tool, smooth out any splinters or metal sticking up from the edge, ensuring a smooth gliding surface.
Remove Edge Splinters
Tips
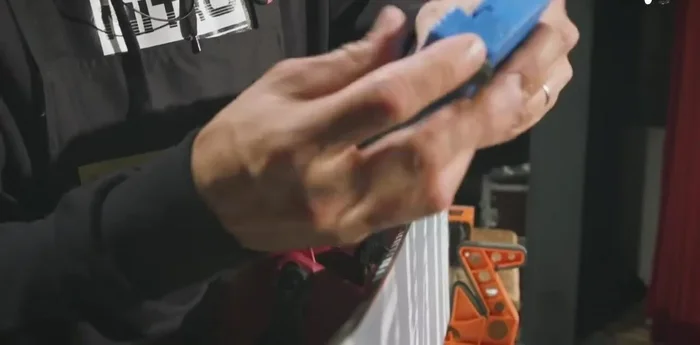
- Always keep your files clean. Use a brush to remove metal shavings. Clean the diamond file with wax remover solution.
- Remove metal shavings from the snowboard's base to avoid slowing down and damaging it.
- Mark the contact point on all four edges to help with tuning and adjustment.