This guide provides a step-by-step walkthrough for installing the chin bar grill on your POC Artic SL 360 Spin helmet. This helmet features a unique interchangeable ring system allowing for customizable levels of release in the event of an impact. Choosing the correct ring is crucial for optimal safety and performance, and this guide will specifically focus on the installation of the "no release" rings, offering the highest level of protection. We will cover the process from initial preparation and removal of existing components, through the secure installation of the new rings and final tightening of the aluminum plates.Proper installation is paramount for the effective functioning of your helmet's safety features. This guide will detail each step clearly, ensuring even those with limited experience can confidently complete the process. We emphasize the importance of retaining all screws and small parts throughout the installation, as well as the careful tightening of screws to prevent damage. By following these instructions, you will secure your chin bar grill, maximizing the protection offered by your POC Artic SL 360 Spin helmet and ensuring a safe and comfortable riding experience.
Read more: Top 4 Burton Ski Helmets for Unforgettable Rides
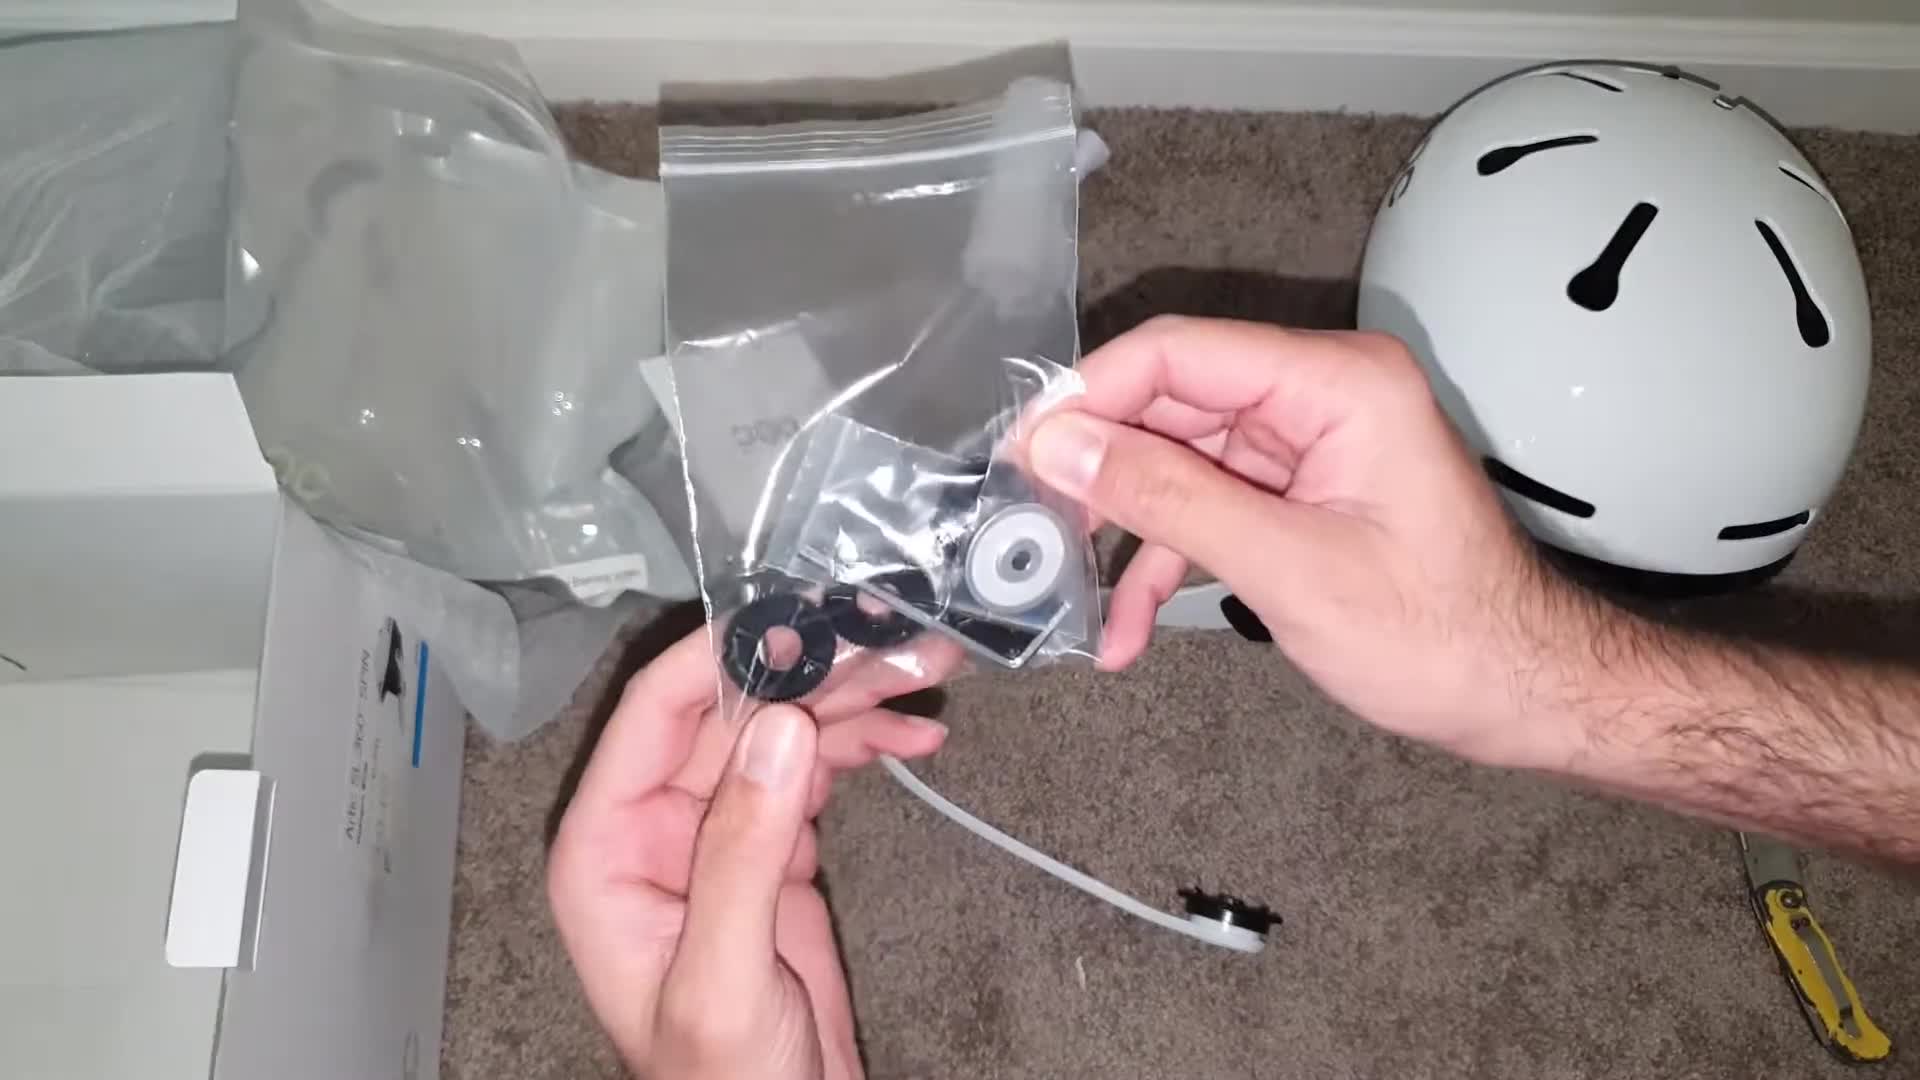
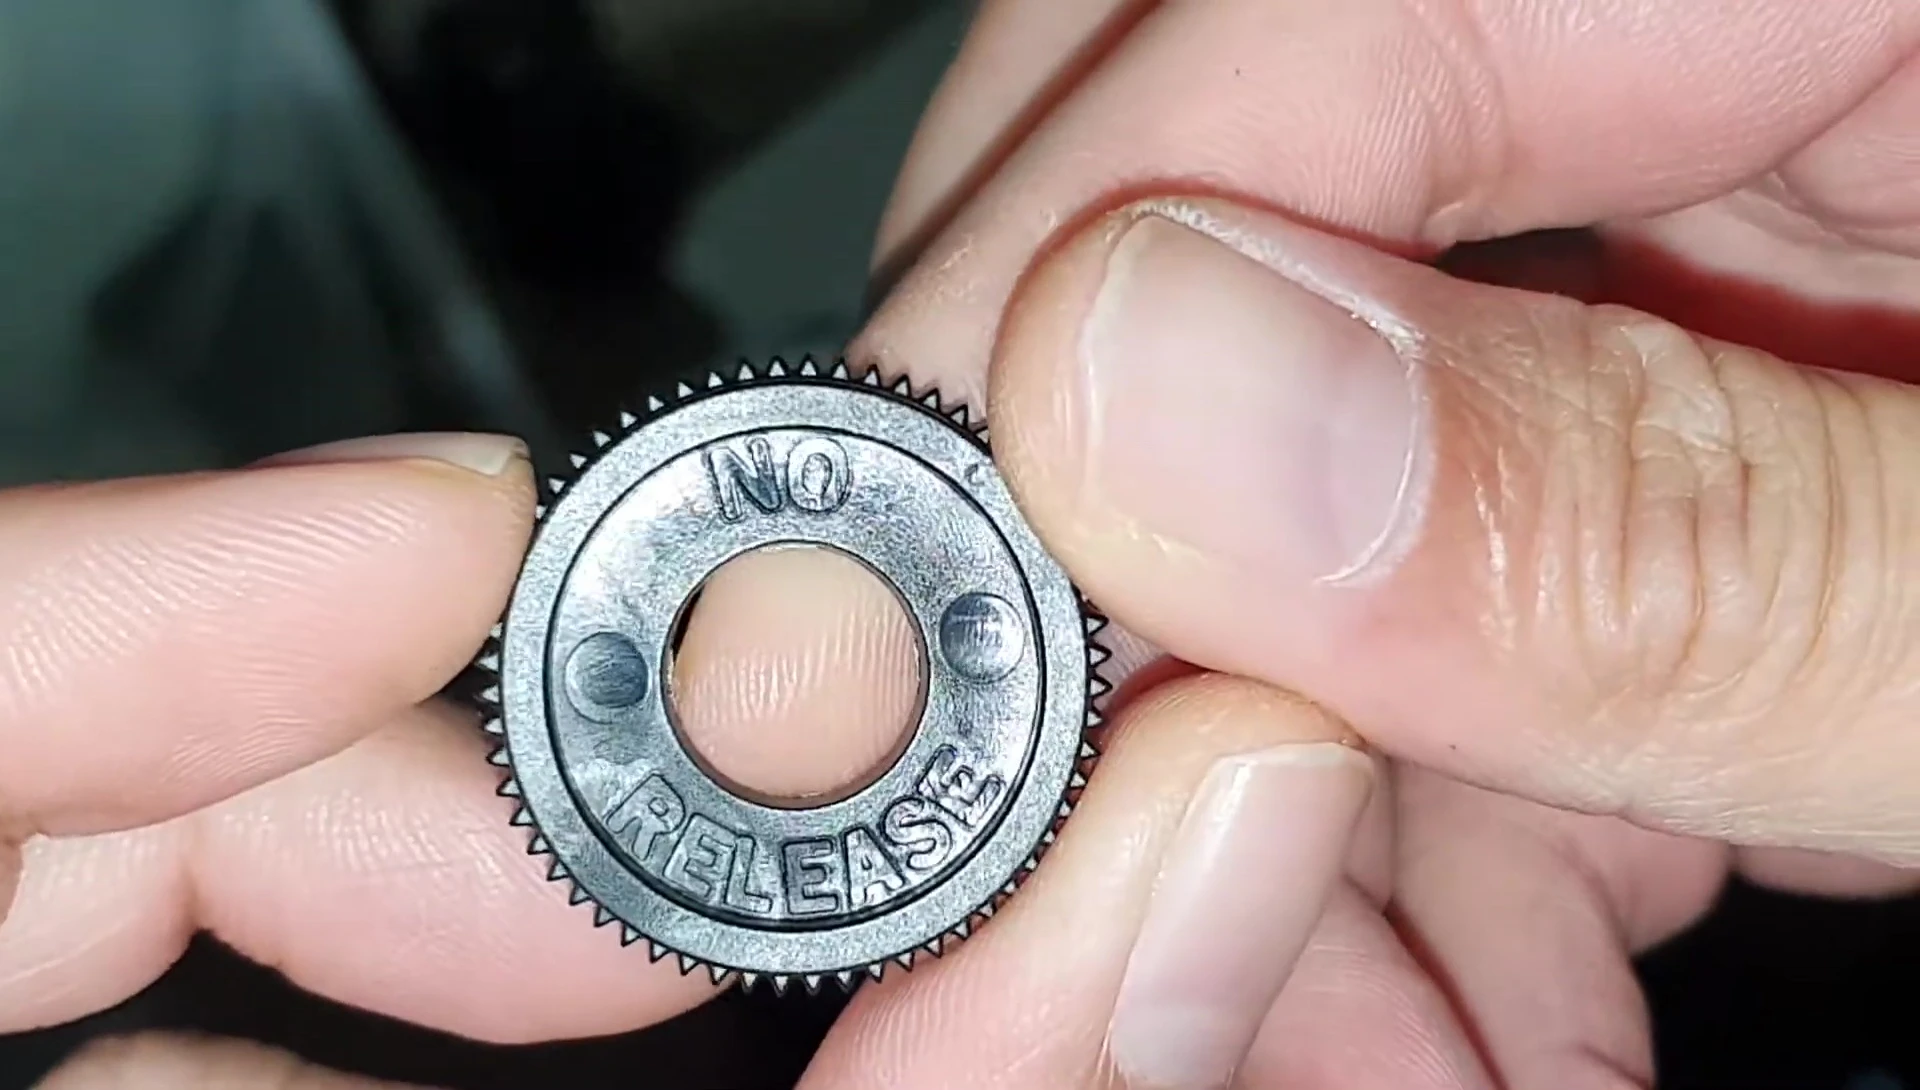
Understanding the Chin Bar Grill Rings
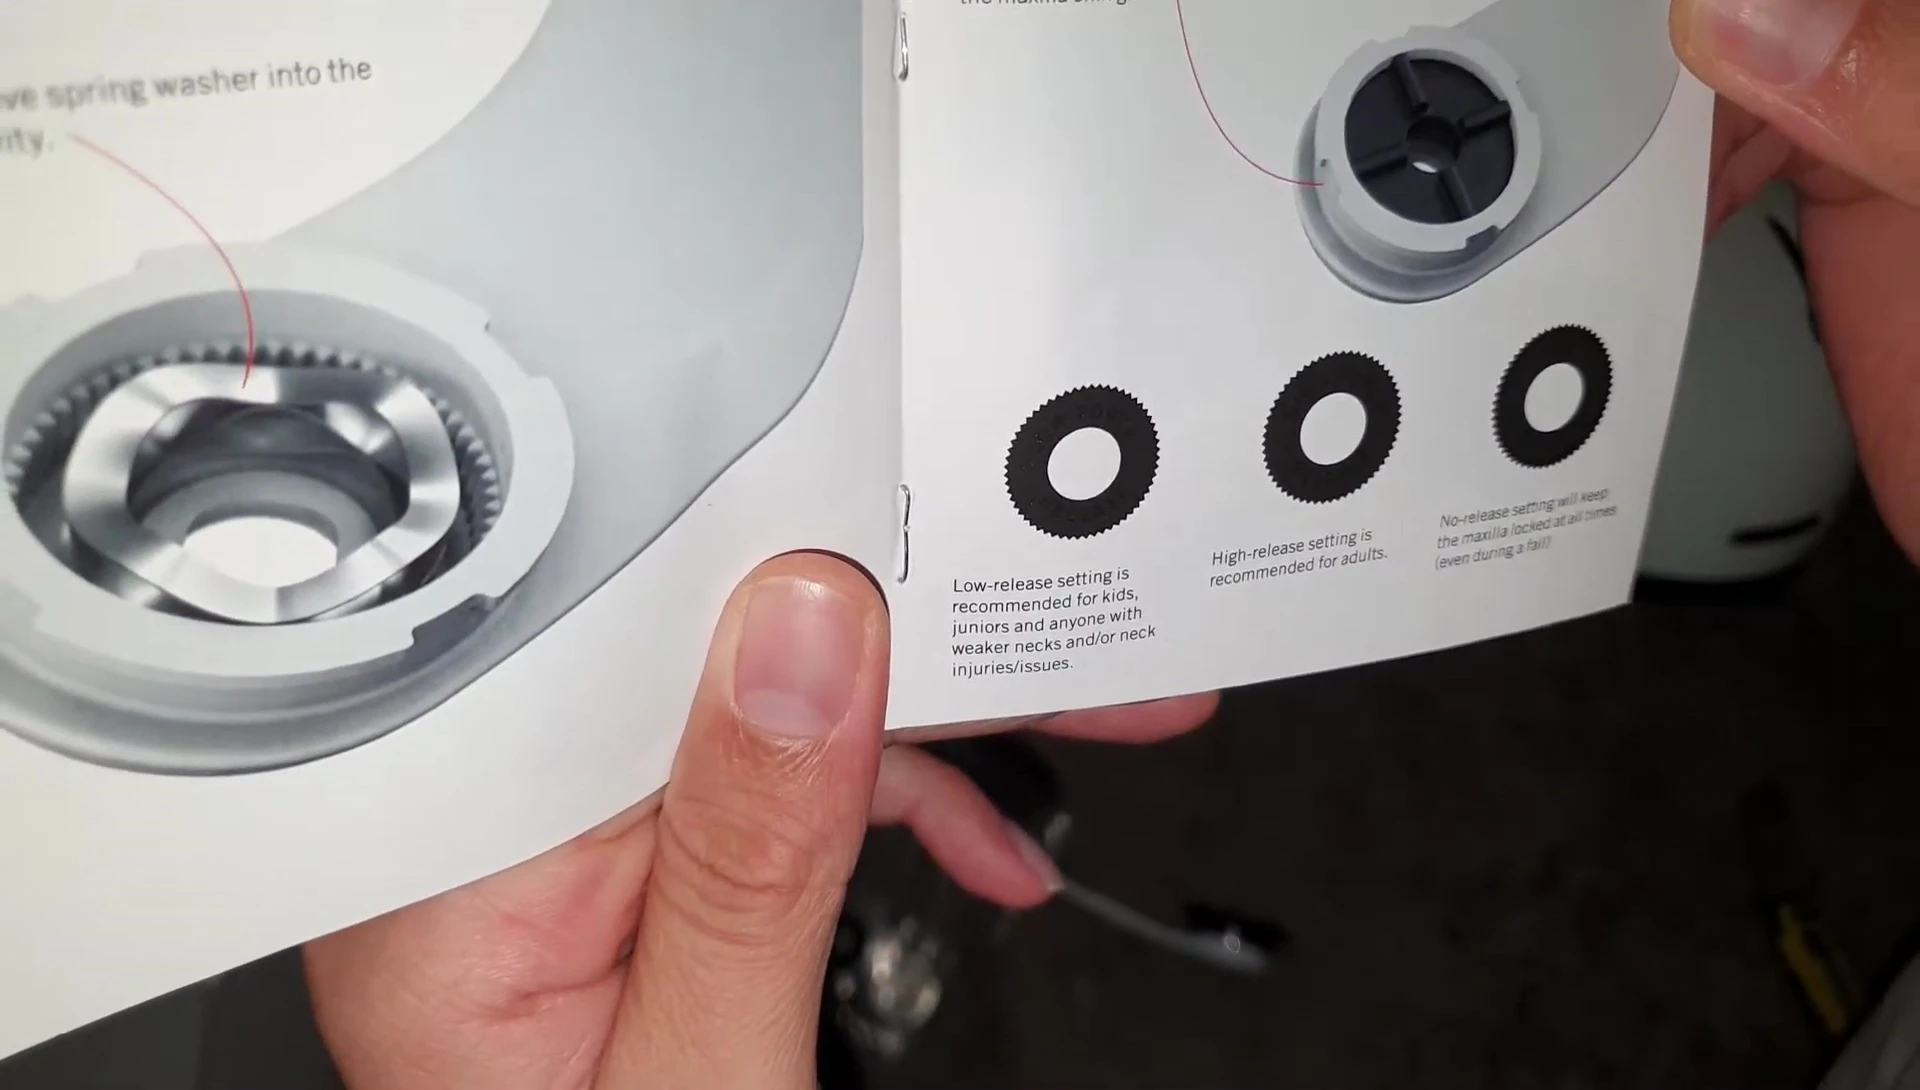
The POC Artic SL 360 Spin helmet features a chin bar grill with interchangeable rings. These rings determine the level of release in case of an impact. There are three types: low release, high release, and no release.
The choice of ring depends on personal preference and riding style. The user manual provides clear instructions on selecting and installing the appropriate ring.
Proper installation is crucial for both safety and optimal helmet function. Ensuring the correct ring is used is essential for maximizing the protection offered by the helmet.
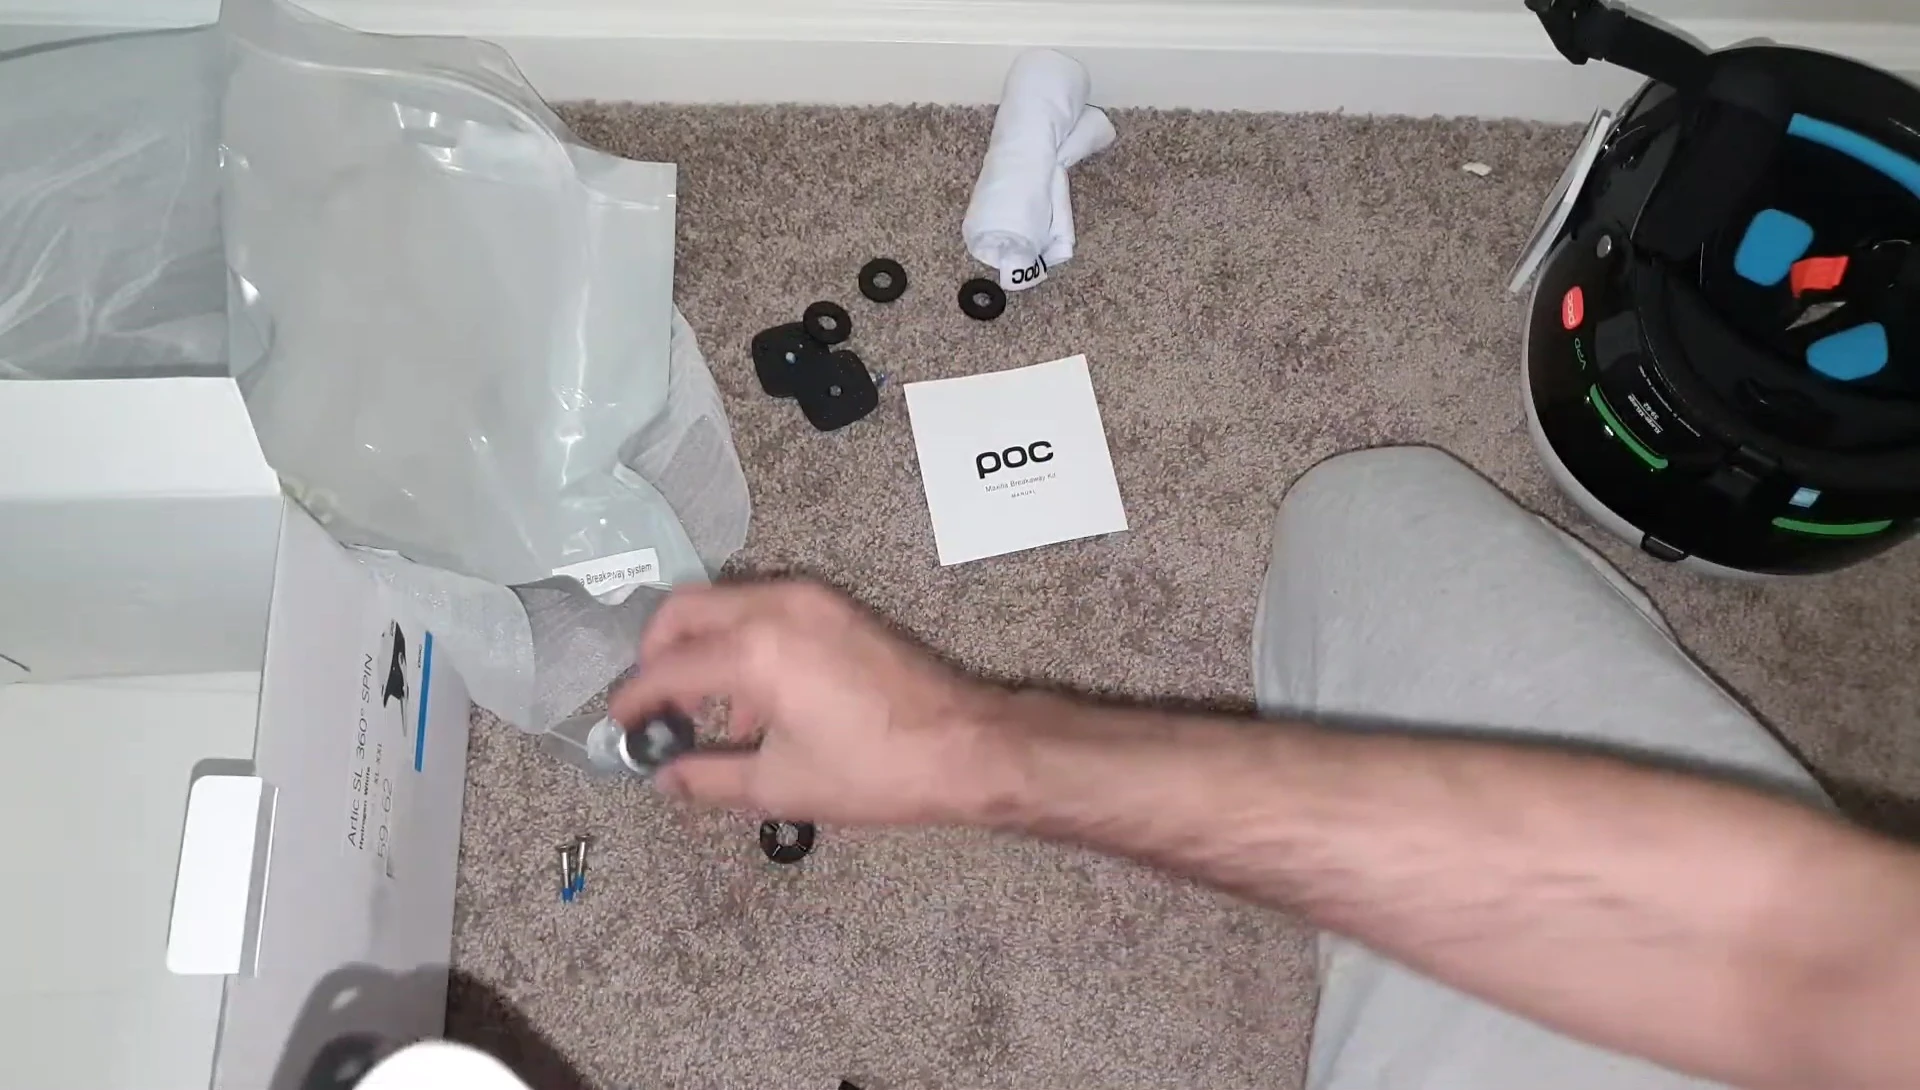
Preparing for Installation
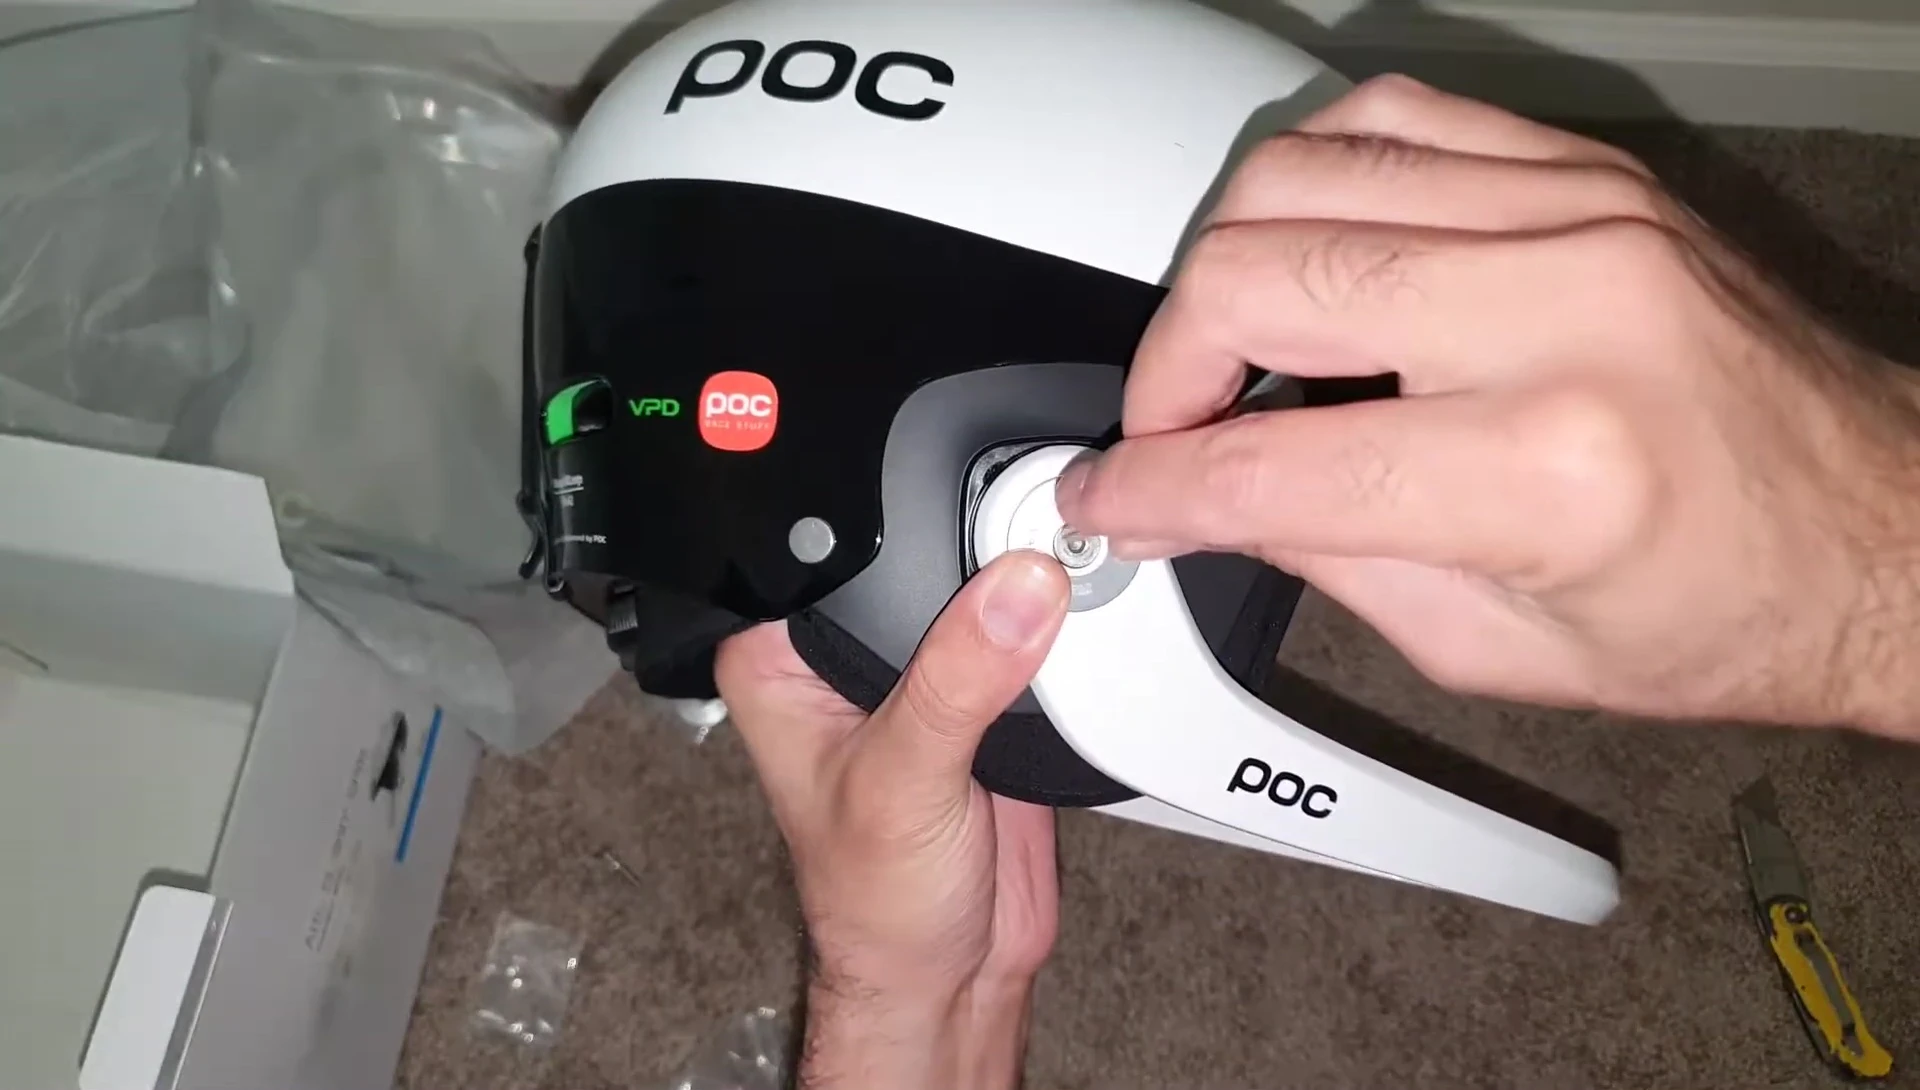
Before installing the chin bar grill, carefully remove the retaining screw and open the access panel on the helmet.
It is crucial to keep this screw safe, as it's essential for future removal of the grill. The instruction booklet explicitly emphasizes this.
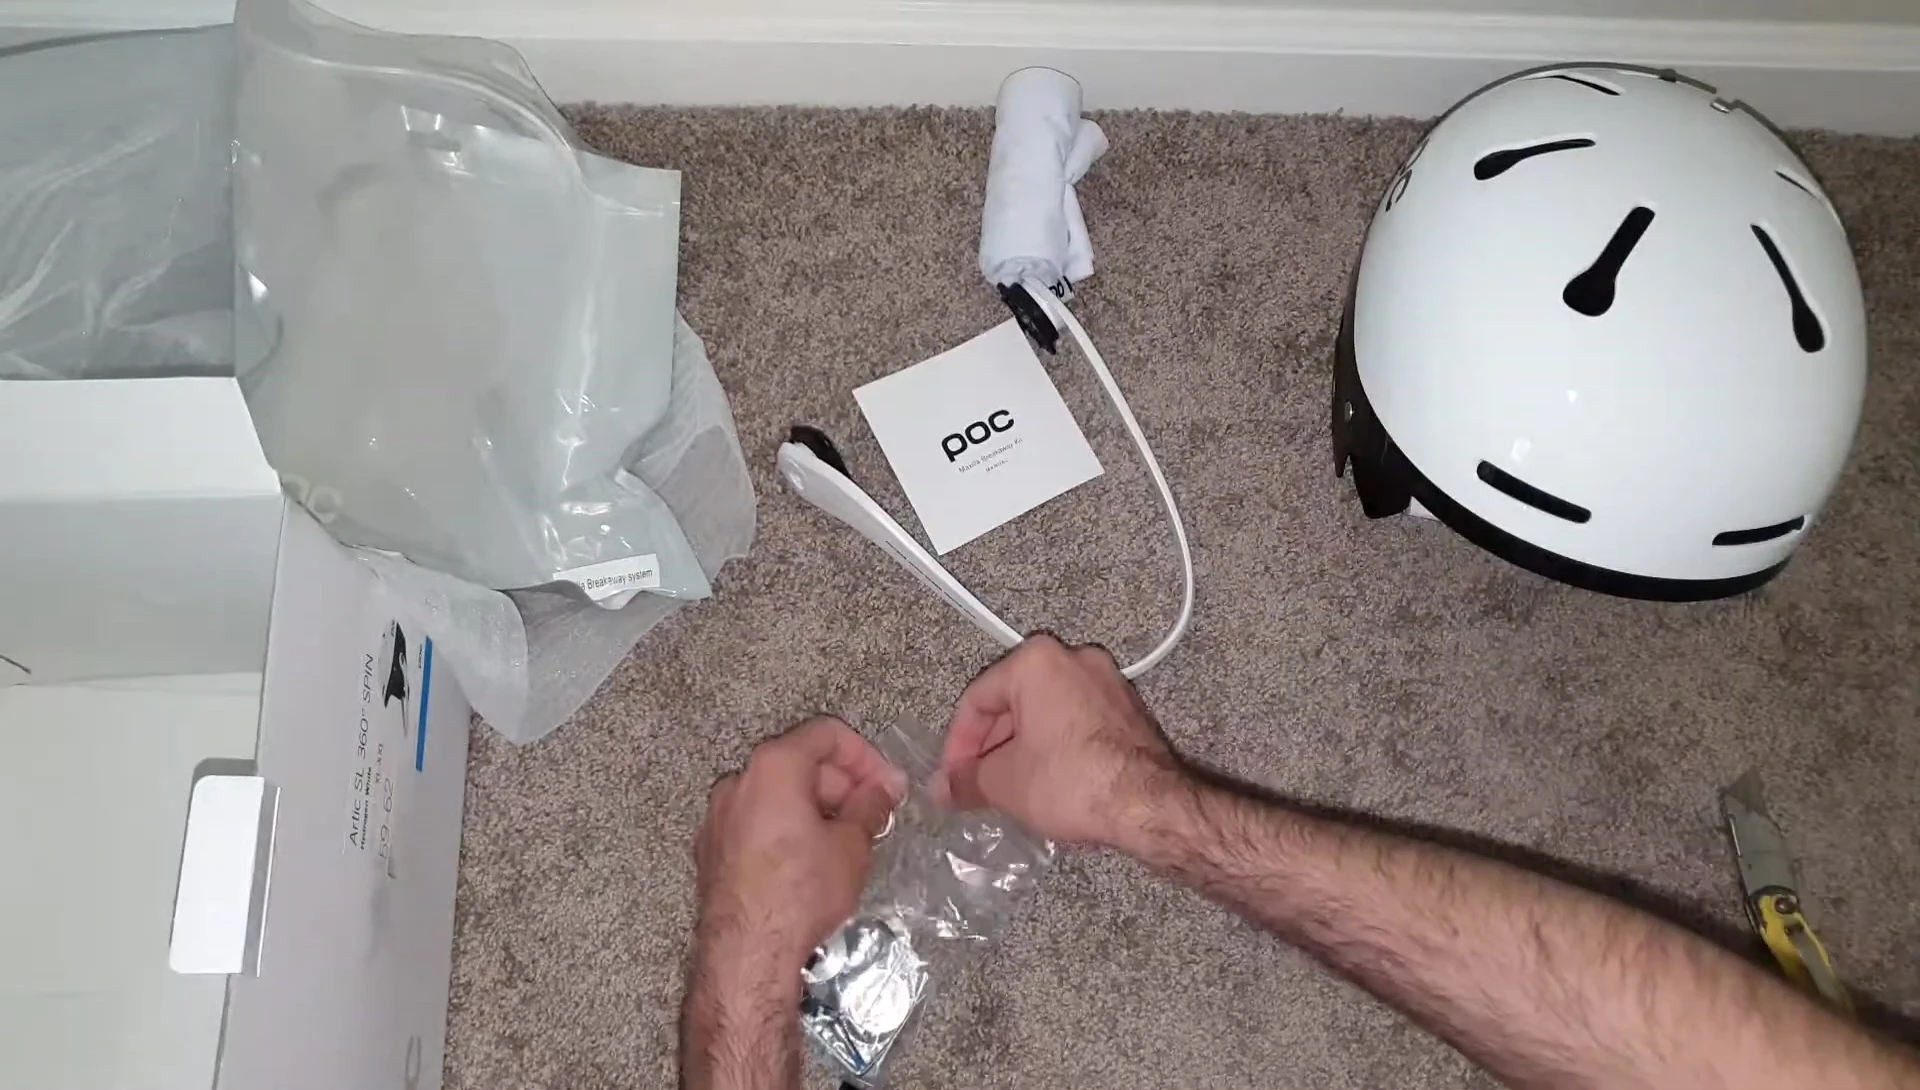
Keep the screws and other small parts secured in a safe place during the installation process to prevent loss.
Installing the No-Release Rings
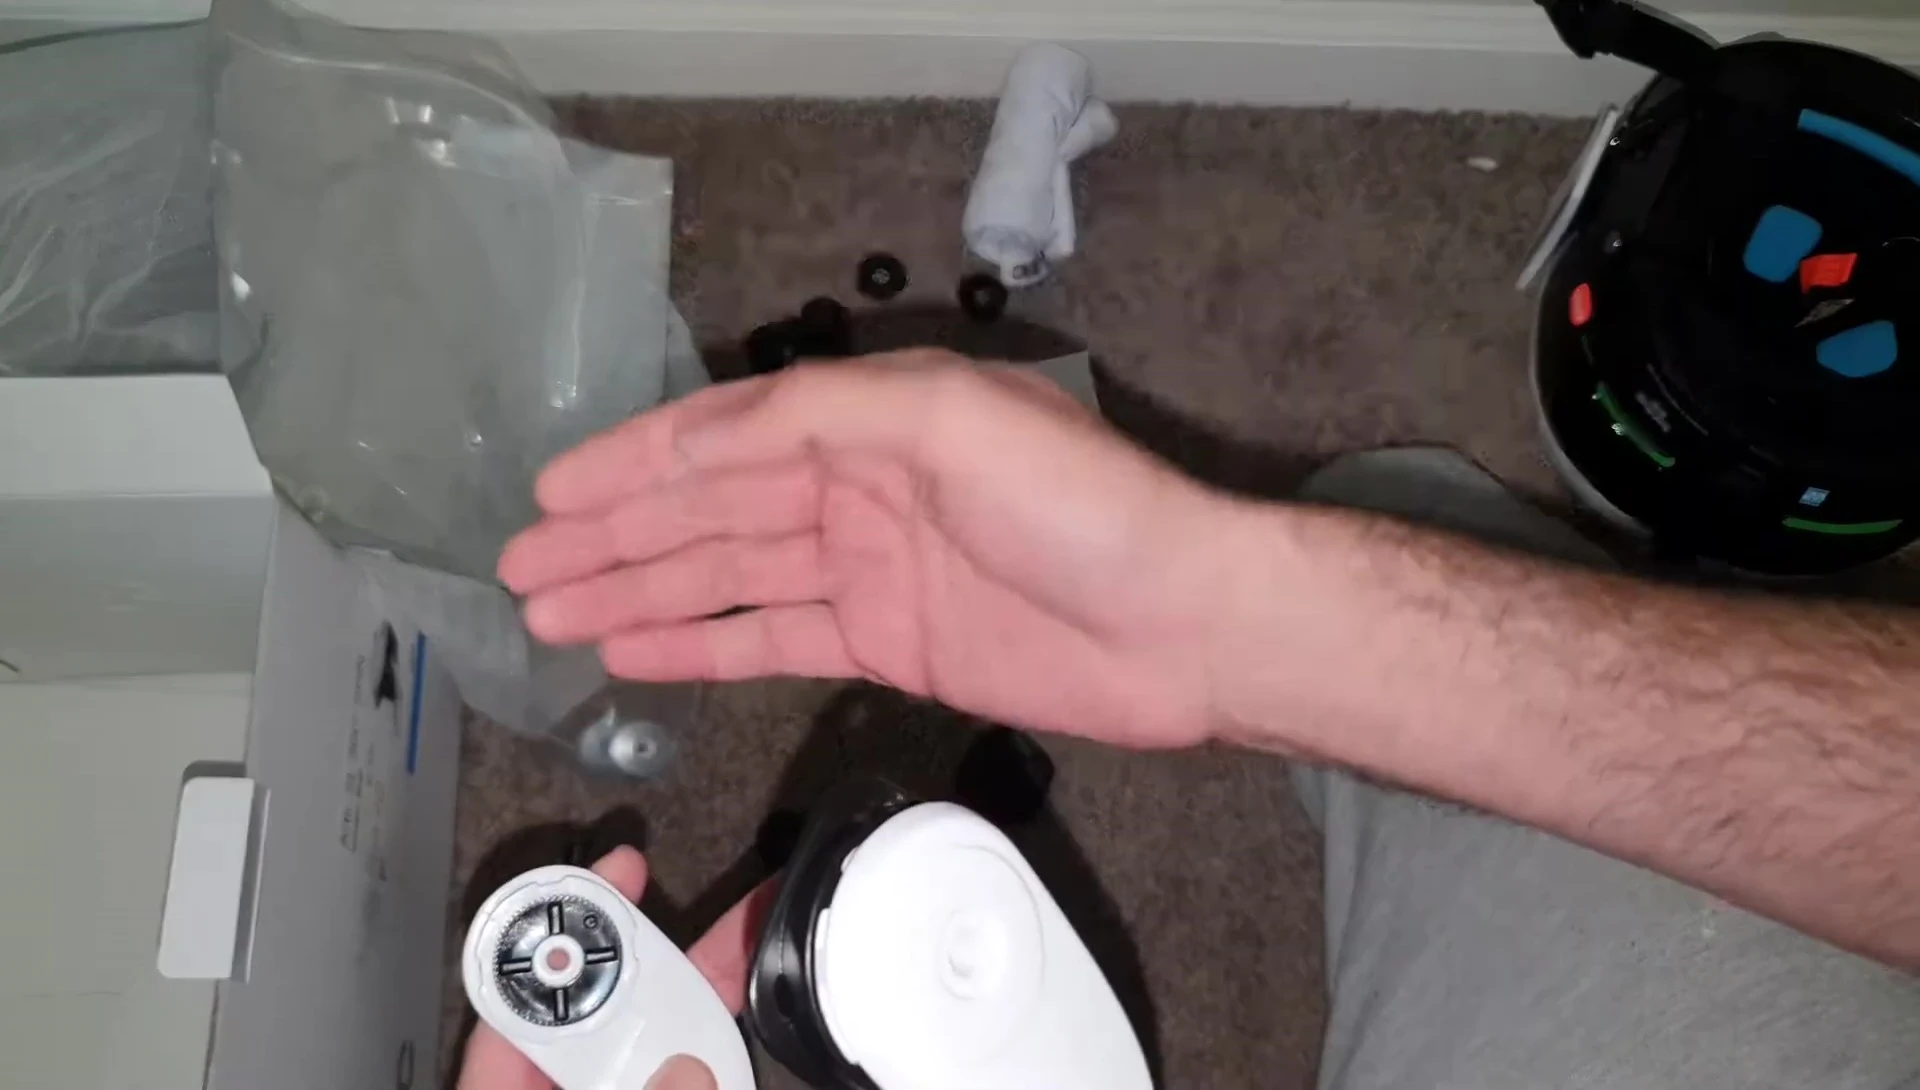
This guide focuses on installing the 'no release' rings, offering maximum security. Select the two 'no release' rings.
Remove the existing medium ring, leaving the spring in place. Insert the 'no release' ring, ensuring the lines align correctly with the helmet's grooves.
Apply slight pressure and twist to secure the rings. The four locks should fit into the four gaps in the corners.
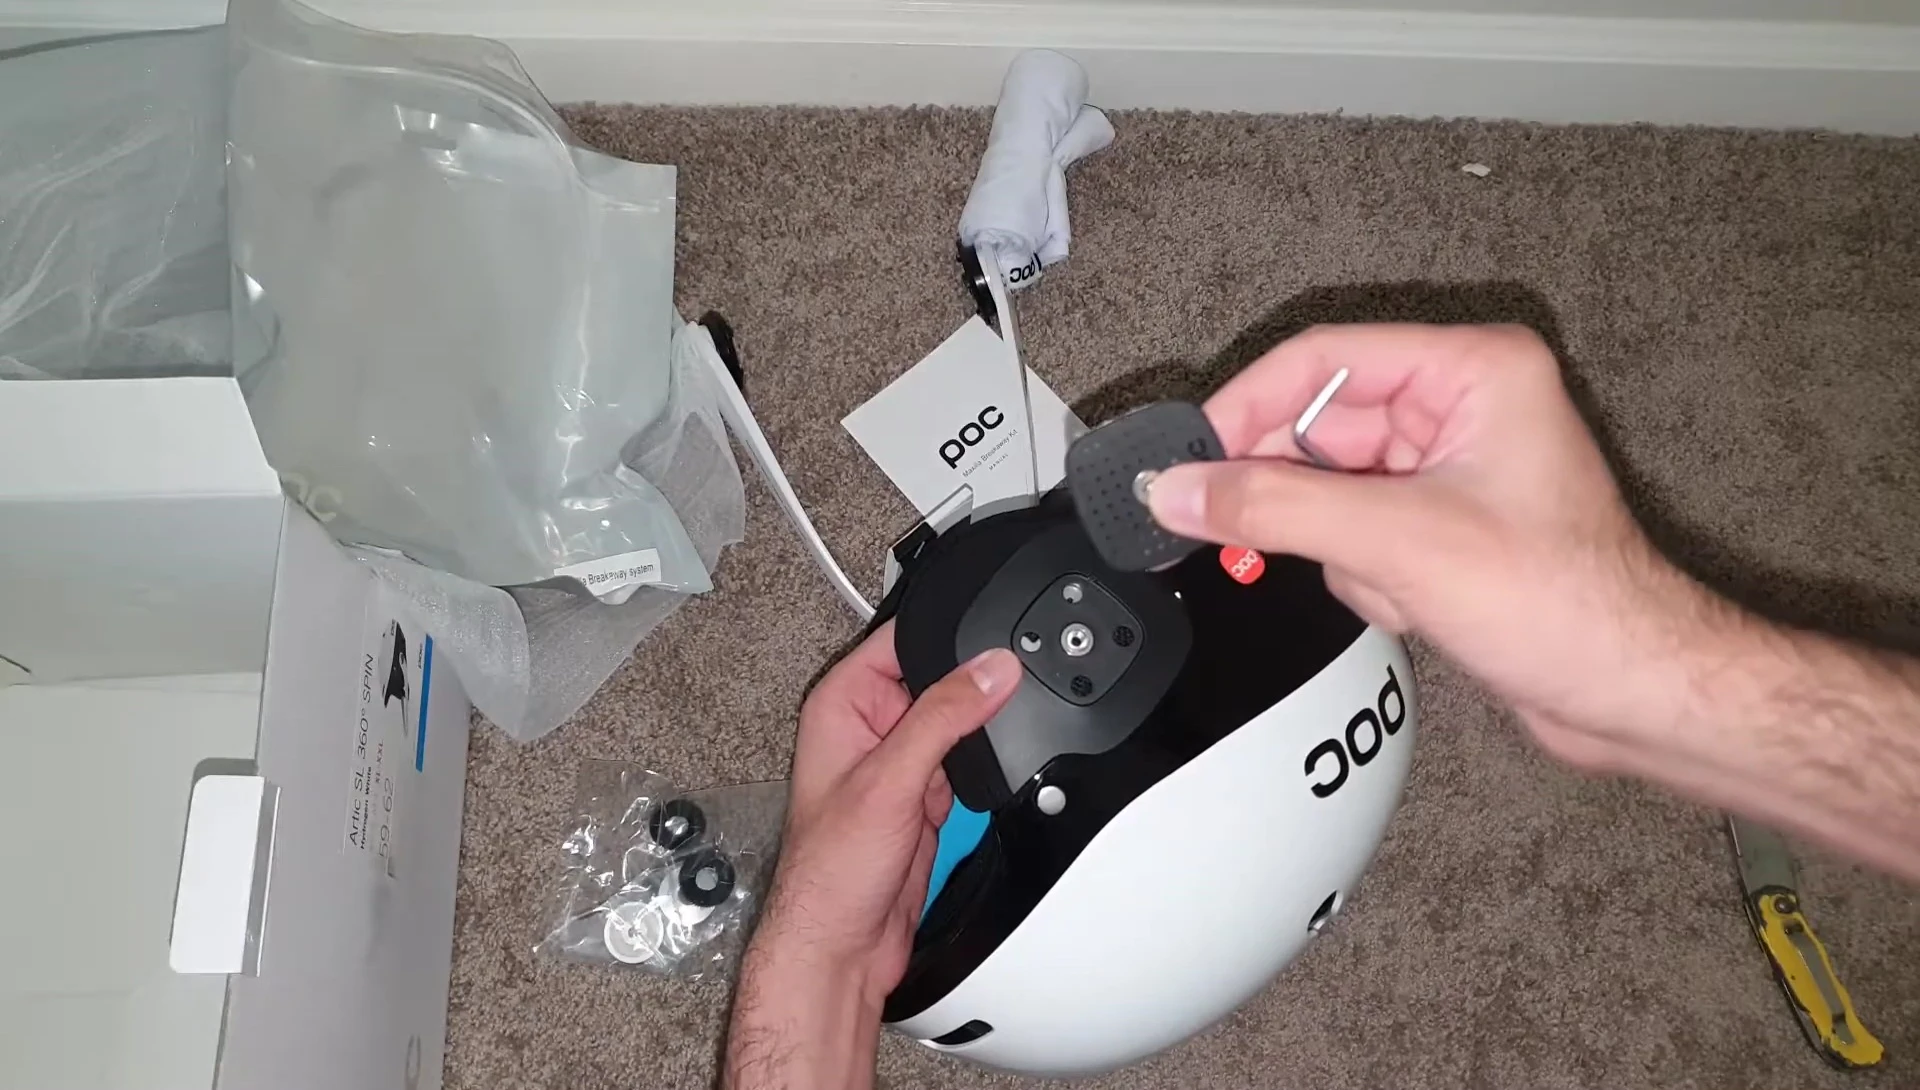
Securing and Finalizing the Installation
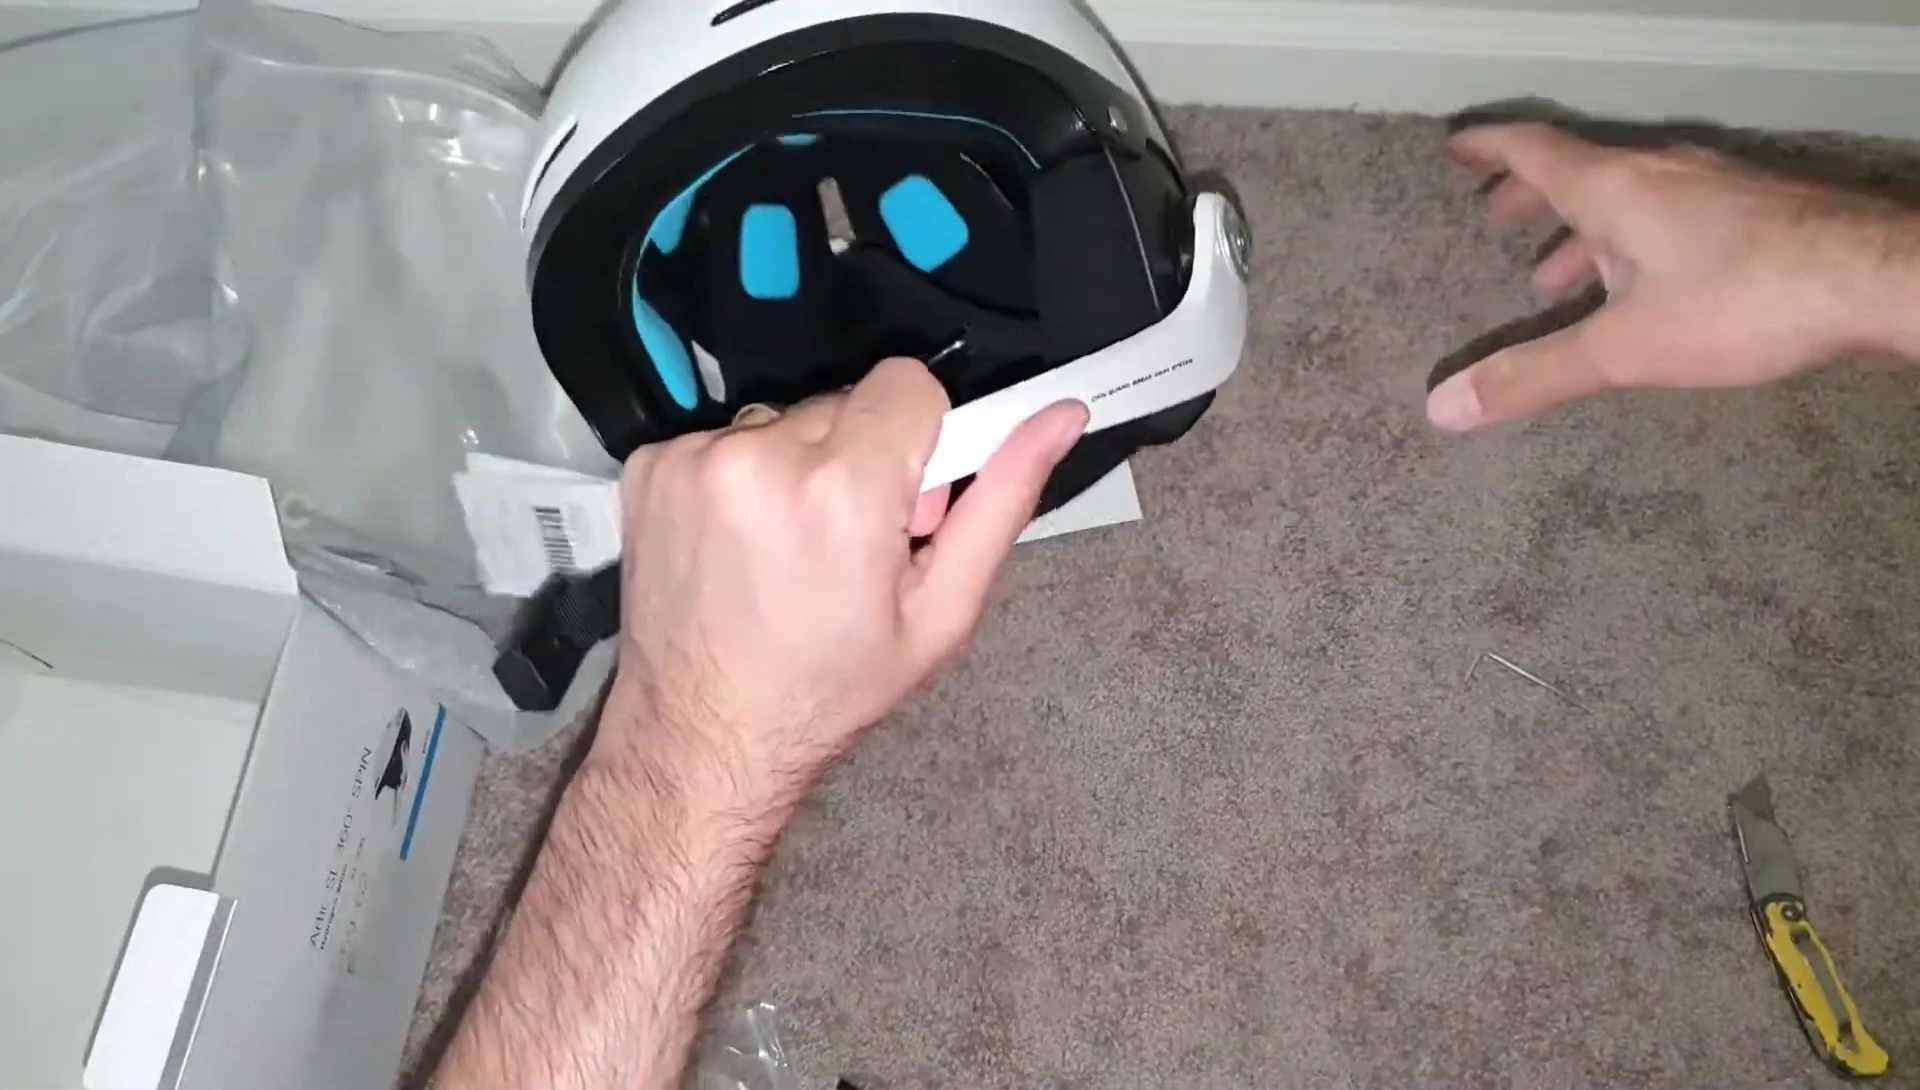
Once both 'no release' rings are securely installed, attach the final aluminum plates using the provided screws. These screws have pre-applied Loctite, a sign of quality.
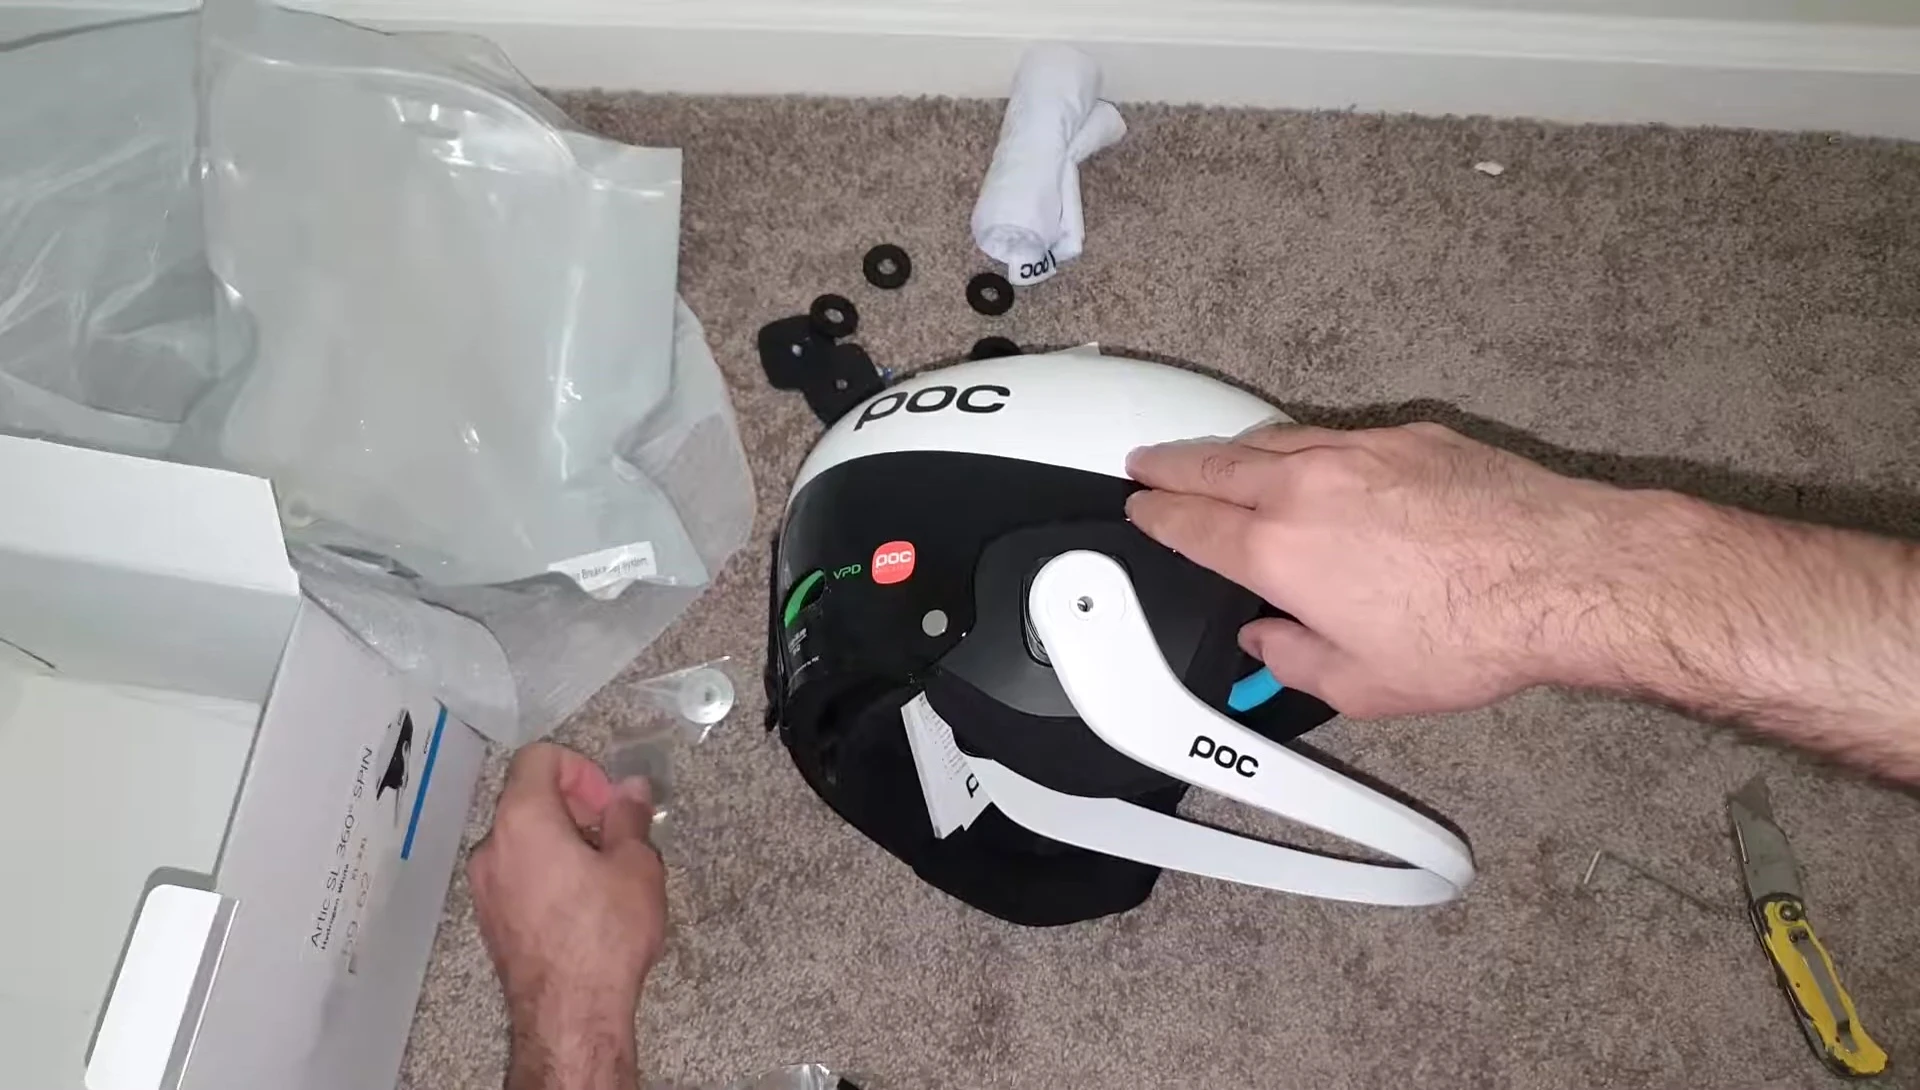
Carefully tighten the screws, ensuring the chin bar sits correctly. Remember the spring inside; don't overtighten until both sides are installed.
Adjust the chin bar's height according to preference, generally aligning it with your jawline. Double-check everything is secure before testing.
Conclusion
Installing the POC Artic SL 360 Spin chin bar grill is straightforward with clear instructions. The use of interchangeable rings allows for customization based on personal preferences and riding conditions.
The quality of the components, including the pre-applied Loctite, inspires confidence in the product's durability and effectiveness.
Overall, the installation process is manageable for most users, and the result is a secure and well-protected helmet. This product is highly recommended for those who value safety and customization.