Are you struggling with ill-fitting ski boots, especially if you have wide feet? Many skiers experience discomfort and reduced performance due to improperly sized boots, relying solely on standard shoe size conversions. This DIY guide provides a step-by-step process for heat-molding your thermo-formable ski boots at home, focusing on achieving a customized fit specifically for wider feet. We'll walk you through accurate foot measurement, safe oven heating techniques, and address challenges like achieving consistent boot temperature and adjusting for individual foot shapes. This method allows for personalized adjustments surpassing what standard retail fitting offers.This guide focuses on the heat-molding process using Head ski boots, known for their simultaneous shell and liner molding capability, which simplifies the process. While manufacturer instructions provide a starting point, we'll highlight crucial adjustments to optimize the fit for wider feet, including the use of closed-cell foam inserts and multiple molding cycles for a truly personalized and comfortable experience. Get ready to improve your skiing comfort and performance with this at-home solution for wider feet!
Read more: Top 5 Kids' Ski Boots for the Slopes
Choosing the Right Ski Boots
Selecting the appropriate ski boot size is crucial for comfort and performance. Many skiers mistakenly rely solely on their shoe size, often leading to ill-fitting boots. Head's size chart provided guidance, but my experience showed that a more precise measurement of my foot length was necessary for optimal fit.

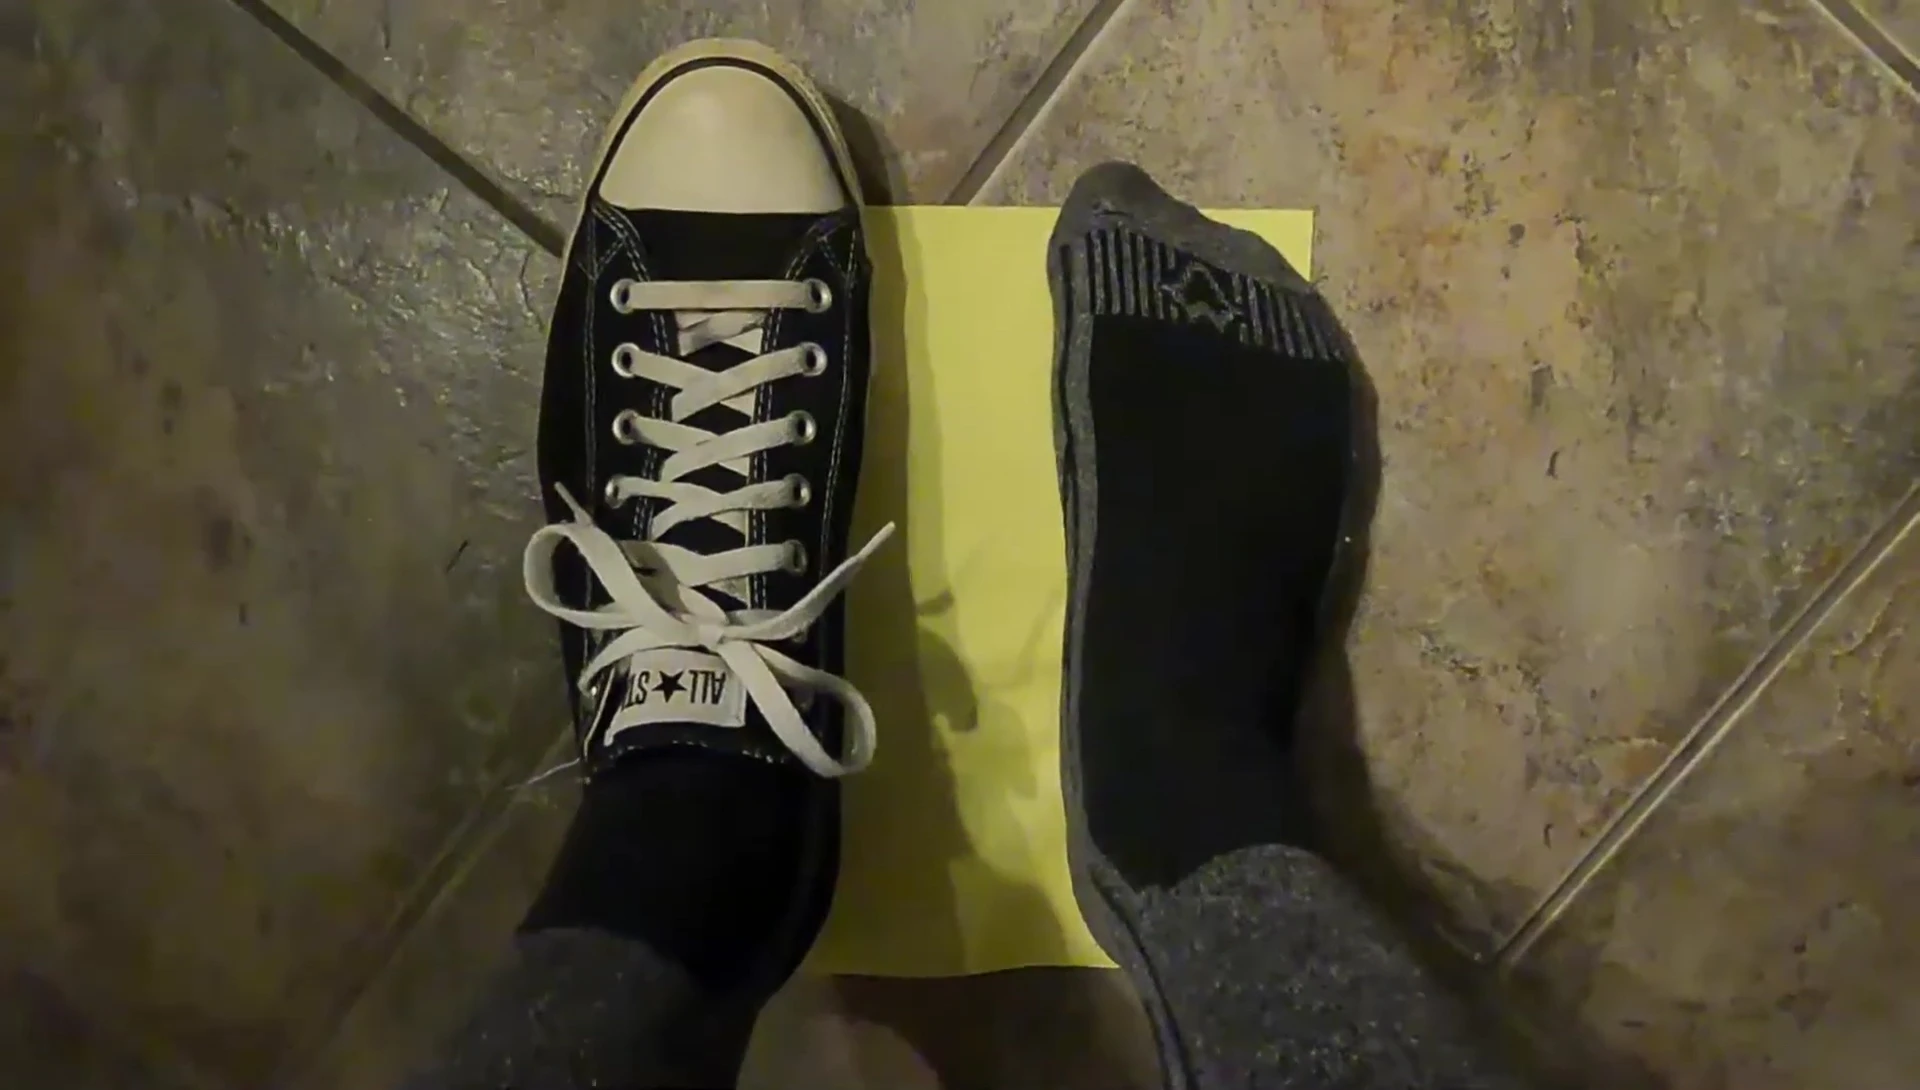
Measuring your foot accurately is paramount. Using an 11-inch piece of paper (279 millimeters) as a guide helped me determine my actual foot length, 285 millimeters, which corresponded to a size 285 ski boot. This personalized approach yielded a perfect fit, avoiding common pitfalls of relying solely on shoe size conversions.
The Heat Molding Process: Oven Preparation and Boot Placement
Before beginning, ensure your ski boots are thermo-formable. Head boots, unlike some other brands, allow simultaneous shell and liner molding. This simplifies the process by eliminating the need for separate liner molding.
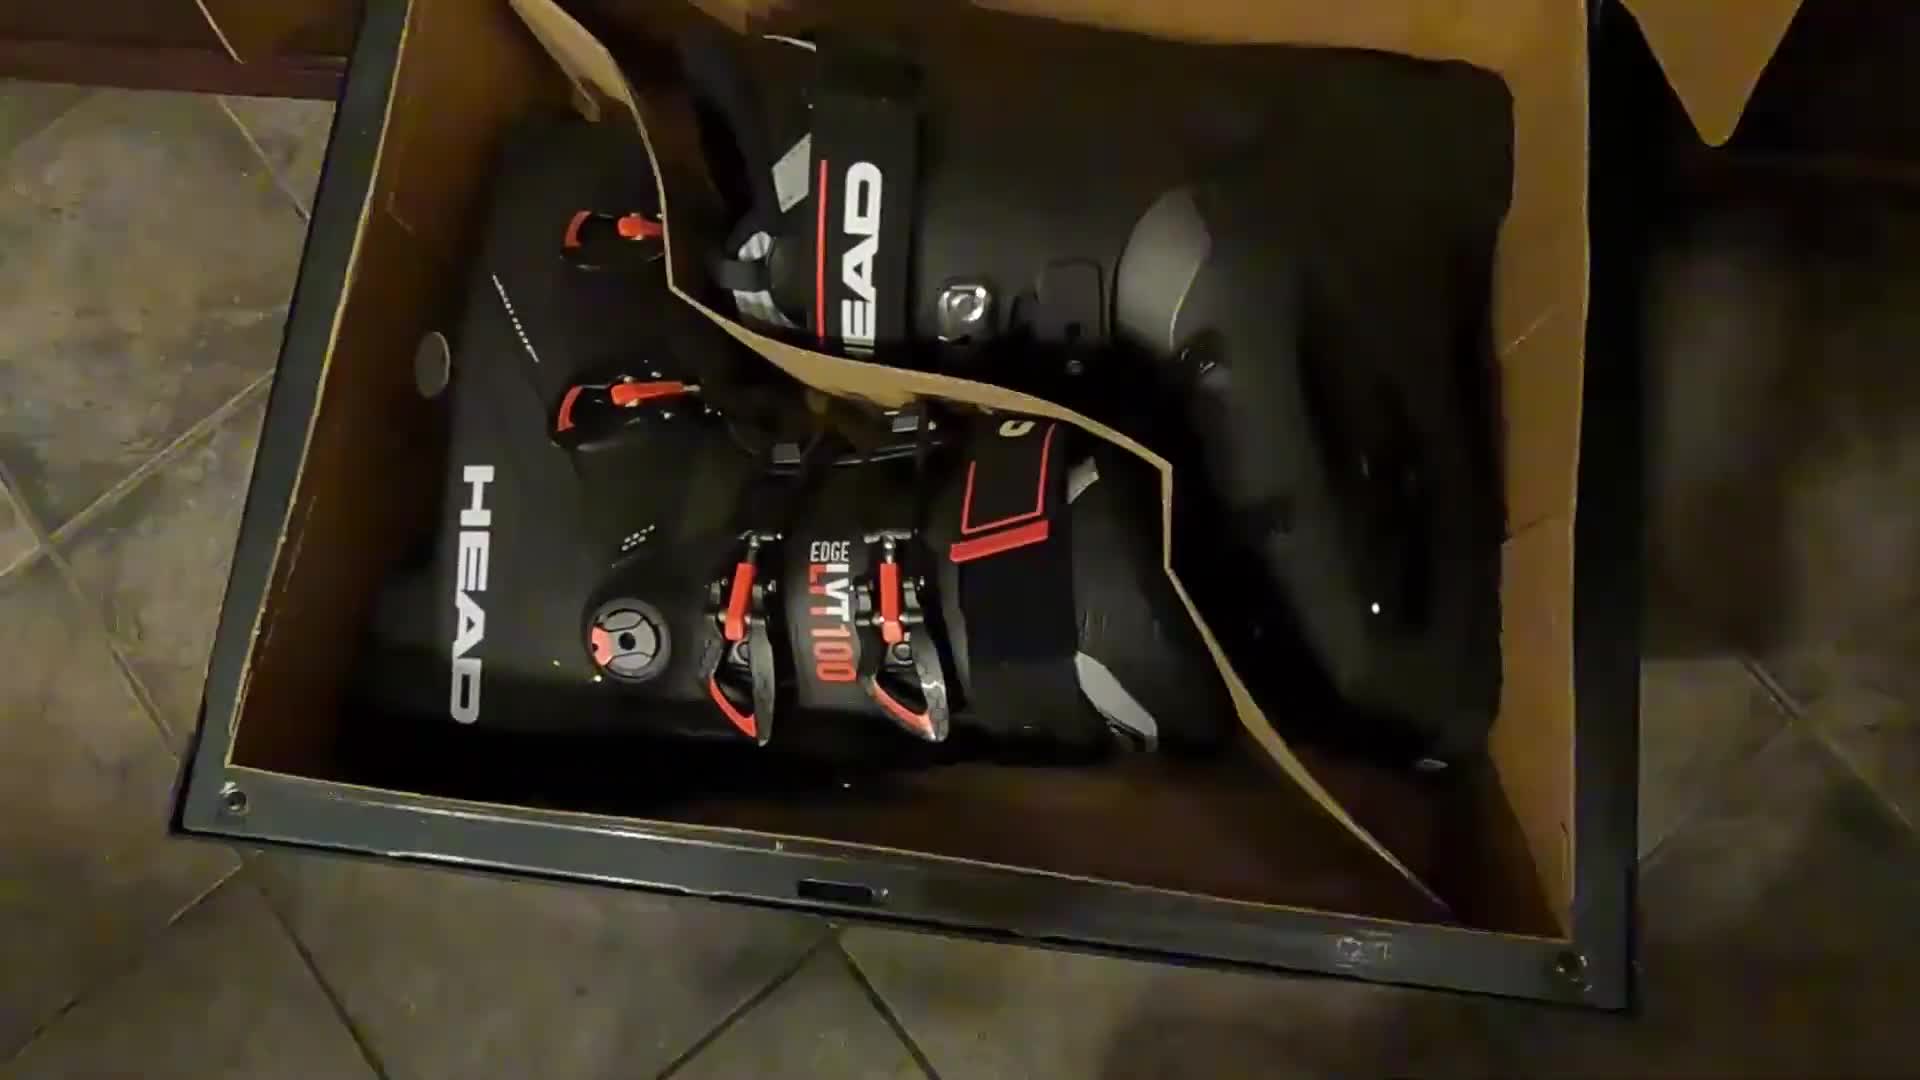
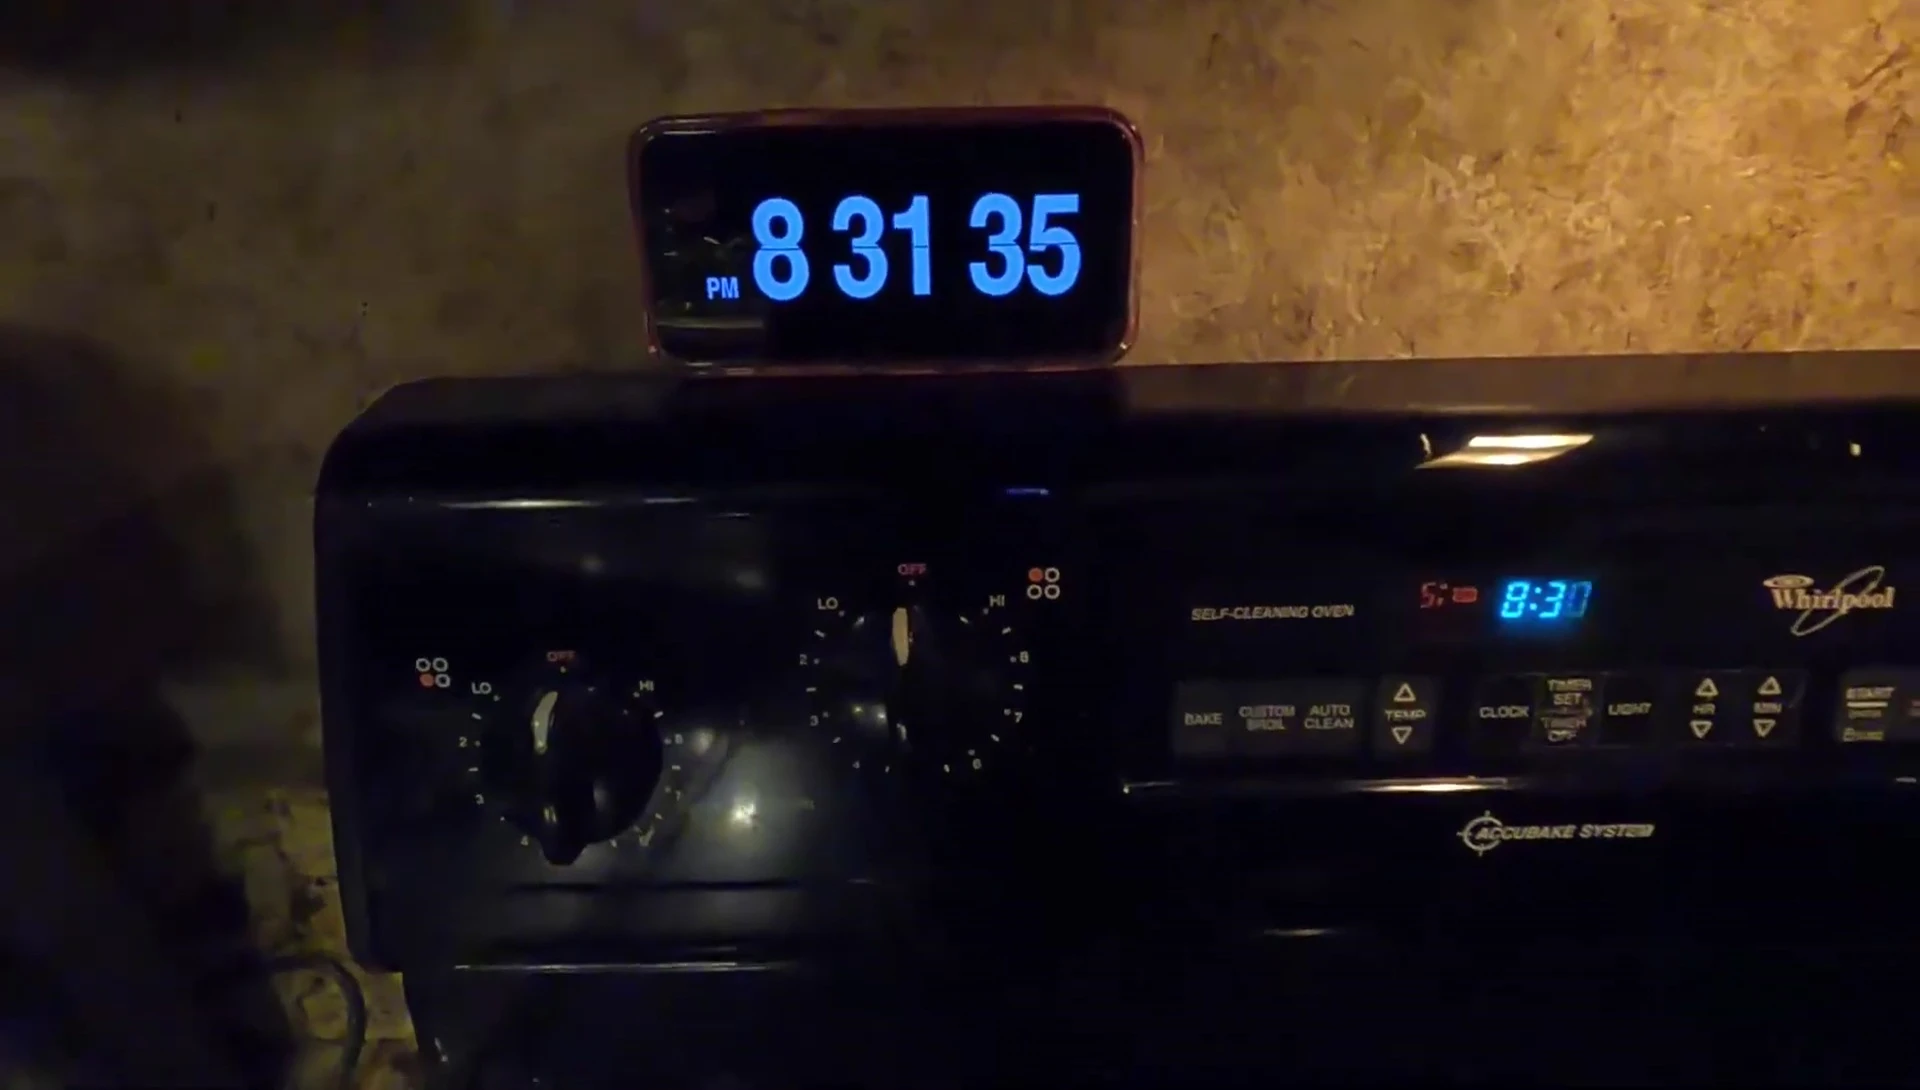
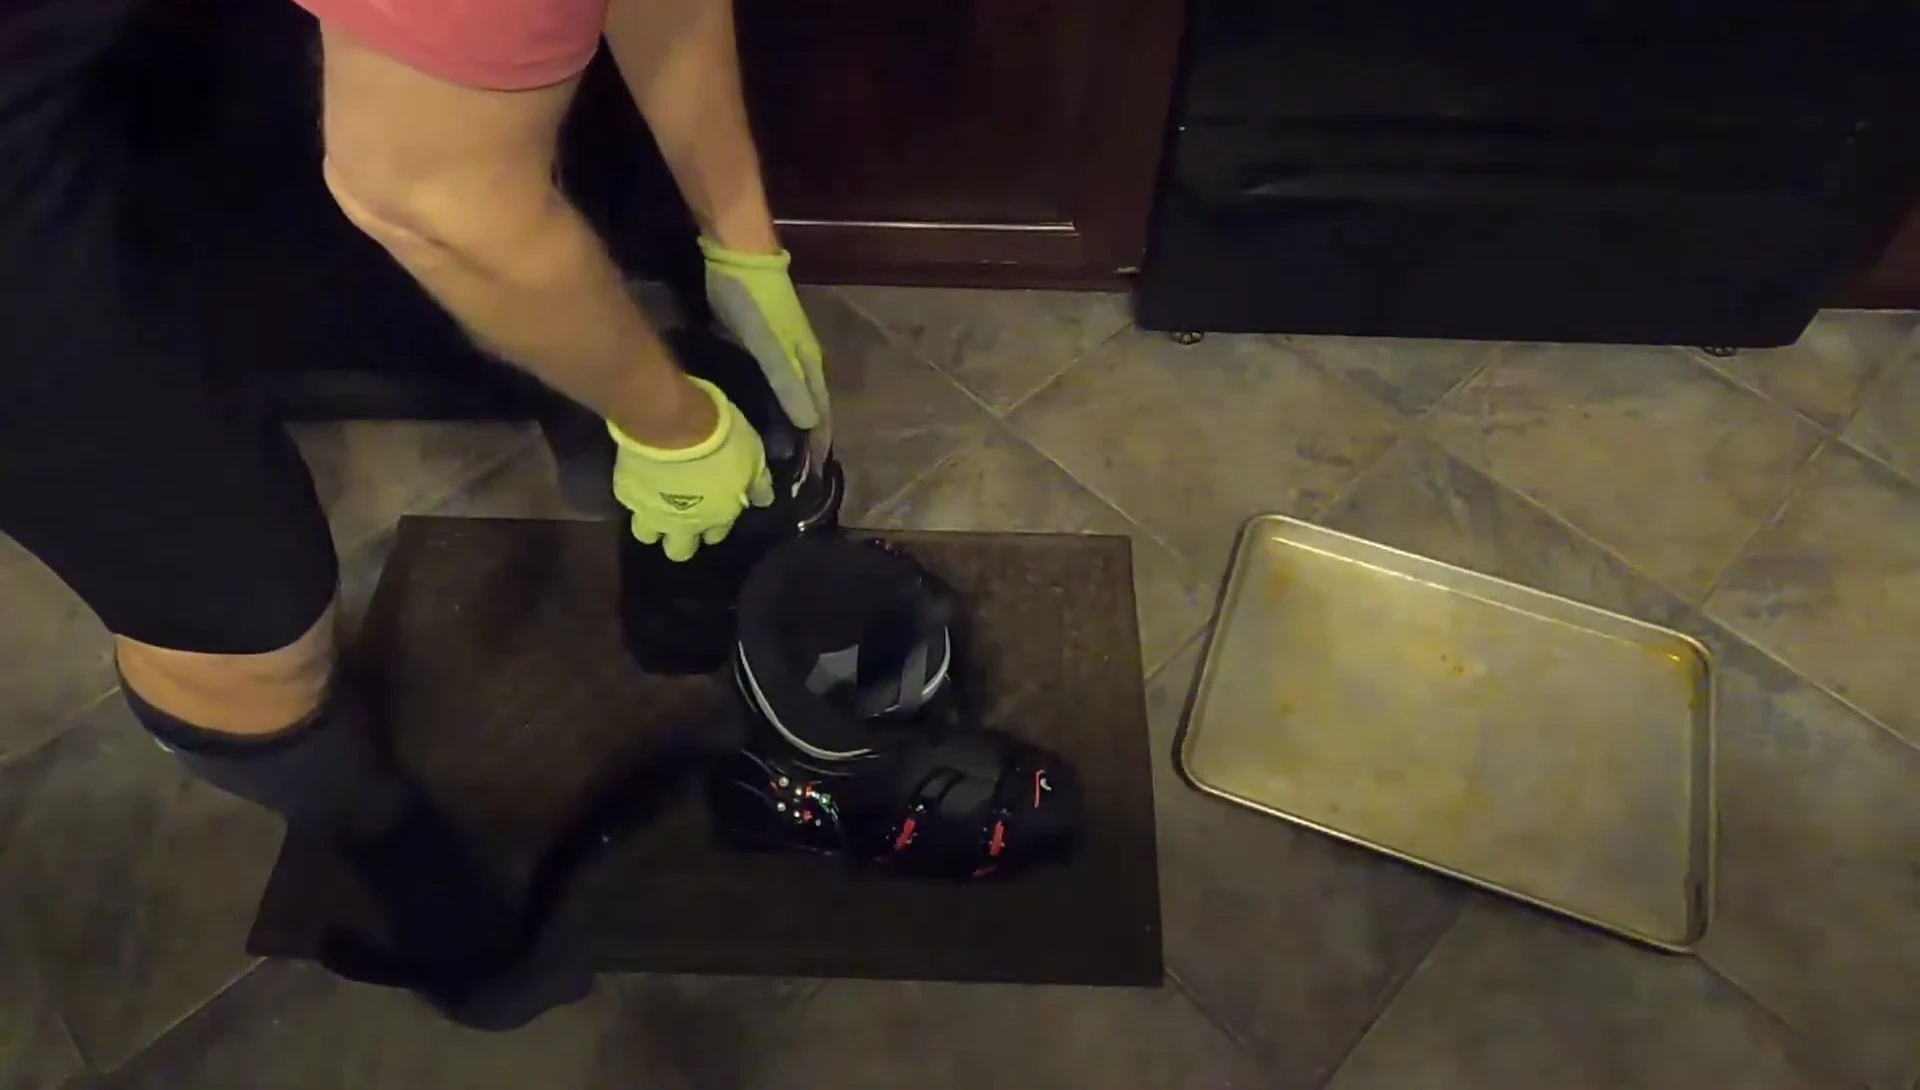
Preheat your oven to the manufacturer's recommended temperature (100°C/212°F for Head boots). I placed my boots on a baking sheet to ensure even heating and prevent tipping within the oven.
Heating and Cooling the Boots
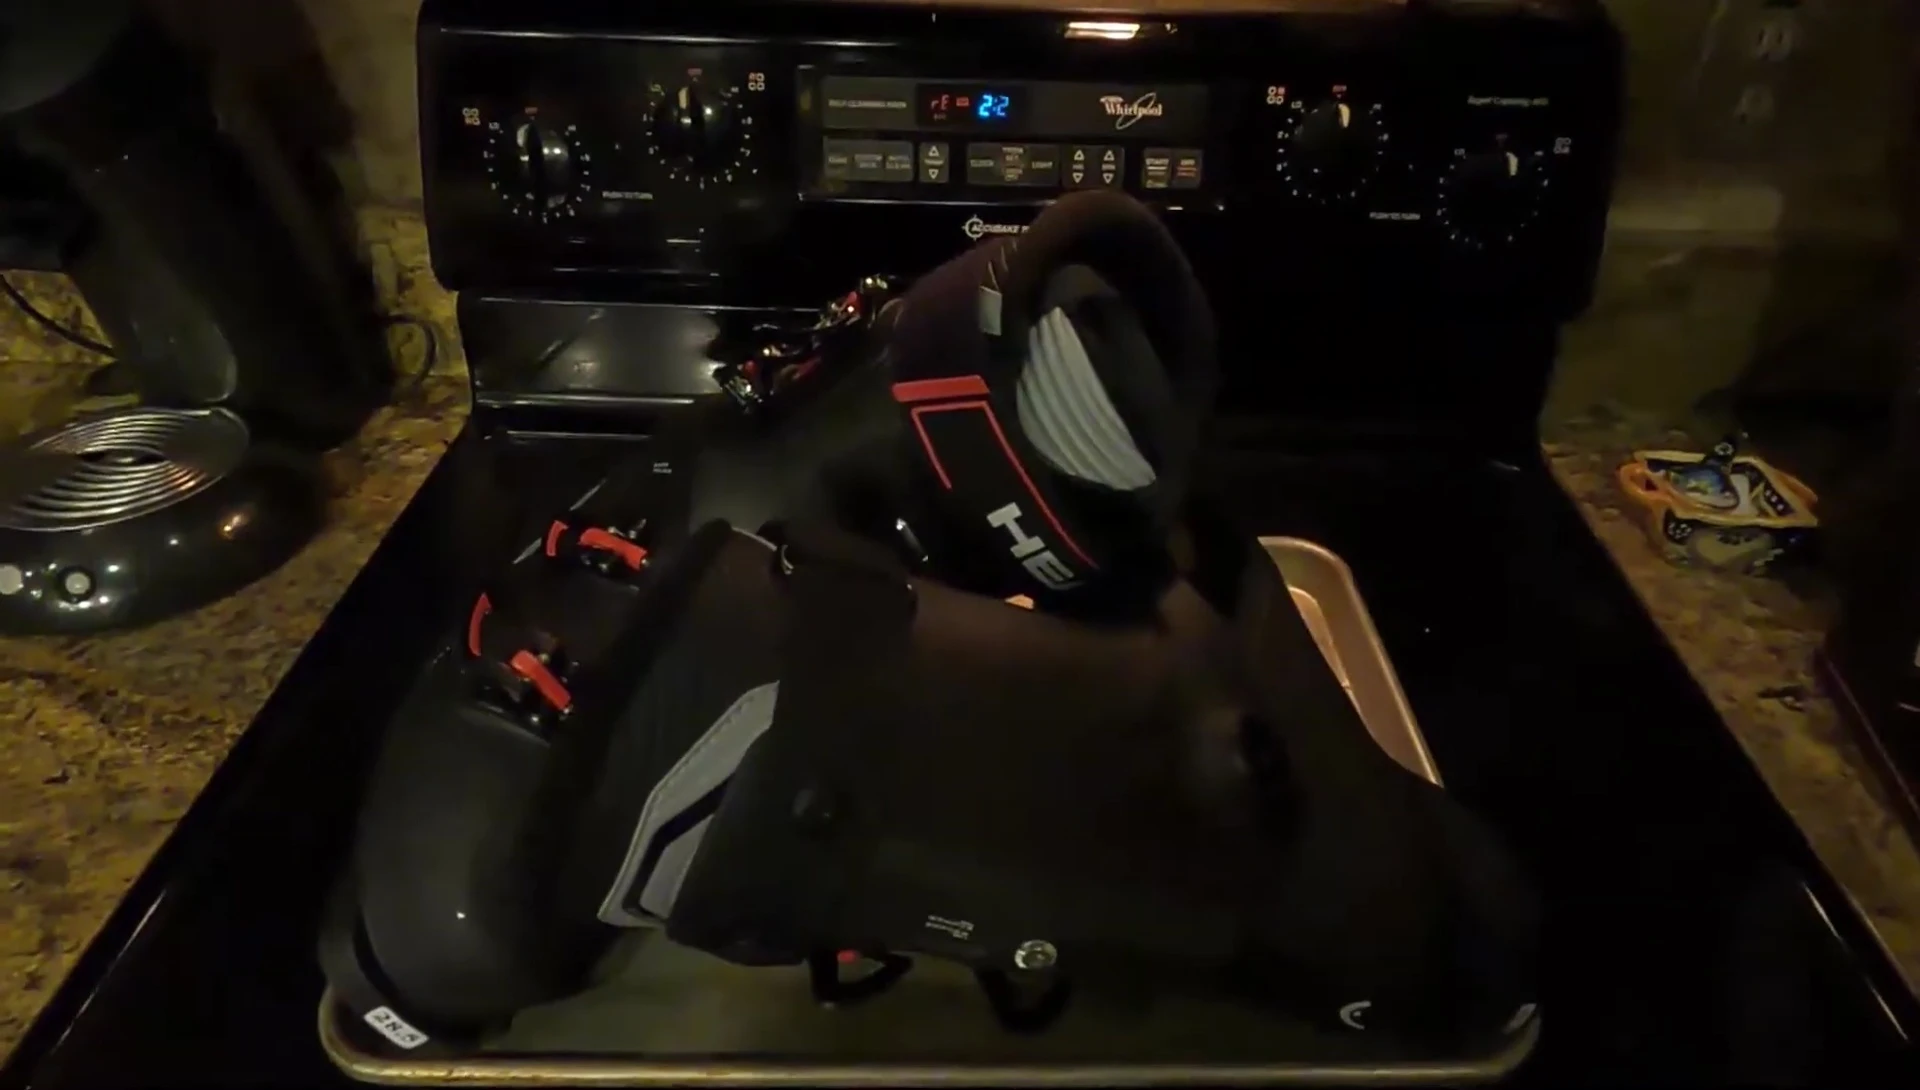
Following the manufacturer's instructions is essential. Head recommends heating the boots to 212°F for 10 minutes. However, achieving uniform temperature across the boot proved challenging; temperatures varied significantly.
I opted to maintain the boots in the oven until a consistent temperature (approximately 170-190°F) was reached across the entire surface. Following the heating phase, a quick cool-down in a tub of water was used to set the mold. The water level was carefully managed to avoid wetting the inner liner.
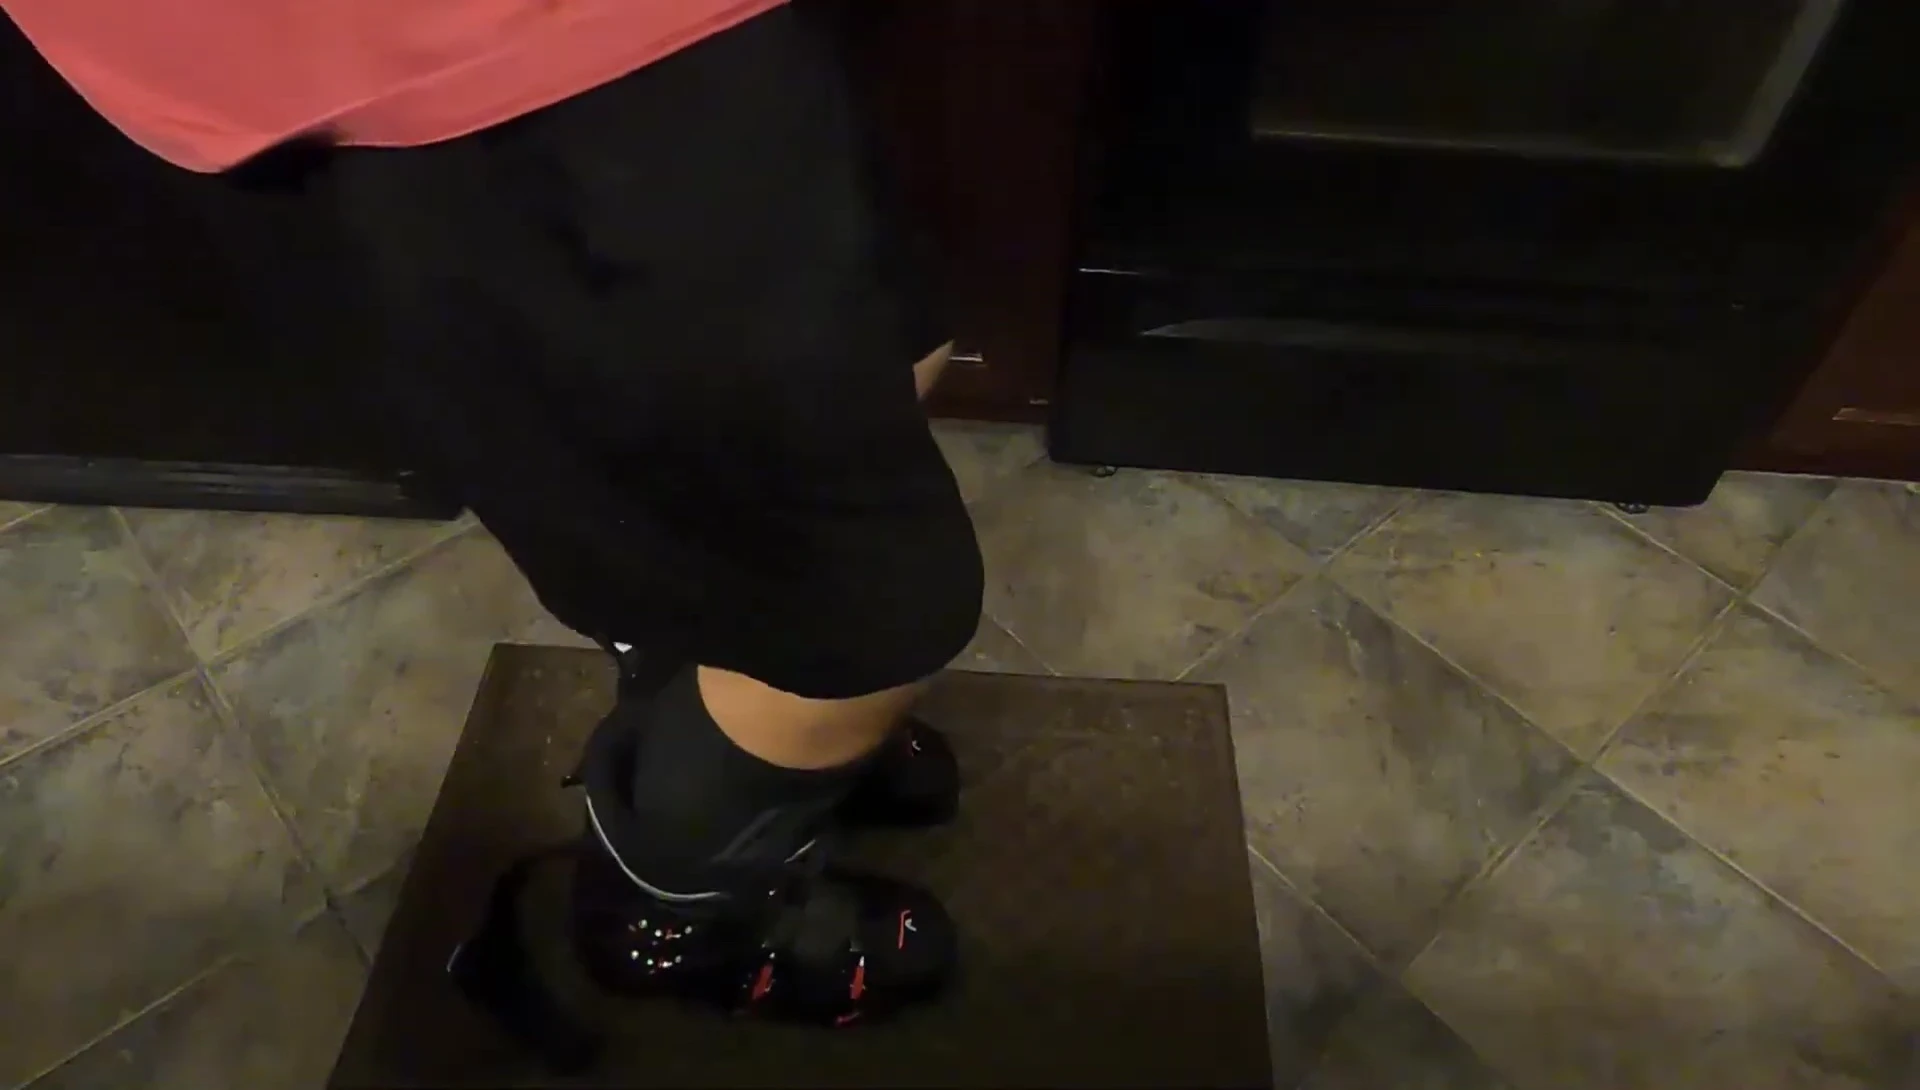
Molding and Fine-Tuning the Fit
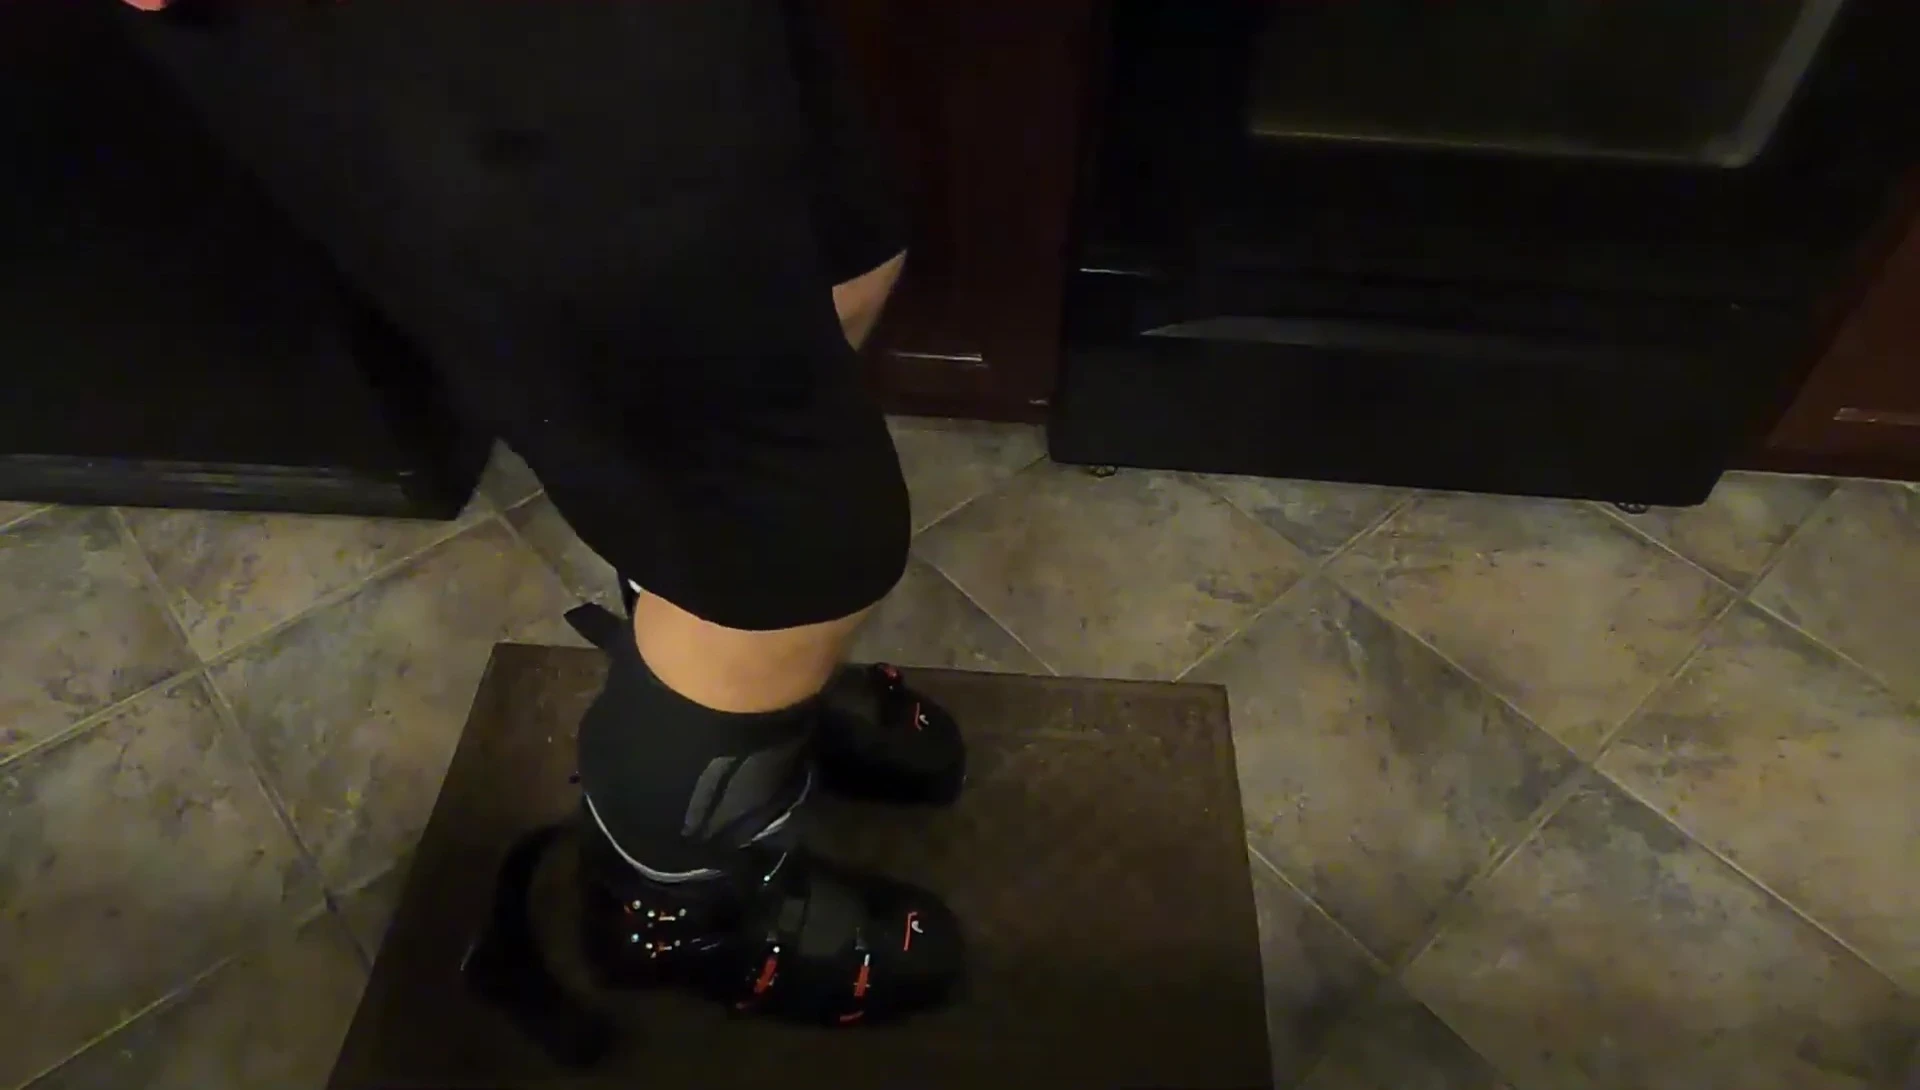
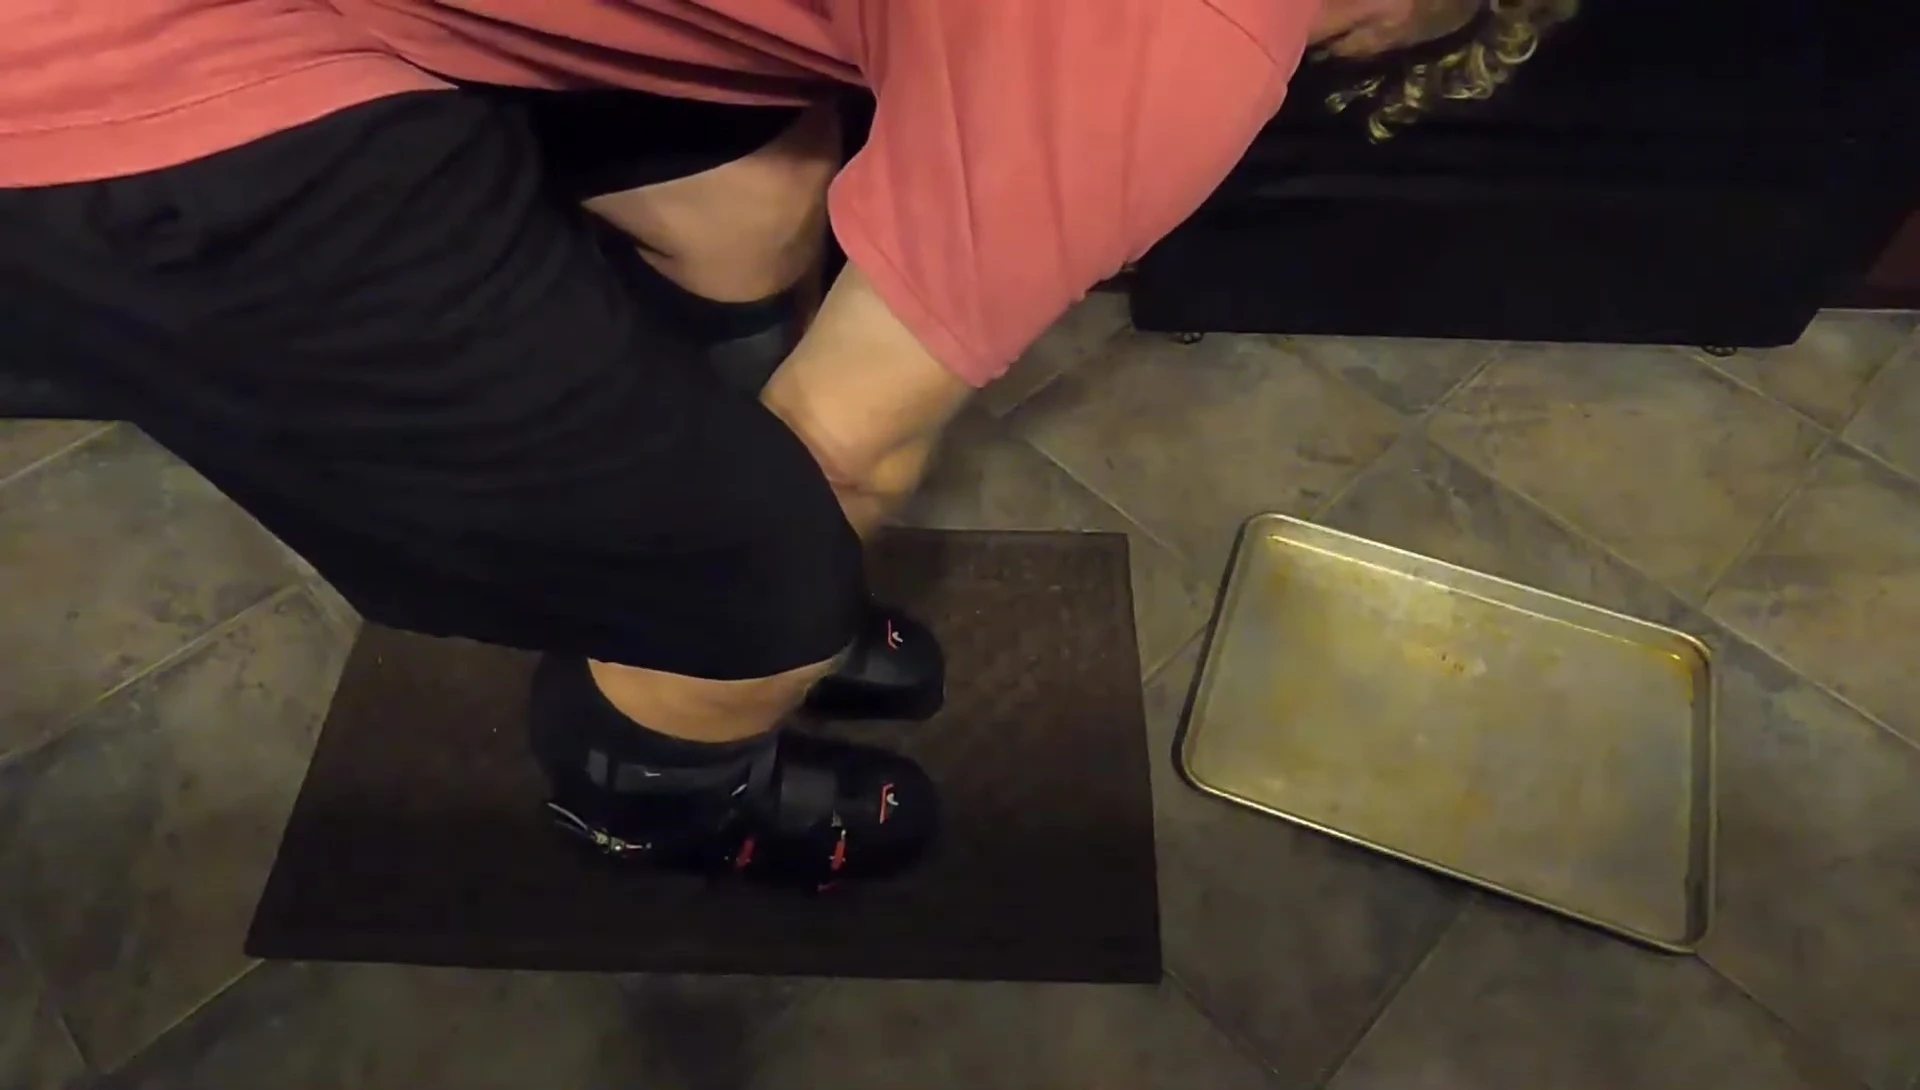
With the boots heated, I carefully slid my feet in, ensuring a snug fit. I maintained a neutral stance for approximately 10 minutes, allowing the boots to mold to my feet. Buckles were loosened for more room and subsequently tightened.
The initial molding wasn’t perfect for my wide feet, requiring adjustments. Adding closed-cell foam to my socks added width and addressed pressure points. A second heat-molding cycle with a slightly higher temperature (300°F) further enhanced the fit.
Final Thoughts and Conclusion
The DIY heat-molding process proved successful in customizing the fit of my Head ski boots. The added width, achieved through multiple cycles and the use of closed-cell foam, significantly improved comfort, particularly for my wide feet.
While the instructions weren't completely clear, paying close attention to temperature consistency and employing the additional cooling step significantly helped achieve a custom fit. Overall, the process was achievable at home, resulting in a personalized fit that enhanced comfort and skiing performance.