Are your ski boots causing discomfort or hindering your performance on the slopes? Many skiers find that heat molding their boots can significantly improve comfort and fit. While professional boot fitting is always the ideal option, this DIY guide provides a safe and effective method for heat molding your ski boots at home. This guide utilizes a readily available kitchen appliance, making the process convenient and accessible for those without access to professional boot fitting services. However, it's crucial to prioritize safety and proceed with caution, following the step-by-step instructions carefully. Remember, this method is only recommended if professional services are unavailable.This comprehensive guide walks you through the entire heat molding process, from preparing your boots and oven to the final cooling and adjustment stages. We'll cover crucial safety precautions, optimal temperature settings, and techniques for achieving the best possible fit. Learn how to properly prepare your liners, utilize a convection oven (or a standard oven with careful attention to even heat distribution), and effectively mold your boots for maximum comfort and performance. By the end of this guide, you'll have the knowledge and confidence to heat mold your ski boots at home, leading to a more enjoyable and efficient skiing experience.
Read more: Top 5 Kids' Ski Boots for the Slopes
Preparing Your Boots and Oven
Before you begin, remember safety first! Always prioritize safety when working with heat. If you have access to a professional boot fitting service, it's the safest and most reliable option. They have specialized equipment and expertise. This DIY method is only recommended if professional services aren't readily available.
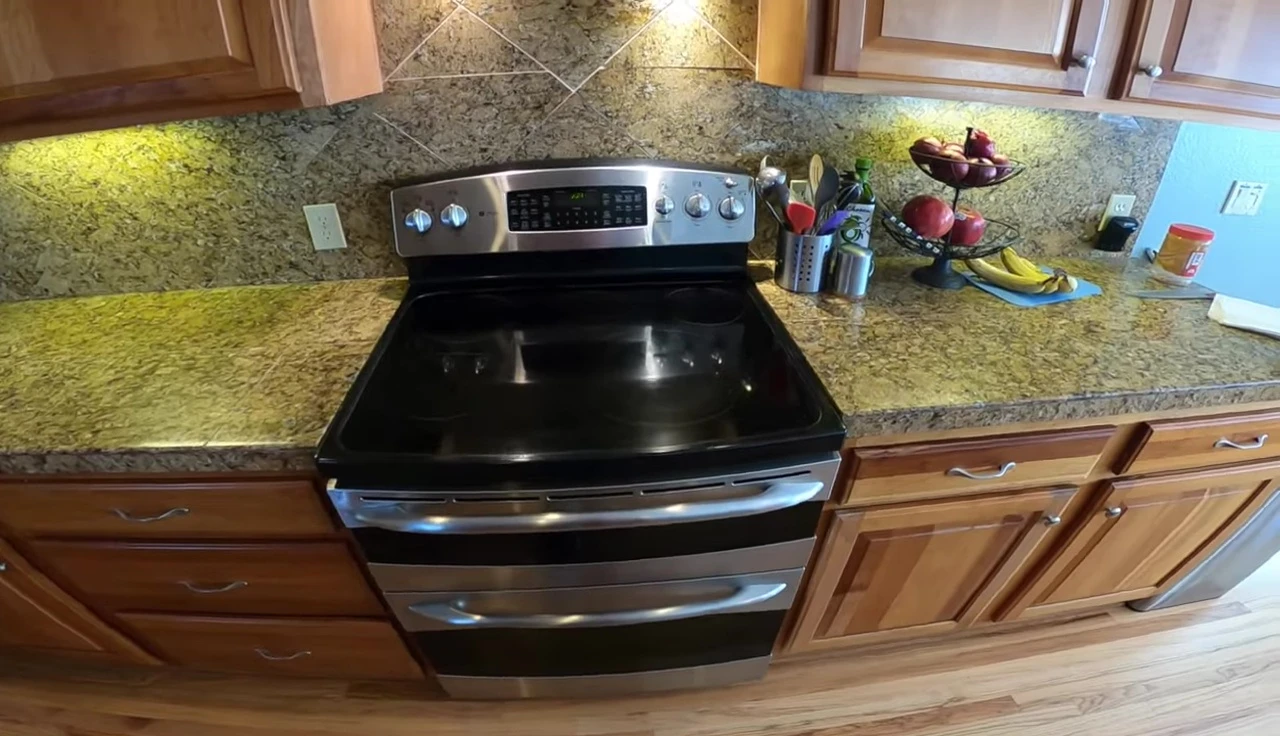
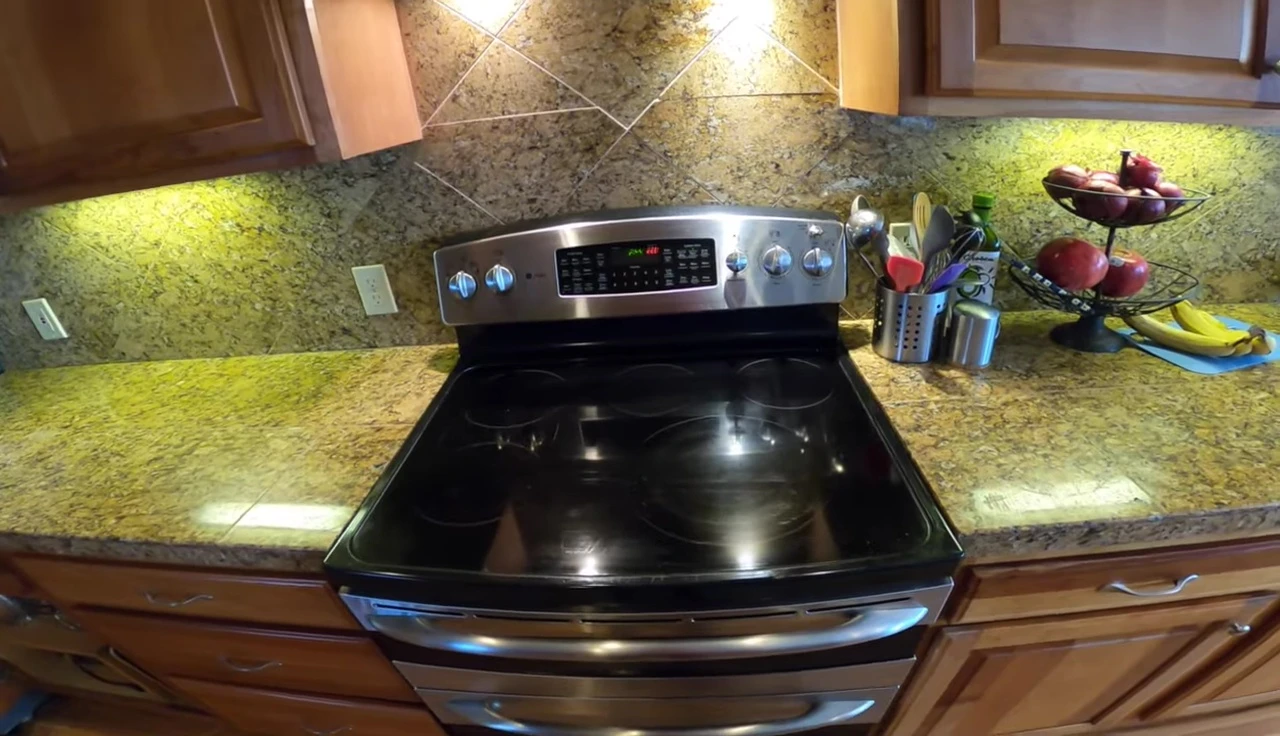
For this process, I used my home convection oven. Convection ovens distribute heat more evenly, minimizing hot spots. If you don't have a convection oven, preheating thoroughly and ensuring even heat distribution is crucial. The temperature I used was 220 degrees Fahrenheit.
Remove the liners from your ski boots. Place both liners and shells onto a baking sheet. This ensures even heating and prevents damage to your oven.
Heating and Molding the Liners
Place the baking sheet with the liners into the preheated oven. Set a timer for 17 minutes. The exact time may need slight adjustment based on your oven and boot type.
While your liners heat, prepare your ski socks. You can use old socks cut to create a toe-pack. This adds extra toe room and warmth, enhancing the comfort and fit.
Once the timer goes off, carefully remove the baking sheet from the oven. Use oven mitts to protect yourself from burns. Let the liners cool slightly before handling.
Molding the Shells and Final Adjustments
Reinsert the heated liners into your shells, matching each liner to its corresponding boot. Make sure to carefully align the liners to prevent any misalignment or discomfort.
Put on your ski boots. Don't tighten them excessively, just to your normal level of tightness. Your boots should be warm but not painfully hot. If it's painful, the oven temperature may have been too high.
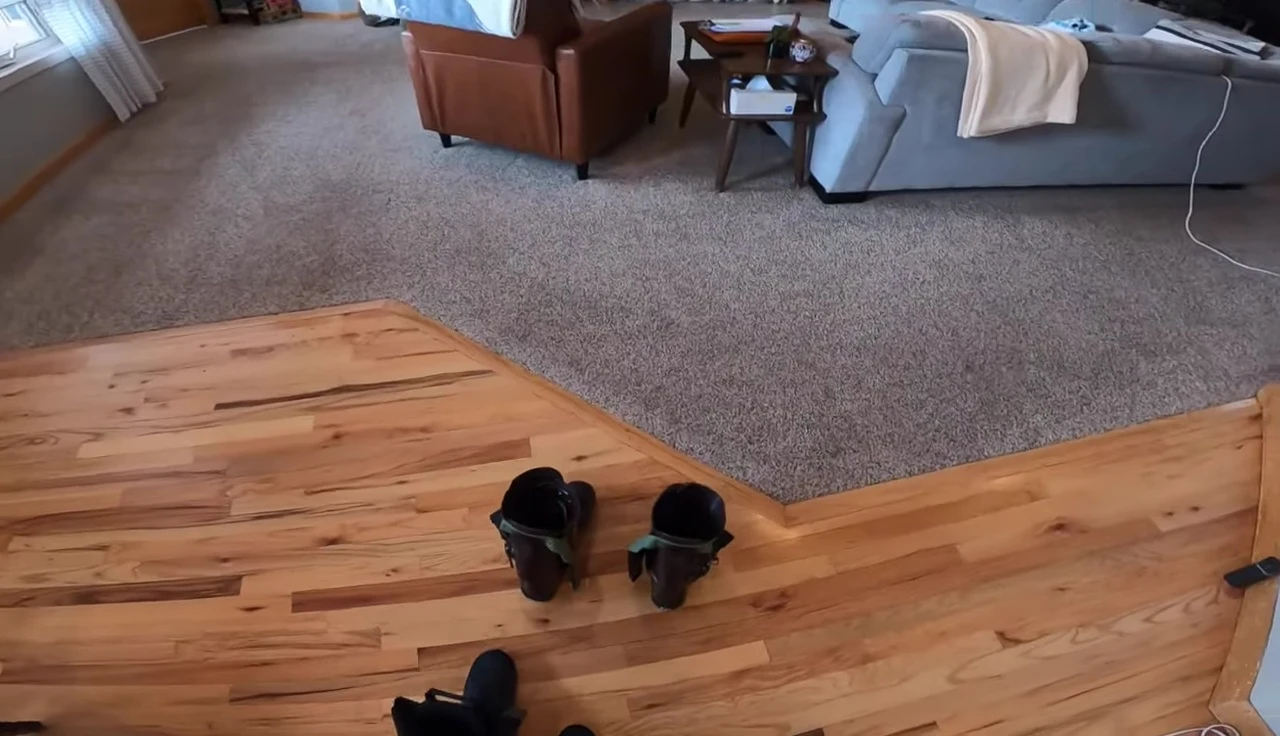
For the final molding step, use a slight incline (like a 2x4 or a step) to place some pressure onto the toes of your boots, mimicking a skiing position. Hold this position for about five minutes.
Conclusion and Additional Tips
After the incline step, wear your boots for another 10 minutes to allow them to cool completely. This ensures the mold sets properly.
If you experience pressure points after the molding process, you may need to repeat the process after a few days or try adjusting your sock thickness.
Remember that most ski boots can only be heat-molded a limited number of times (usually four or five). Carefully consider each heat-molding attempt and observe your boots' behavior after use to ensure a good fit.