This comprehensive guide provides a step-by-step tutorial for mounting Salomon S-Lab Shift MNC bindings. Accurate binding mounting is crucial for both performance and safety, and this guide ensures you achieve precise placement and optimal functionality. We’ll walk you through each stage, from gathering essential tools and information to final adjustments and safety checks. Whether you’re a seasoned skier or new to the process, this detailed instruction will equip you with the knowledge to mount your bindings correctly.The Salomon S-Lab Shift MNC bindings offer a unique blend of uphill efficiency and downhill performance. This guide focuses on precise alignment techniques using a drilling jig, ensuring accurate placement of both the toe and heel pieces. We cover drilling pilot holes, securing the bindings with screws, adjusting forward pressure and toe height, setting the DIN release value, and utilizing the walk mode lever. By following these clear instructions, you can confidently mount your bindings and enjoy a safe and exhilarating skiing experience.
Pros And Cons
- Adaptable to many boot types (Alpina or hybrid)
- Quick and easy adjustment for hiking and downhill skiing
- Includes safety features like DIN release settings
Read more: Top 5 Burton Ski Bindings: A Buyer's Guide
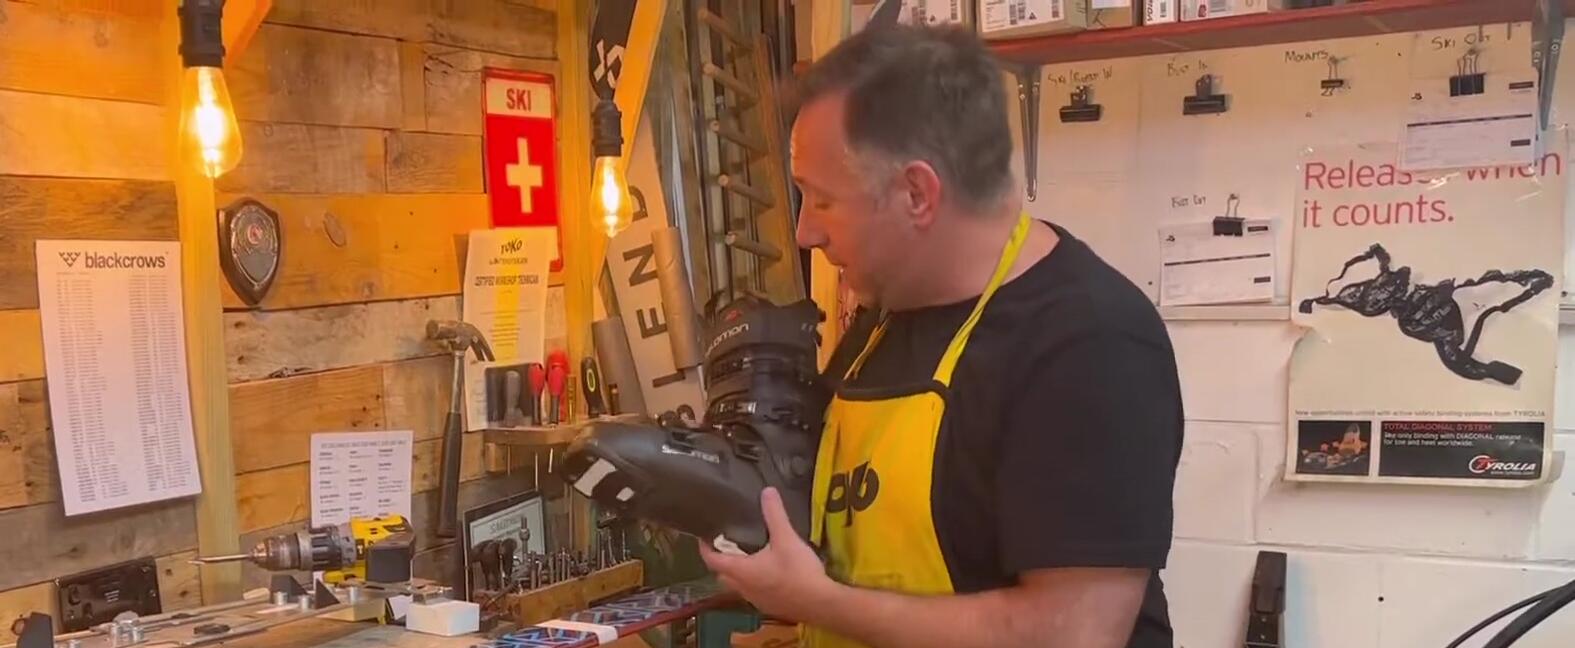
Gathering Information and Tools
Before mounting any ski bindings, it's crucial to gather the necessary information and tools. This includes identifying the correct drill size for your skis. Many manufacturers will mark this directly on the ski itself; check the specifications for the diameter and length of the drill bit required.
Next, obtain a drilling template or jig. This is essential for precise and straight hole placement. The drilling template ensures alignment with the ski's mounting points. Alongside the jig and drill bits, you'll need the skis, the ski boots to be used with the bindings, and of course, the Salomon S-Lab Shift MNC bindings themselves.
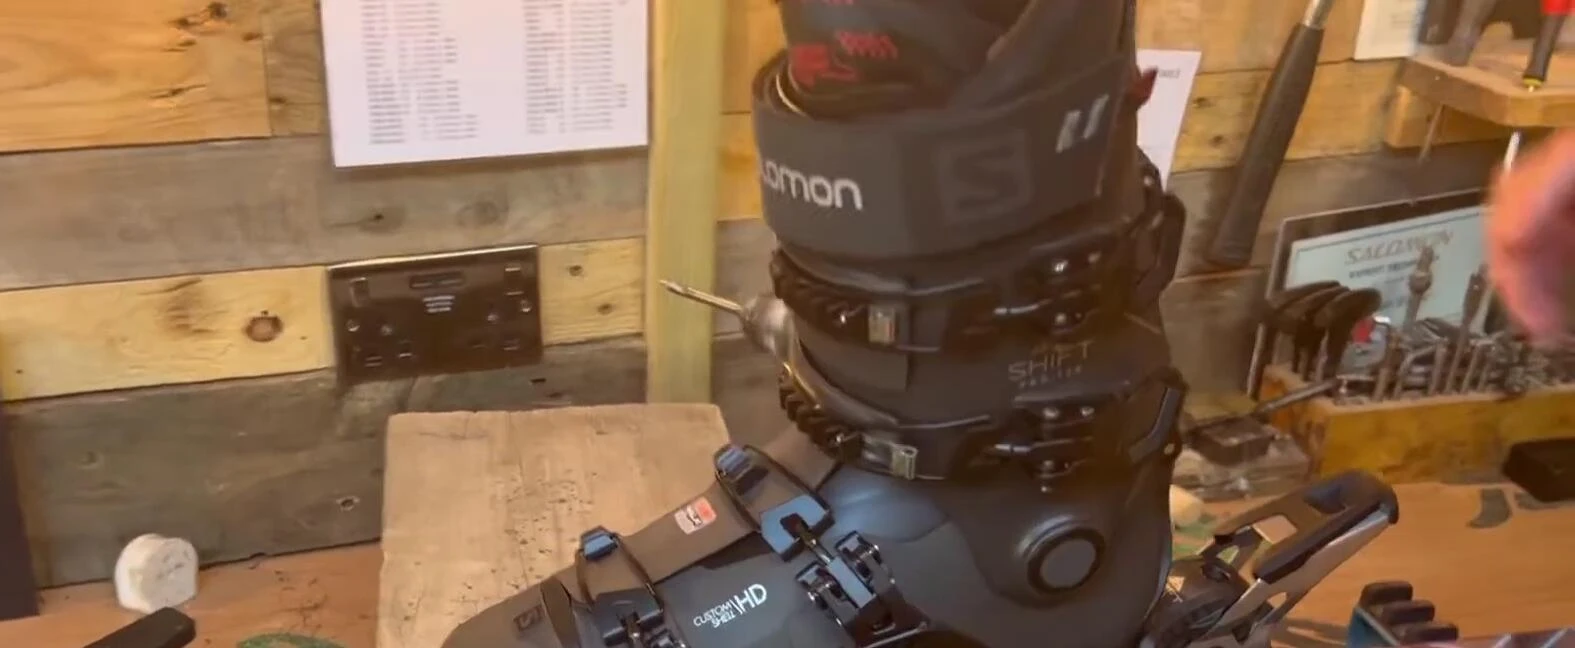
Carefully examine your skis and bindings to locate the center points of both the ski and the boot sole. These center points are critical for accurate binding placement. The goal is to align all these centers precisely before starting the mounting process.
Aligning the Drilling Jig and Boot
Precise alignment is paramount. Place the drilling jig onto the skis, ensuring the center point of the jig aligns perfectly with the center point of the ski. This step will be aided by the markings already made on your skis.
Carefully position the ski boot onto the jig, making sure the boot's center point aligns precisely with both the ski's and jig's center points. A snug fit between the boot and the jig indicates proper alignment.

Double-check the alignment—the center arrow of the ski, the center of the jig, and the center of the boot should all form a continuous line. This ensures accurate binding placement and prevents misalignment.
Drilling and Mounting the Toe Piece
With the jig securely in place, carefully drill the pilot holes using the correct drill bit. The drill bit should have a built-in stopper to prevent drilling through the ski. Use consistent, gentle pressure and avoid forcing the drill.

Once the holes are drilled, clean any debris from the holes using a clean, dry cloth or blade. Applying a small amount of wood glue to the mounting points prior to installing the screws can enhance their holding power.

Begin by hand-tightening the center locking screw in the toe piece, followed by the remaining four screws. Avoid over-tightening or using power tools, as this could damage the threads. Ensure a consistent feel and avoid using excessive force.
Mounting the Heel Piece and Final Adjustments
Repeat the process for the heel piece, carefully aligning it with the drilled holes and securing it with screws. Again, use caution and avoid over-tightening.

After mounting both the toe and heel pieces, check and adjust the forward pressure using the appropriate screws on the binding. Use the forward pressure indicator at the back of the binding to guide this adjustment. It should feel snug but not too tight.

Adjust the toe height using the afd plate as instructed in your binding's manual. A simple paper test can help determine the correct adjustment for optimal boot movement and friction reduction.
DIN Setting and Walk Mode Adjustment
Setting the DIN (release value) is crucial for safety. This depends on the skier's height, weight, boot sole length, and skill level. The boot sole length is usually engraved on the boot itself; this measurement is key when setting DIN.
Once the DIN is set, adjust the walk mode lever. This allows for easier uphill travel and transitions quickly between walk and downhill modes. This lever also allows for adjustments to the heel piece lift for varied terrain.

Finally, conduct a thorough check to ensure all screws are tight and the binding functions correctly in both walk and ski modes. Double-check the forward pressure and toe height once more before heading out on the slopes.
Conclusion
Mounting ski bindings accurately is a critical task, affecting both performance and safety. Following a step-by-step guide, like this one, helps to ensure correct placement and function of the bindings. Taking the time to carefully align the components and make the necessary adjustments significantly impacts your overall skiing experience.
The Salomon S-Lab Shift MNC bindings, when correctly mounted, offer a seamless transition between uphill hiking and downhill skiing. Their adaptability ensures compatibility with a range of boot types, adding to their versatility.
Remember to always double-check your work before skiing and consult a professional if you have any doubts. Safe and enjoyable skiing relies on properly functioning and adjusted ski bindings.