This comprehensive guide provides a step-by-step tutorial on how to mount your own ski bindings, a task that, while seemingly daunting, is achievable with careful attention to detail and the right tools. We’ll walk you through the entire process, from precise binding placement and marking to drilling, securing, and final inspection. This DIY approach can save you both time and money, empowering you to maintain and customize your skis without relying on a professional shop. While this guide focuses on the mounting process itself, proper binding placement on the ski will be addressed in a separate, accompanying tutorial.This guide assumes you already possess the necessary tools and equipment for ski binding mounting. We will cover the crucial steps involved in ensuring perfectly symmetrical and accurately positioned bindings, utilizing masking tape for precise marking and super glue for temporary securement during the process. Emphasis is placed on the importance of accurate hole marking, preventing damage to the ski’s core, and achieving a secure, professional-quality finish. Follow our instructions carefully to confidently mount your ski bindings, ensuring a safe and enjoyable skiing experience.
Pros And Cons
- Allows for precise placement ensuring a flawless mount.
- Provides adjustments for boot fit even after mounting.
Read more: Top 5 Burton Ski Bindings: A Buyer's Guide
Precise Binding Placement: The Foundation of a Good Mount
Accurate binding placement is paramount for a successful ski mount. The process hinges on precise layout and ensuring bindings are positioned correctly before drilling. This guide focuses solely on the mounting process; binding placement on the ski itself will be covered in a separate tutorial.
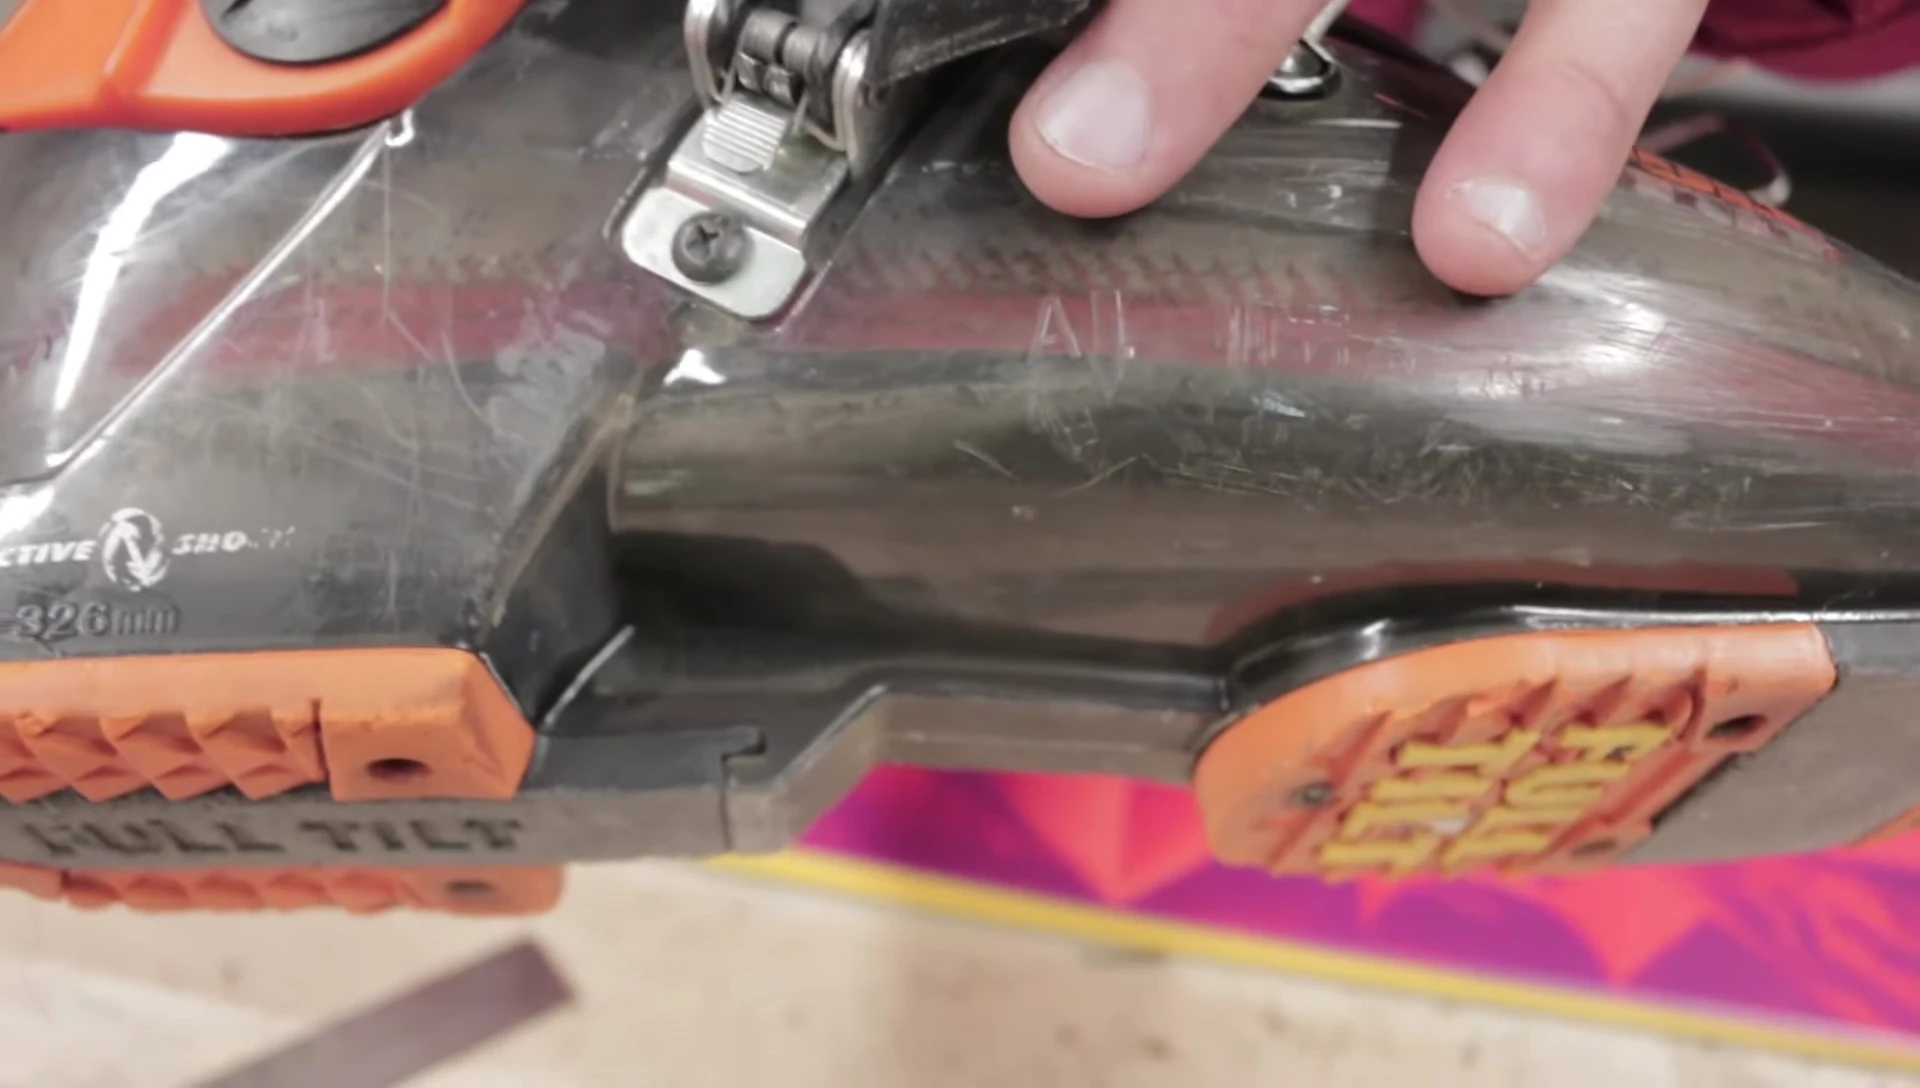
Every boot features a reference mark, often a label or embossing. This mark, usually an 'A' and an arrow, is crucial. It indicates the exact point on the boot that aligns with the desired binding position on the ski.
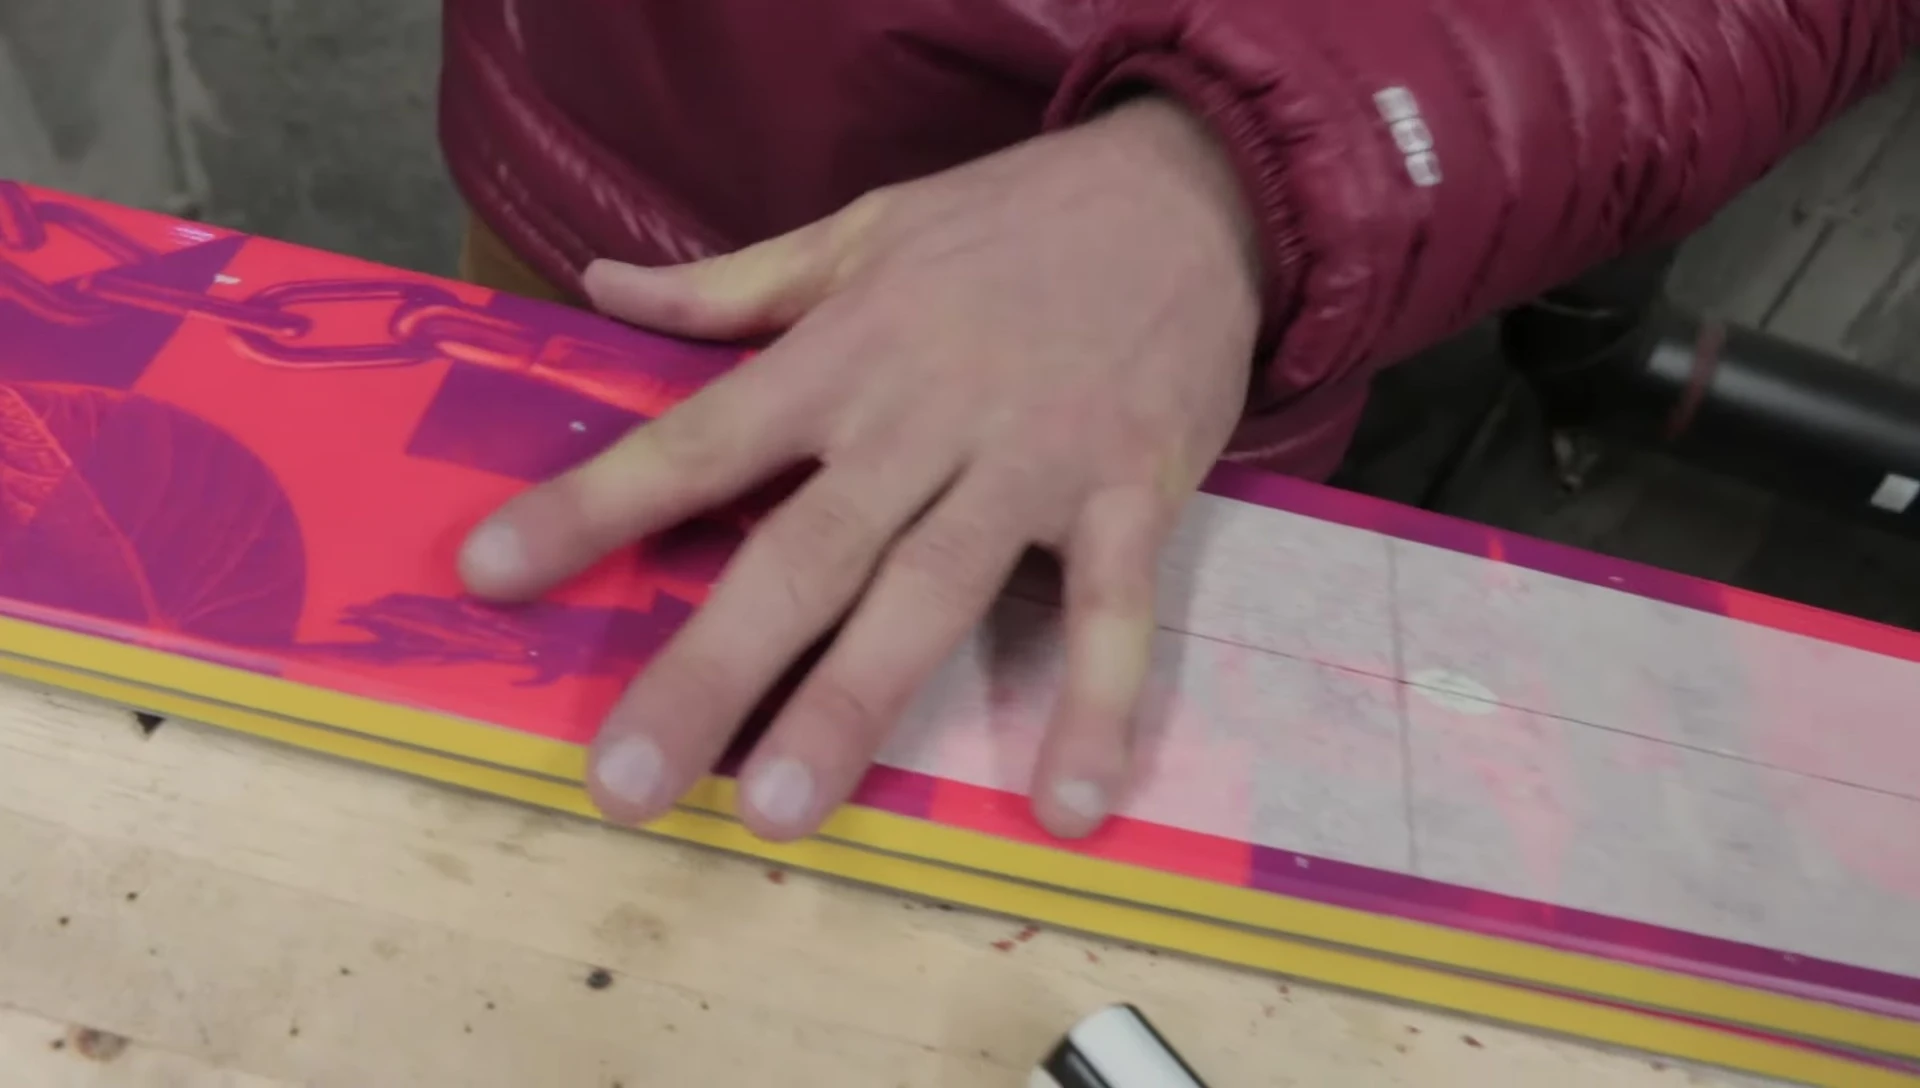
Using masking tape creates a stable base for marking and layout. It helps ensure clean lines and prevents accidental markings on the ski's top sheet.
Centerline Alignment: Ensuring Symmetry and Accuracy
Establish the true center of the ski using masking tape. This ensures the bindings are perfectly symmetrical. Don't rely on the graphic markings on the top sheet; they can vary in placement.
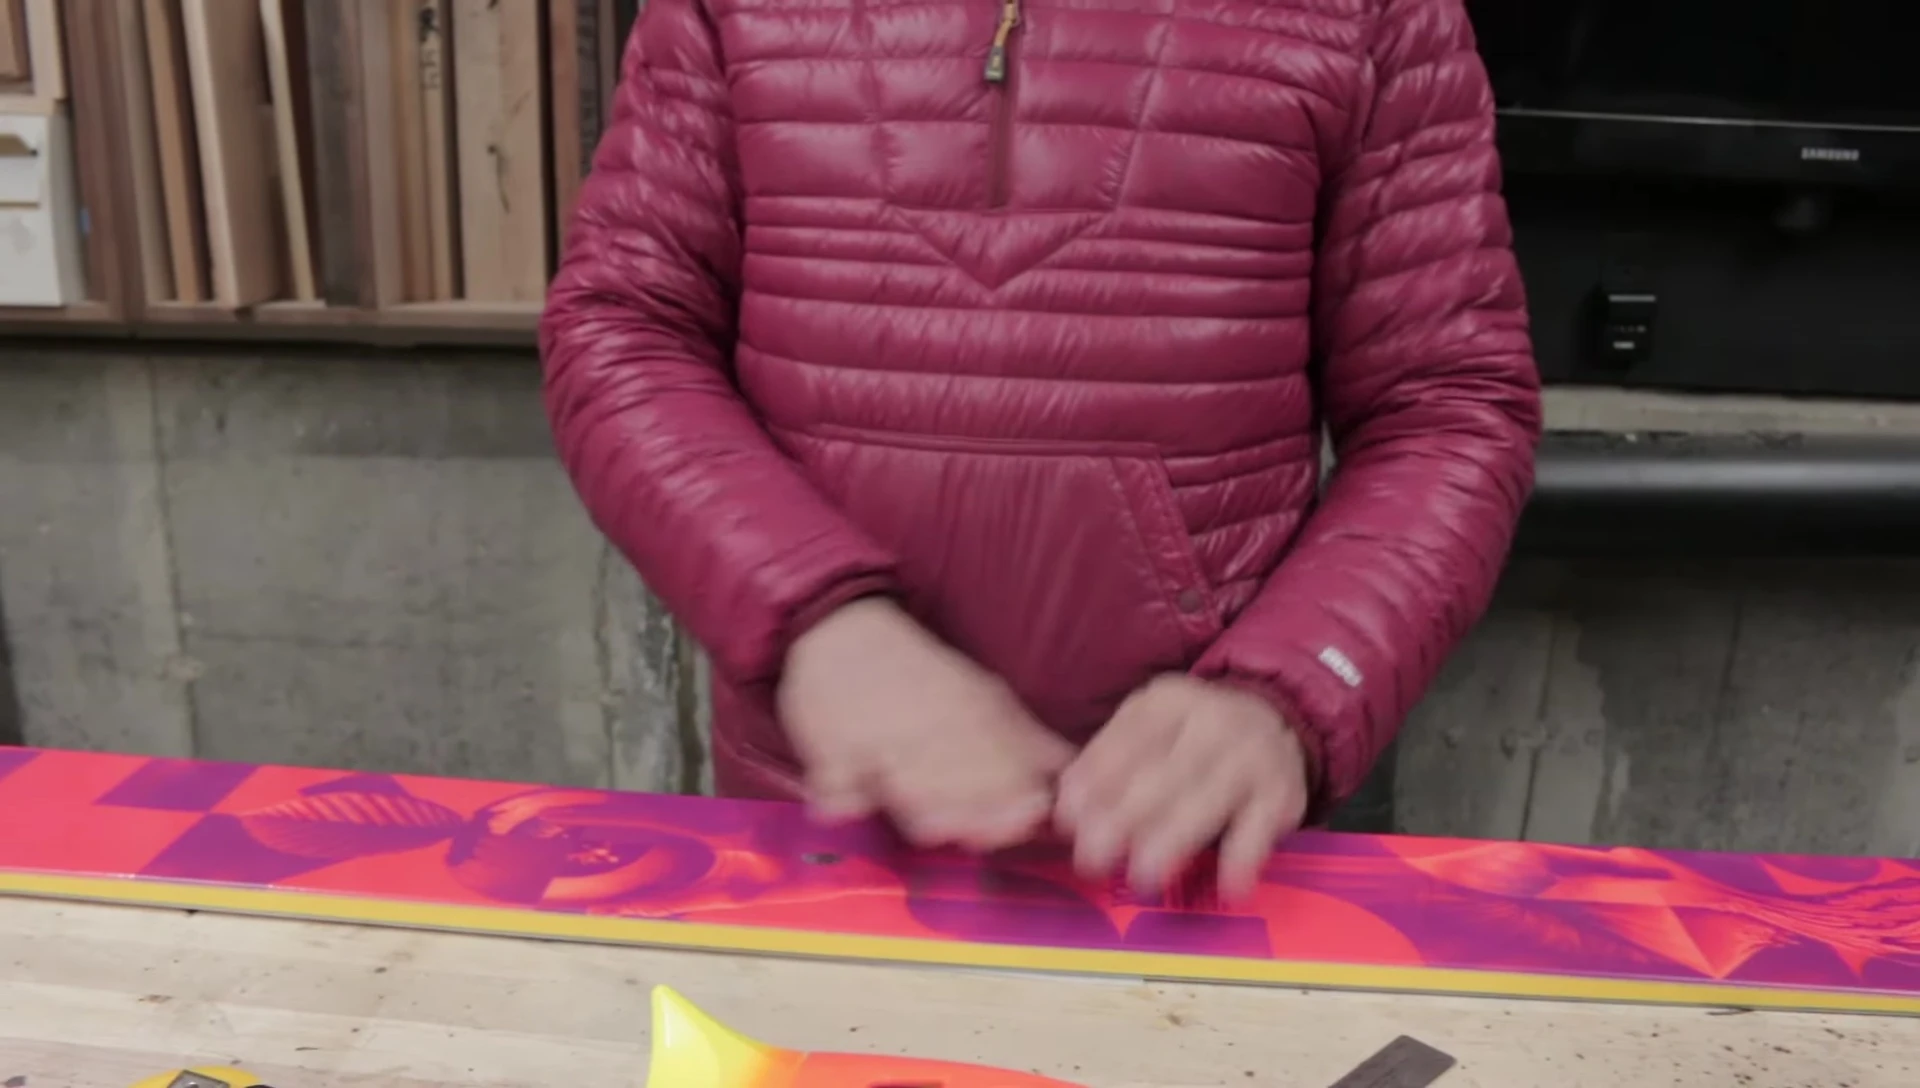
Draw both longitudinal (front-to-back) and transverse (left-to-right) centerlines on the masking tape. These lines serve as essential references for aligning the binding.
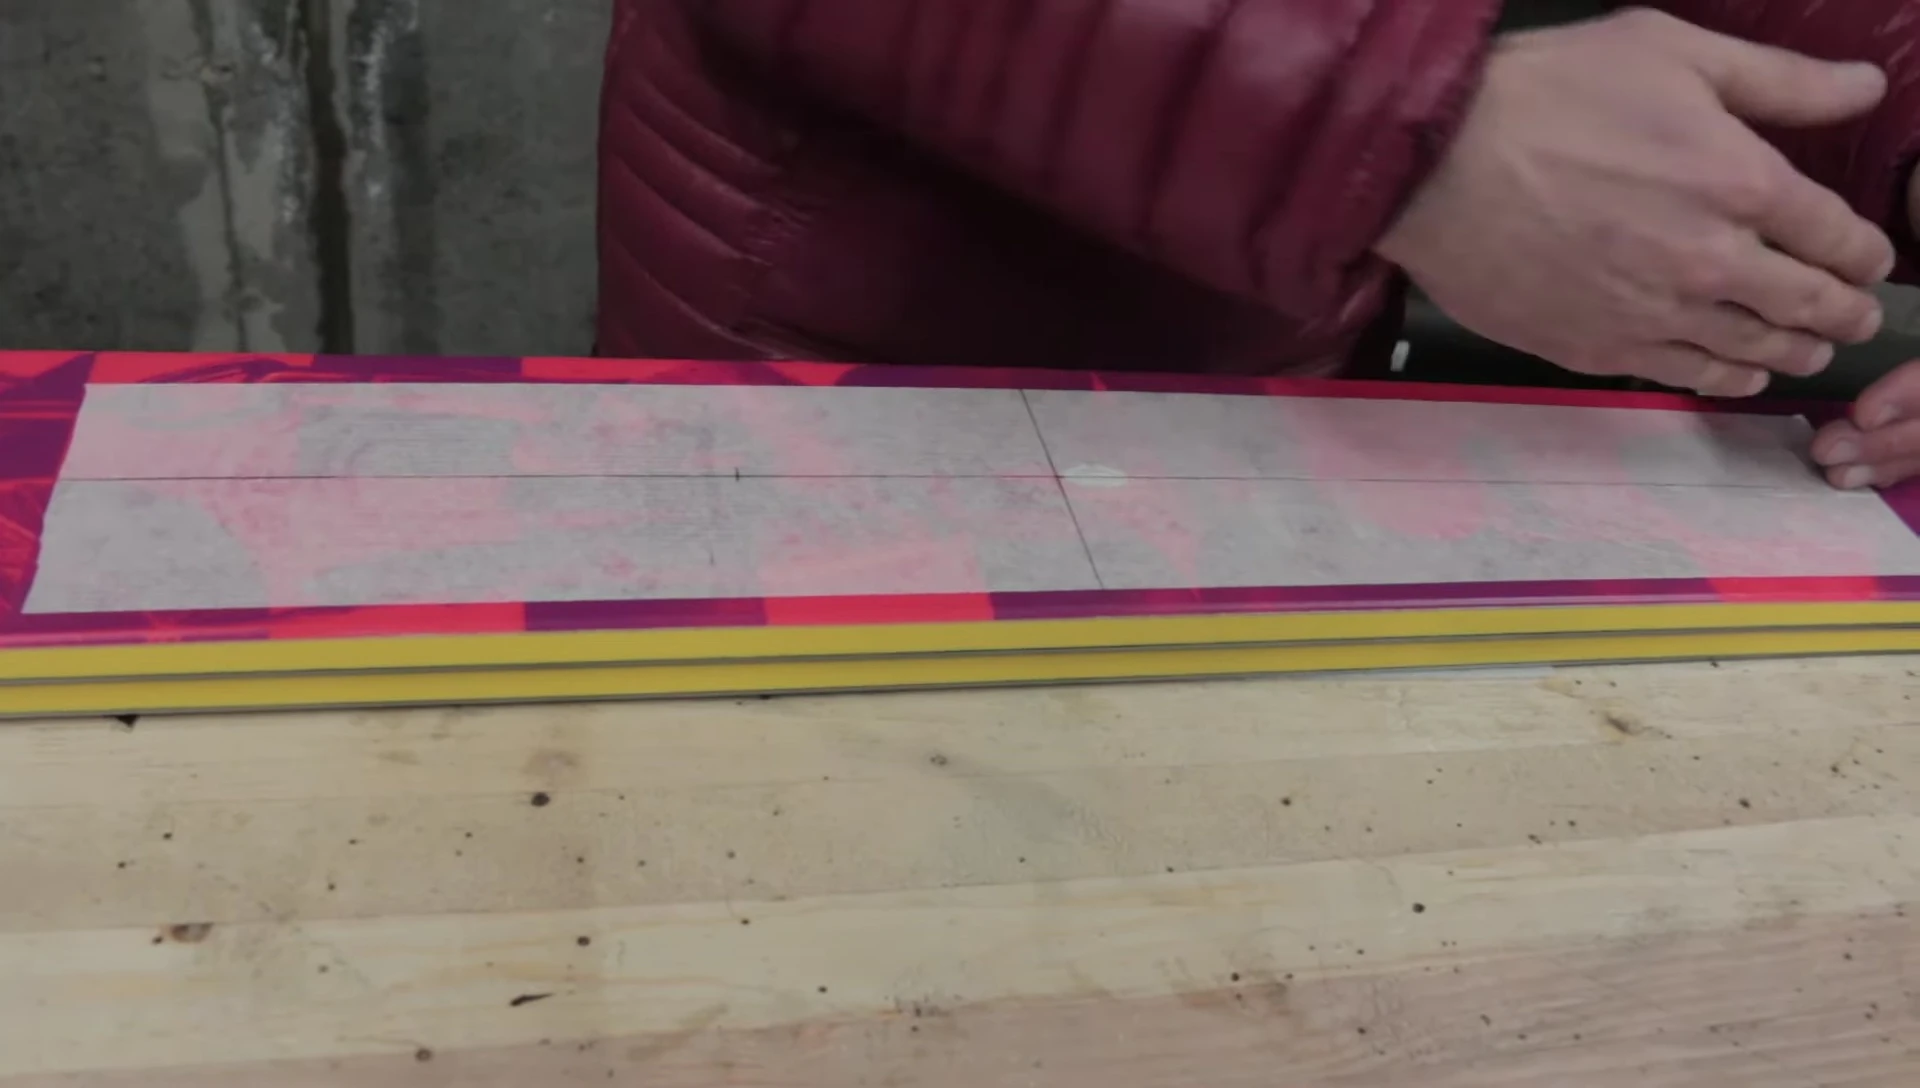
Accurately positioning the binding is paramount. The centerline markings on both the ski and the binding's baseplate must align precisely.
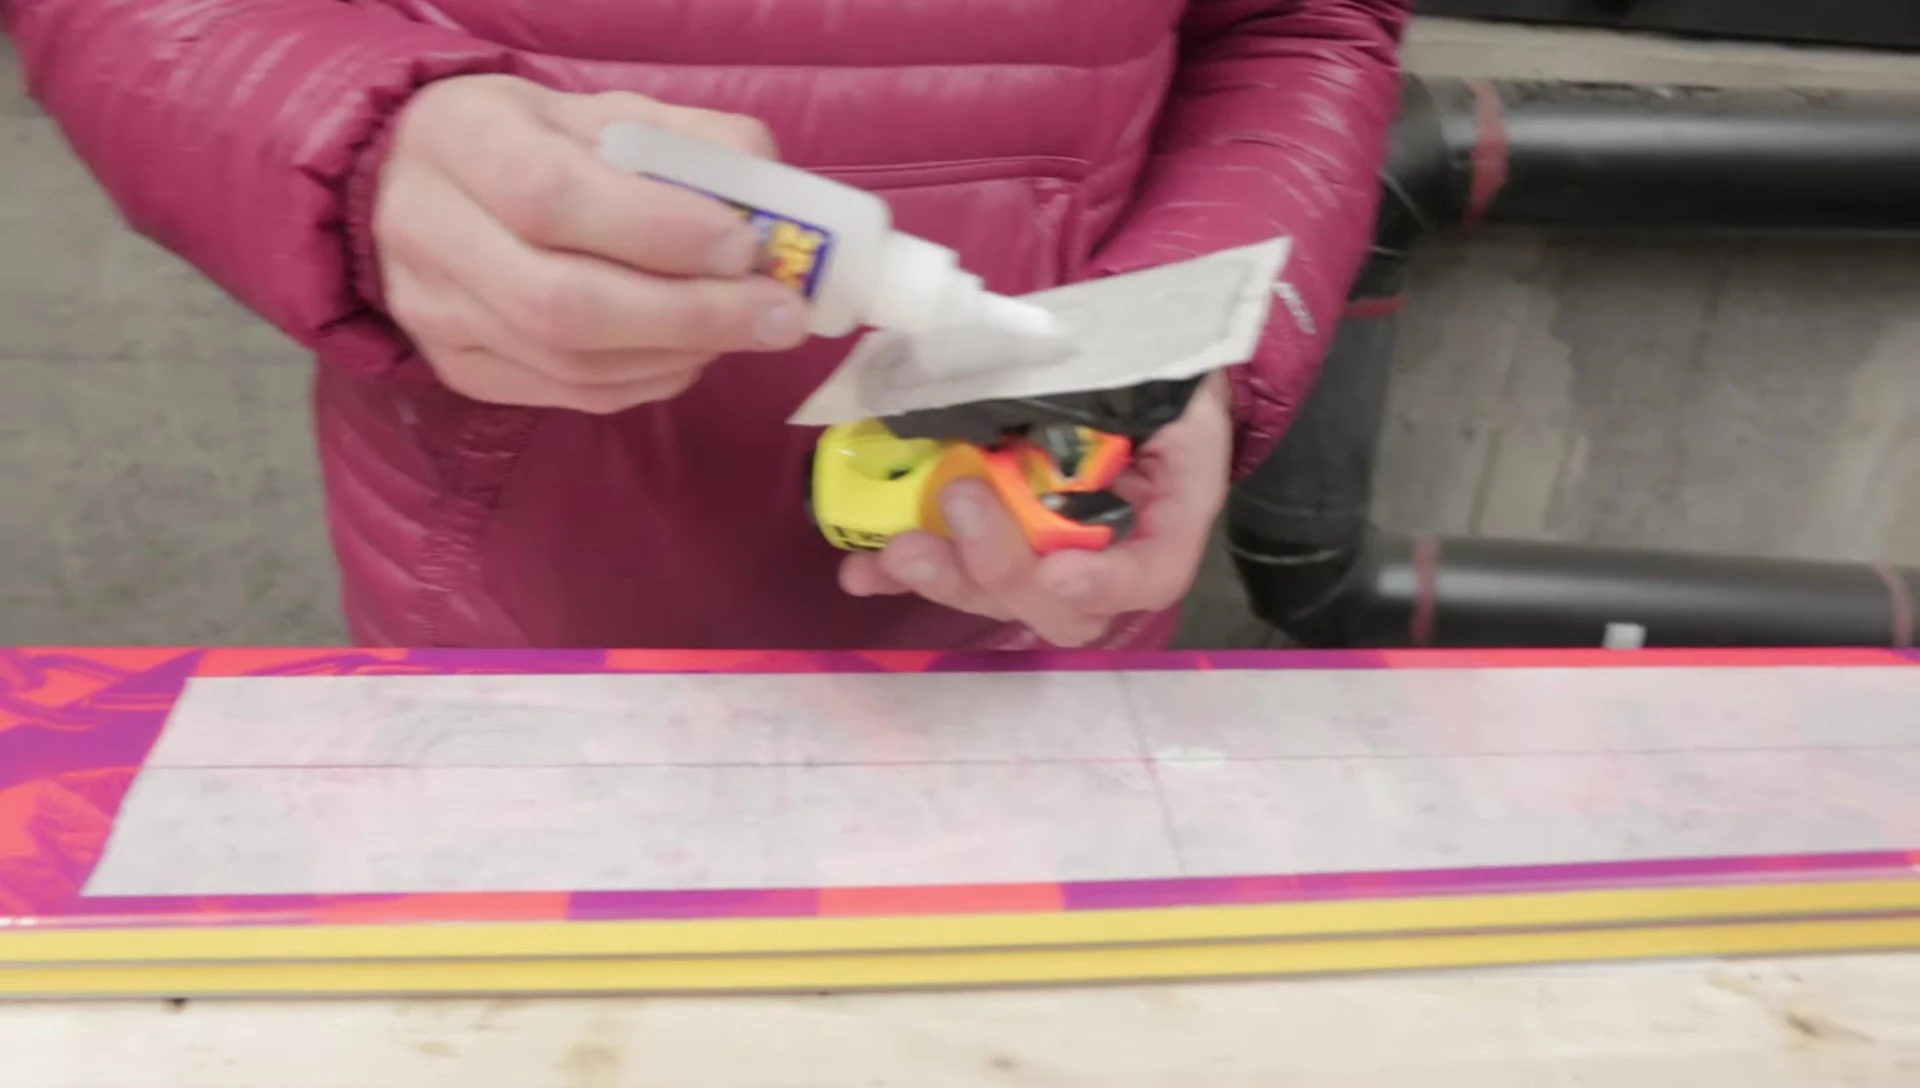
Temporary Binding Fixation: Utilizing Super Glue
Apply a small amount of super glue to the bottom of the toe piece. This temporarily secures the binding to the ski's top sheet without causing permanent damage.
Position the toe piece precisely using the centerlines as a guide. Ensure perfect alignment both front-to-back and side-to-side.
The super glue holds the binding firmly in place, allowing for accurate marking of the mounting holes.
Precise Hole Marking and Drilling
Use a drill bit matching the size of the binding's mounting holes. This ensures accurate marking of the holes, preventing misalignment.

Tap the drill bit gently with a hammer to create a perfectly centered mark in the ski's top sheet. Rotating the drill bit helps create a consistent mark.
Checking the depth is crucial to prevent drilling too deeply and damaging the ski's core.
Chamfering and Final Mounting
Chamfer the edges of the mounting holes to prevent the top sheet from mushrooming during screw installation.
Apply a small amount of super glue or epoxy to the screw tips. While optional, it provides an extra measure of security.
Carefully screw in the mounting screws. Use hand pressure initially; avoid over-tightening with a power tool.
Heel Piece Mounting and Final Check
Repeat the process for the heel piece, ensuring precise alignment and proper travel. The heel piece often allows for minor adjustments.
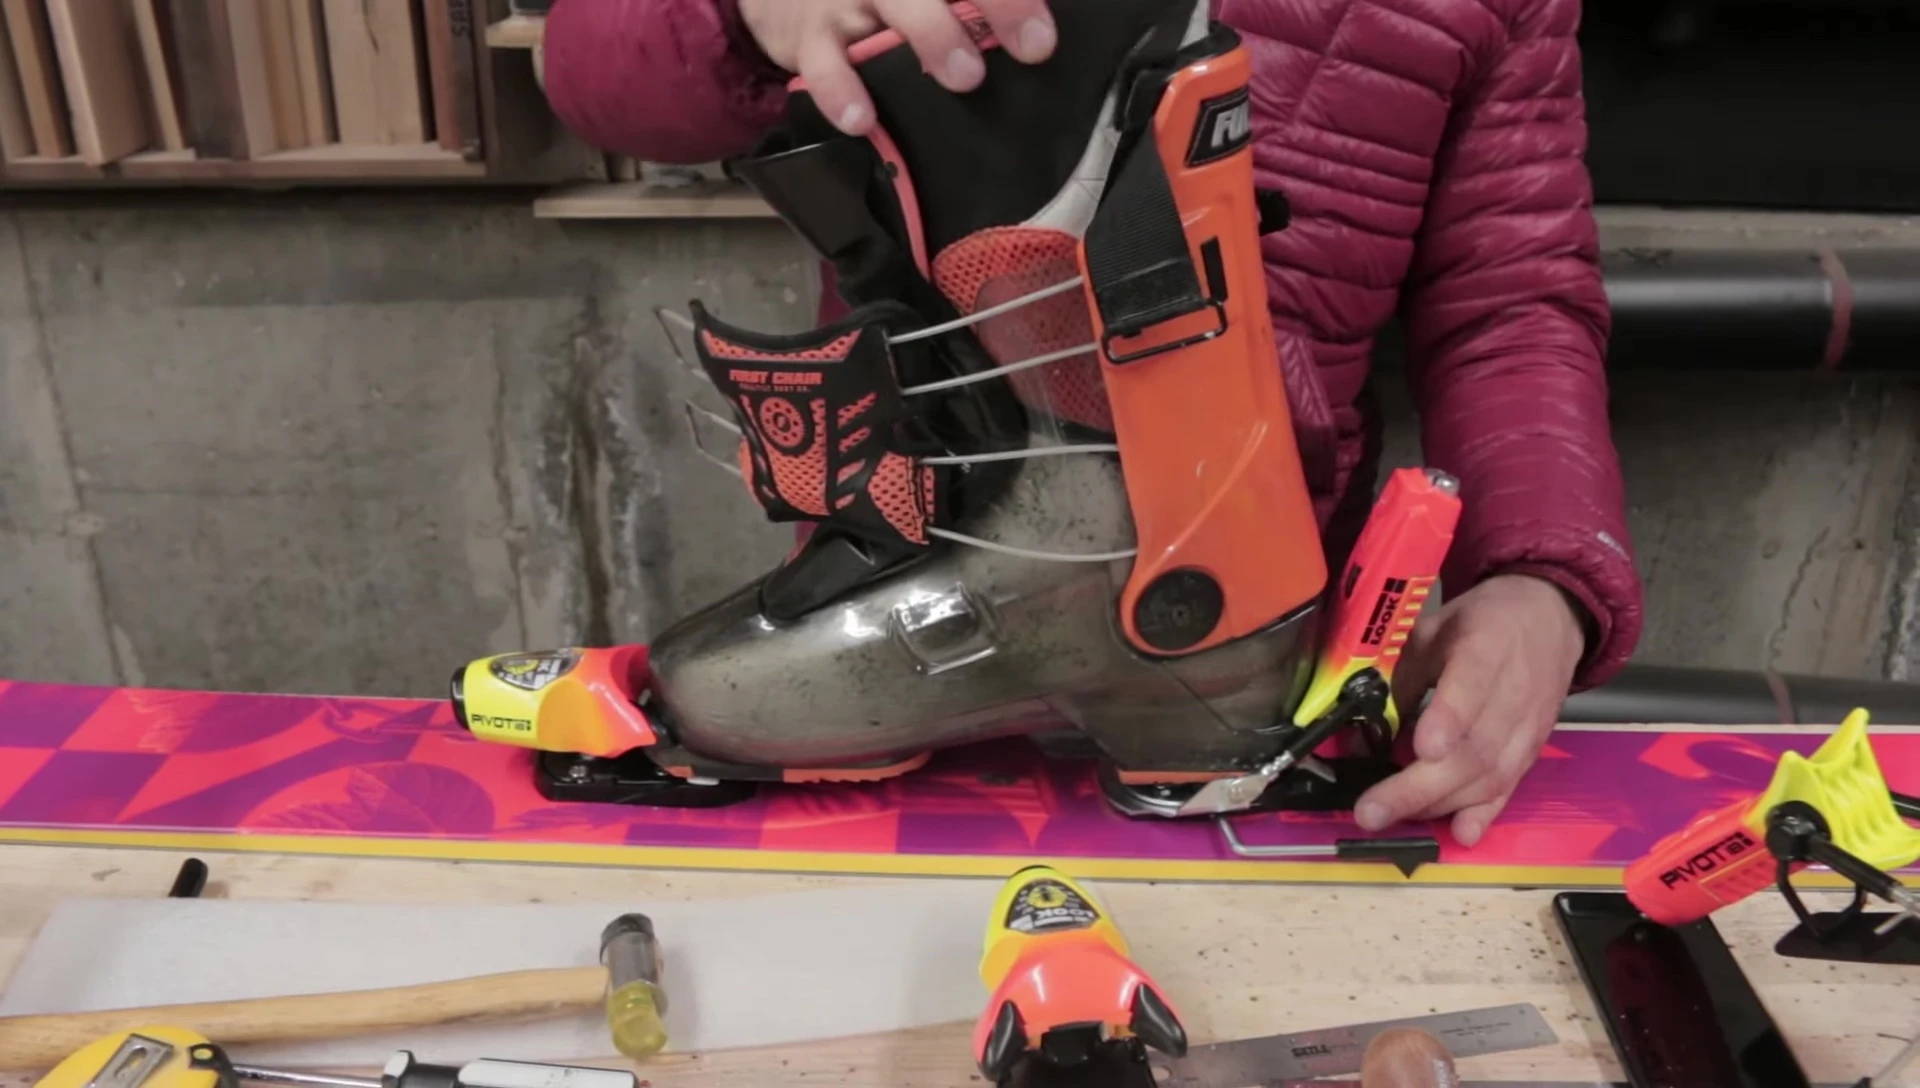
Once mounted, ensure the bindings are perfectly flush against the ski top sheet. Double-check for center alignment and correct forward placement.
With the bindings securely mounted, carefully inspect the final installation for any imperfections or misalignments.
Conclusion: Achieving a Flawless DIY Ski Mount
Mounting your own ski bindings is achievable with careful attention to detail and the right tools. This guide outlines the key steps for a precise and secure installation.
By following these steps and utilizing the techniques discussed, you can confidently achieve a professional-quality mount without visiting a shop. This saves time and money.
Remember, precision and accuracy are key. Always double-check your measurements and alignment before drilling. With practice, you'll master this valuable skill.