This comprehensive guide provides a step-by-step walkthrough of adjusting your Marker Griffon ski bindings. Proper adjustment is paramount for both safety and optimal performance on the slopes. We'll cover three key areas: the AFD (Antifriction Device) adjustment for precise toe-piece engagement, the forward pressure adjustment for heel release characteristics, and the crucial DIN setting that determines the binding's release force. Understanding and correctly adjusting these components is essential for preventing premature releases or binding failures. However, remember that proper adjustment is only part of the equation.While this guide offers valuable insights into self-adjustment, it's crucial to emphasize the importance of professional tuning. Significant adjustments, particularly to the DIN setting, should always be performed by a certified technician. They possess the expertise and specialized tools to ensure your bindings are perfectly calibrated to your individual weight, height, skiing ability, and boot type. Regular professional checks are recommended to maintain optimal safety and performance, even if you feel comfortable making minor adjustments yourself. Prioritize safety—it's always the top priority.
Read more: Top 5 Burton Ski Bindings: A Buyer's Guide
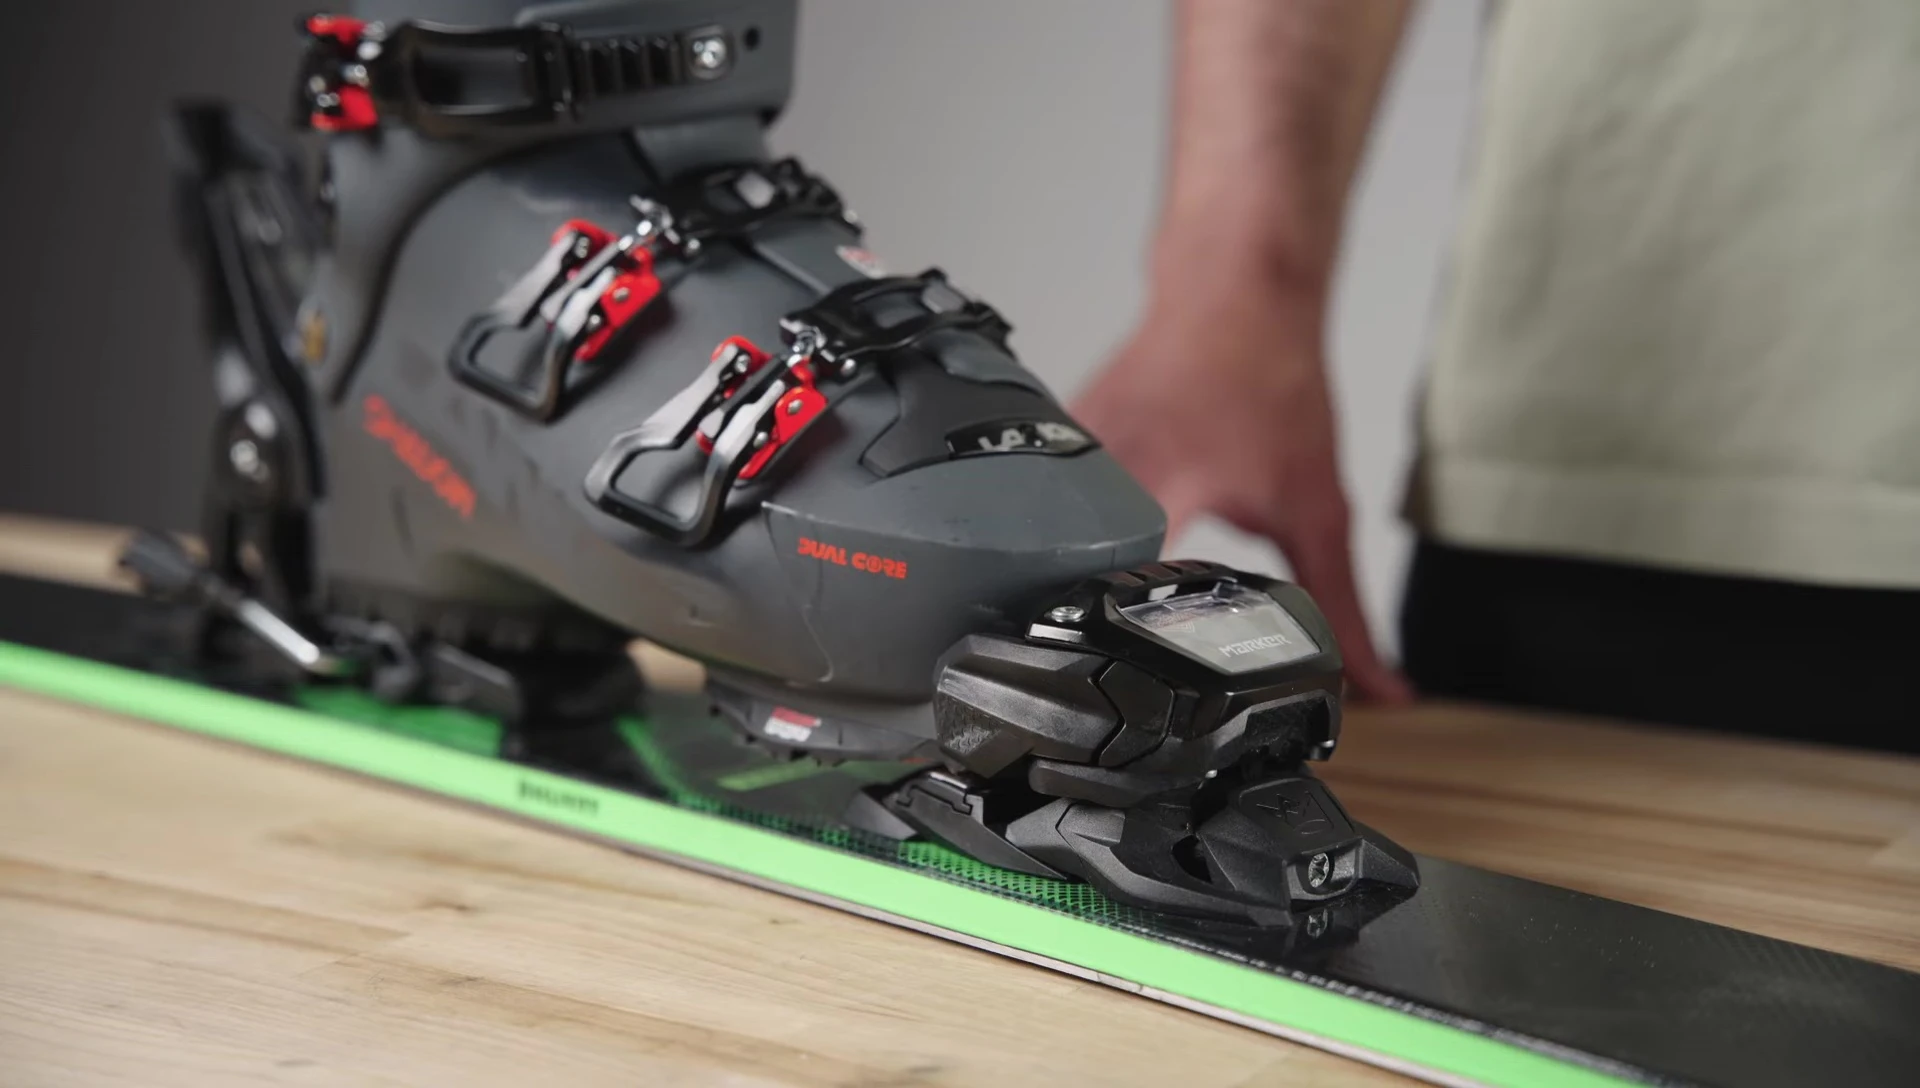
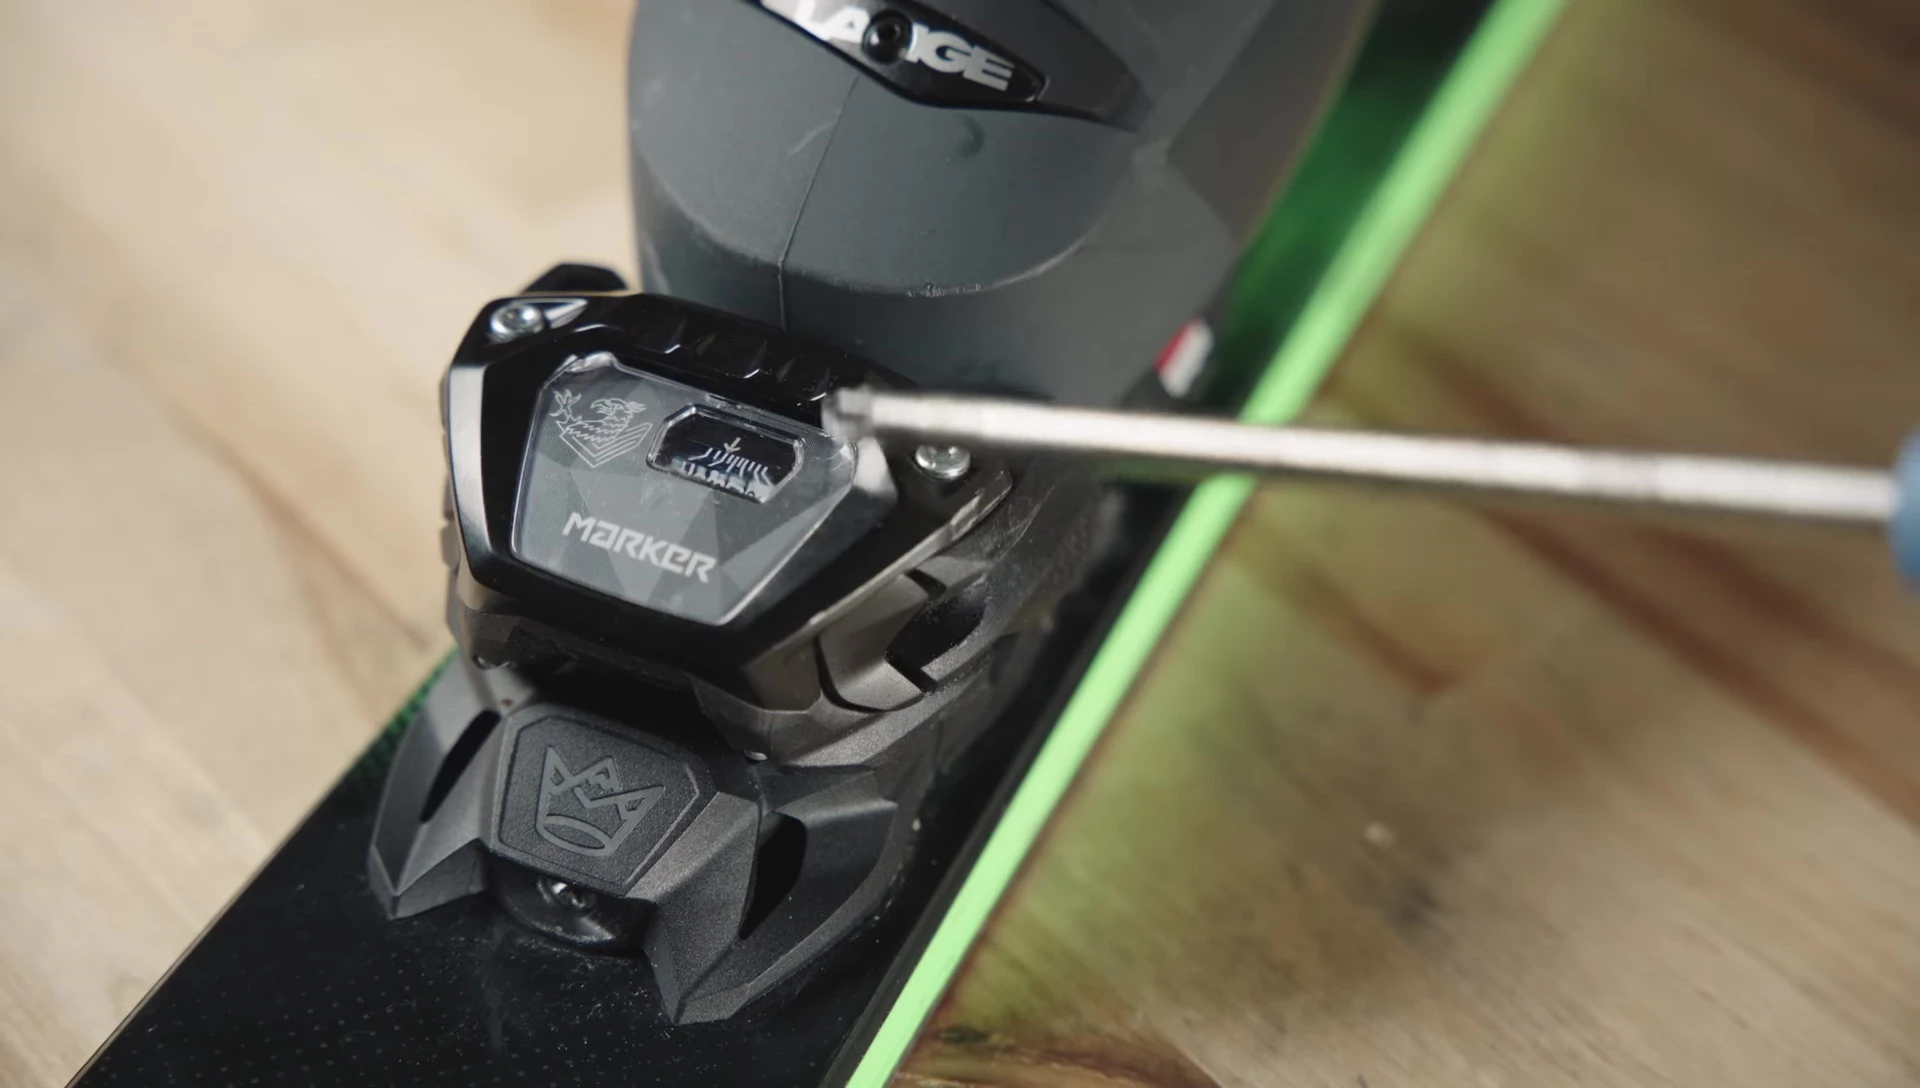
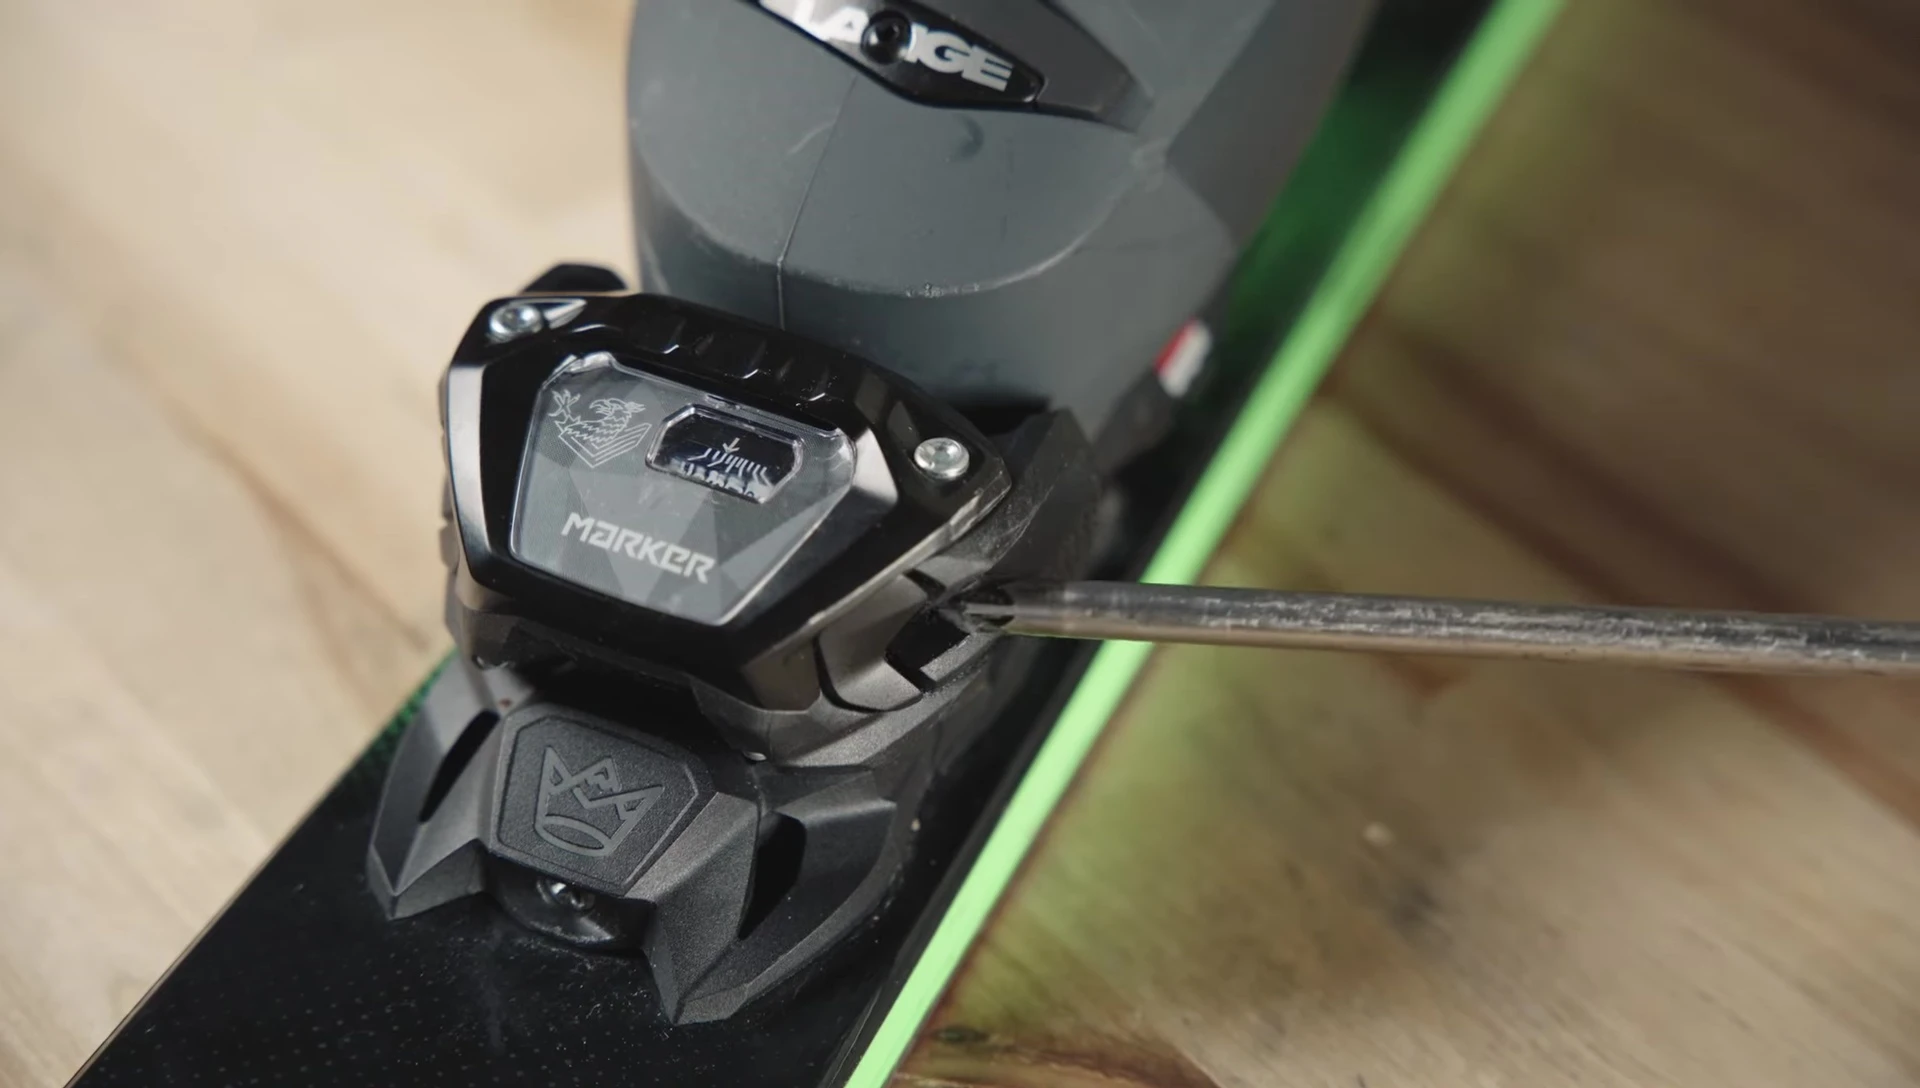
Adjusting the AFD (Antifriction Device) on the Toe Piece
The AFD adjustment is crucial for ensuring proper release performance. It sets the distance between the toe piece and your boot sole. Incorrect adjustment can lead to premature release or binding failure.
To adjust, use a Posi-drive or large Phillips head screwdriver to rotate the AFD screw counter-clockwise. This raises the AFD to meet the boot sole.
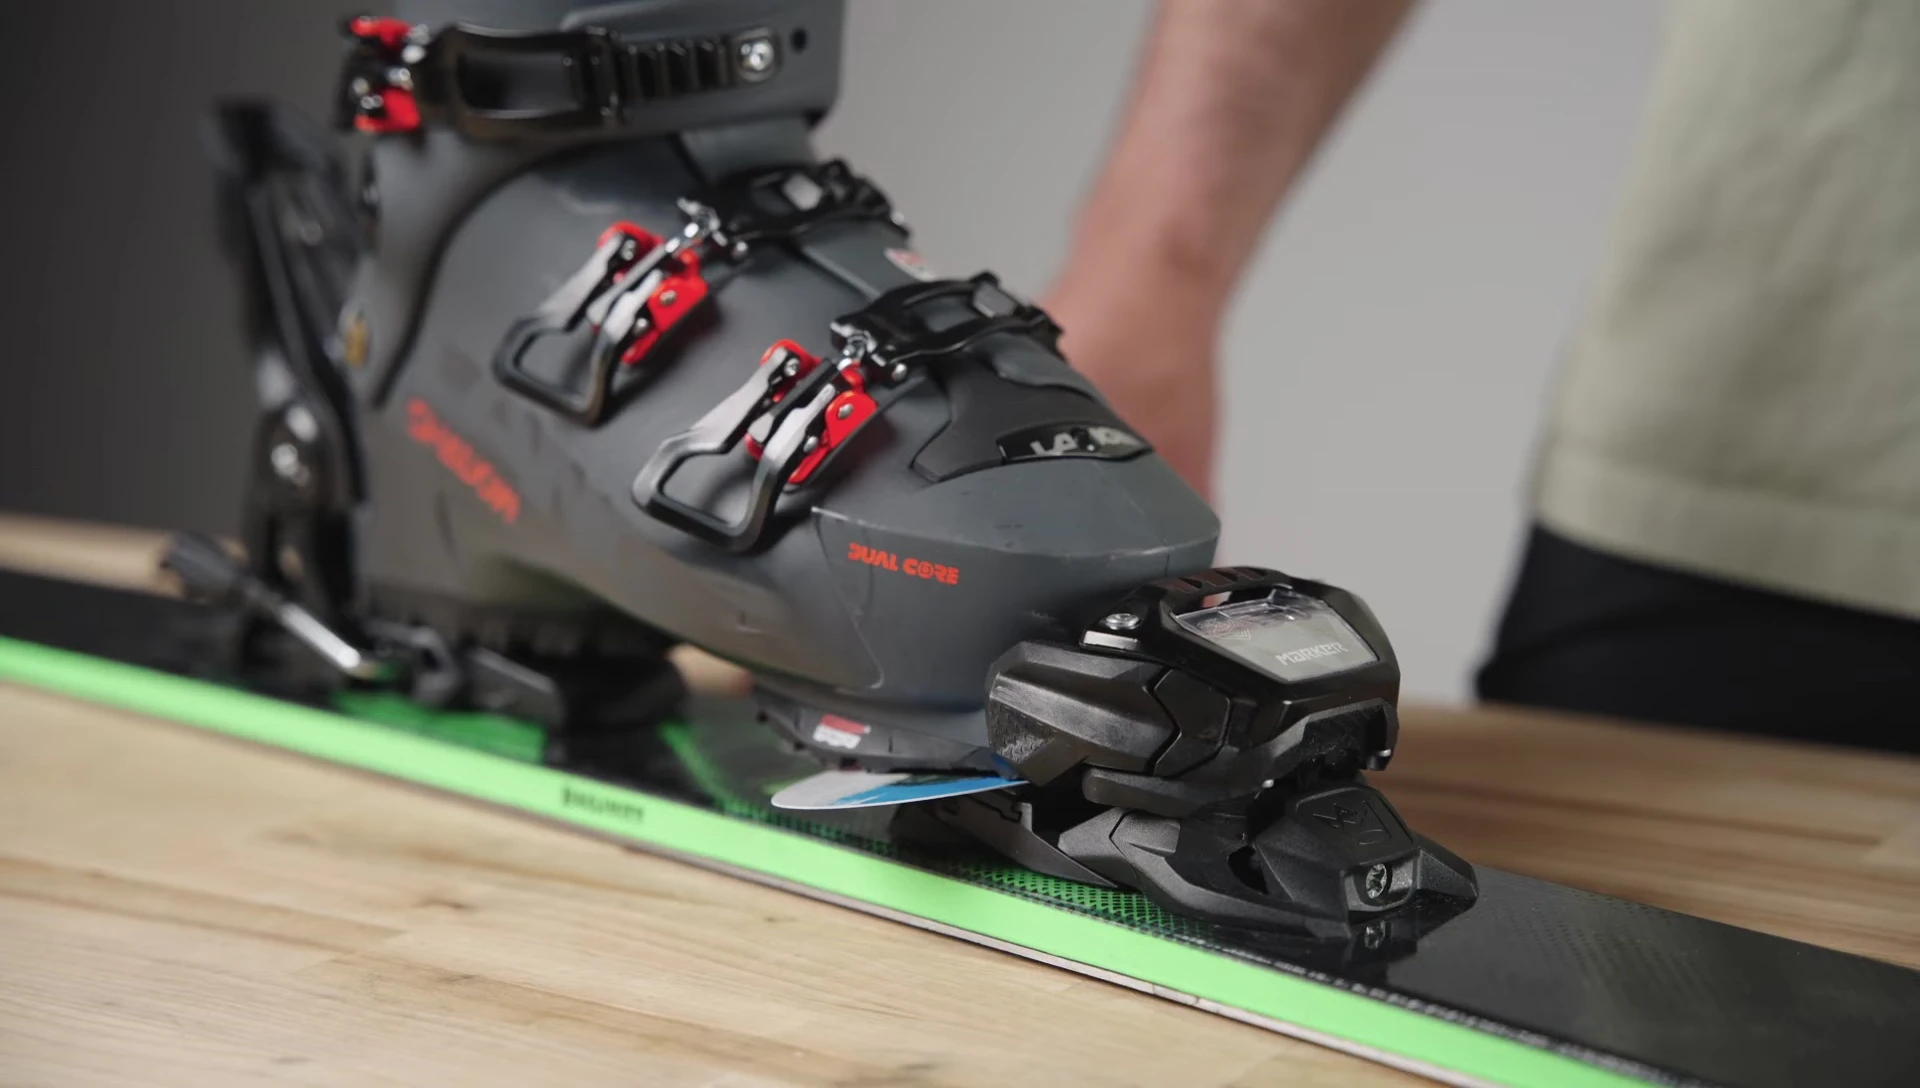
Proper tension is critical. A 0.5mm thick test strip (similar to a business card) should show contact between the boot and AFD without bending or tearing. This ensures optimal friction and release characteristics.

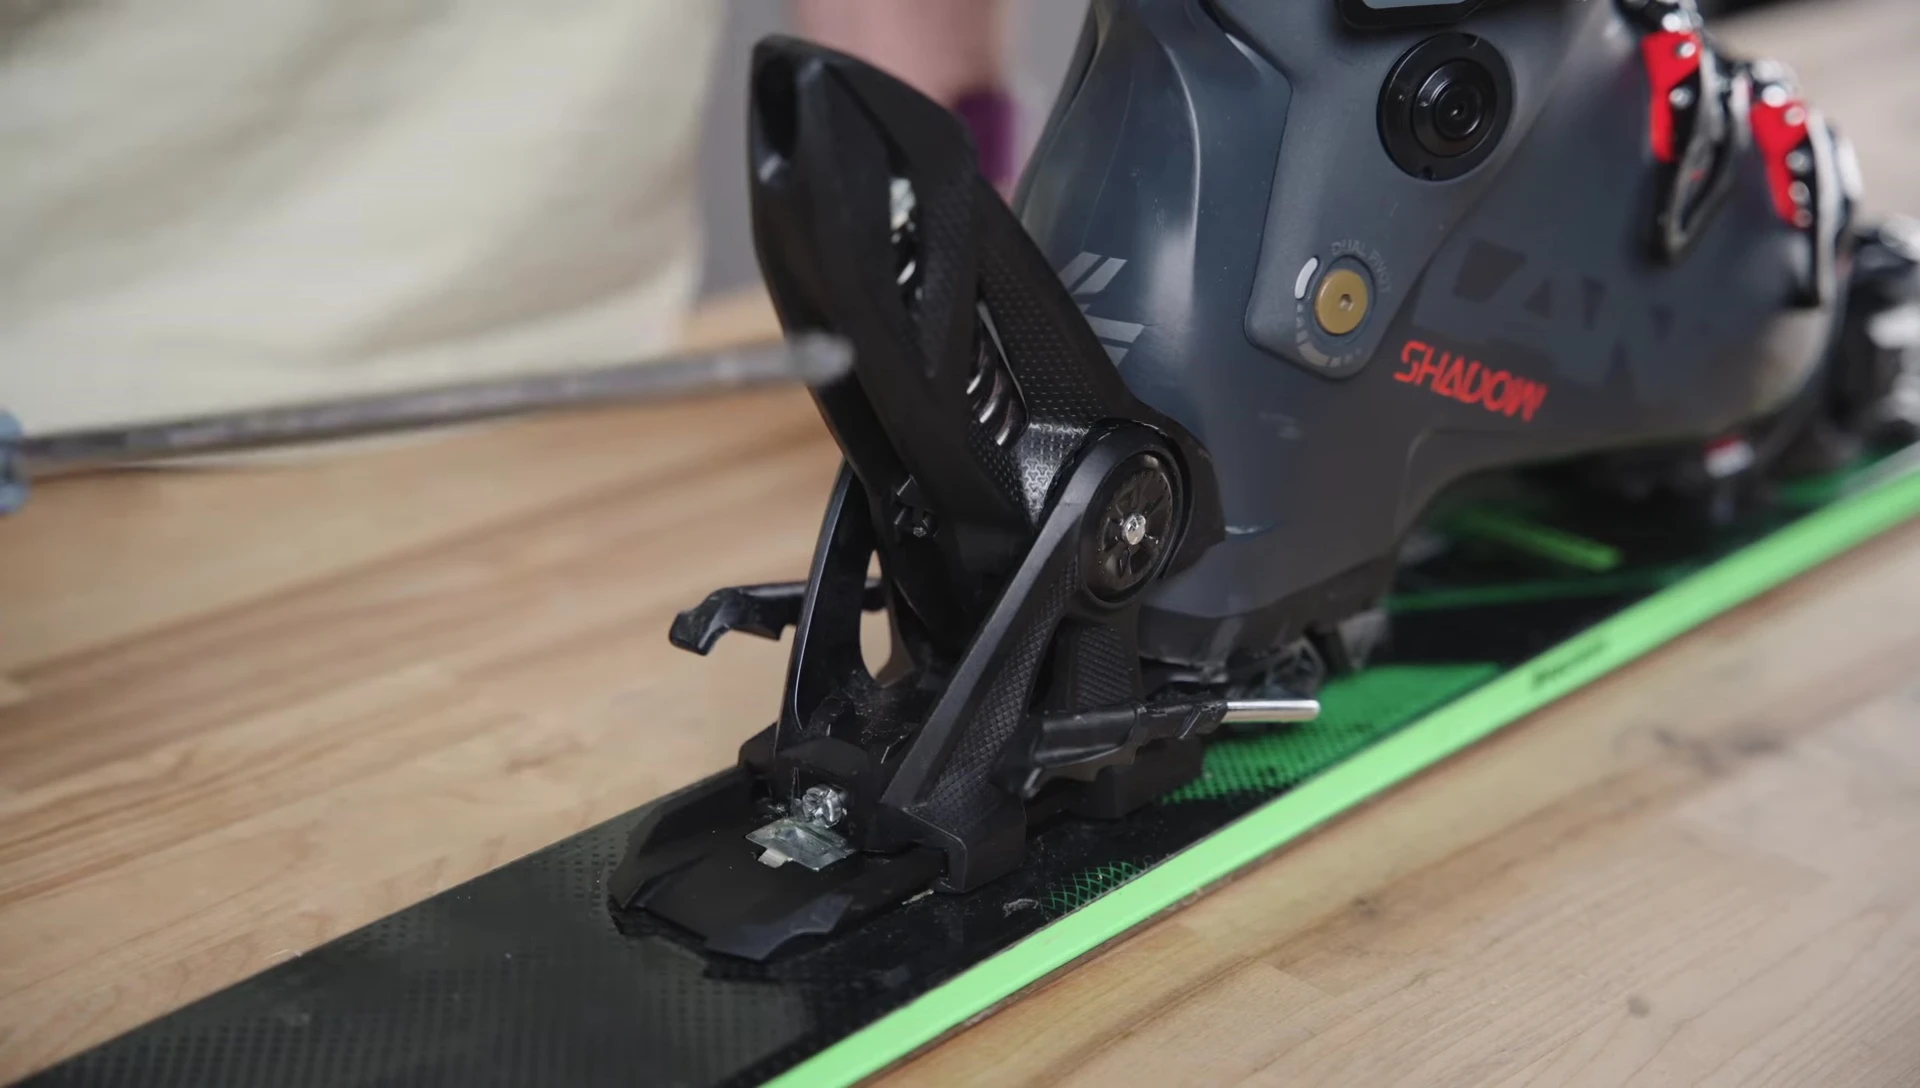
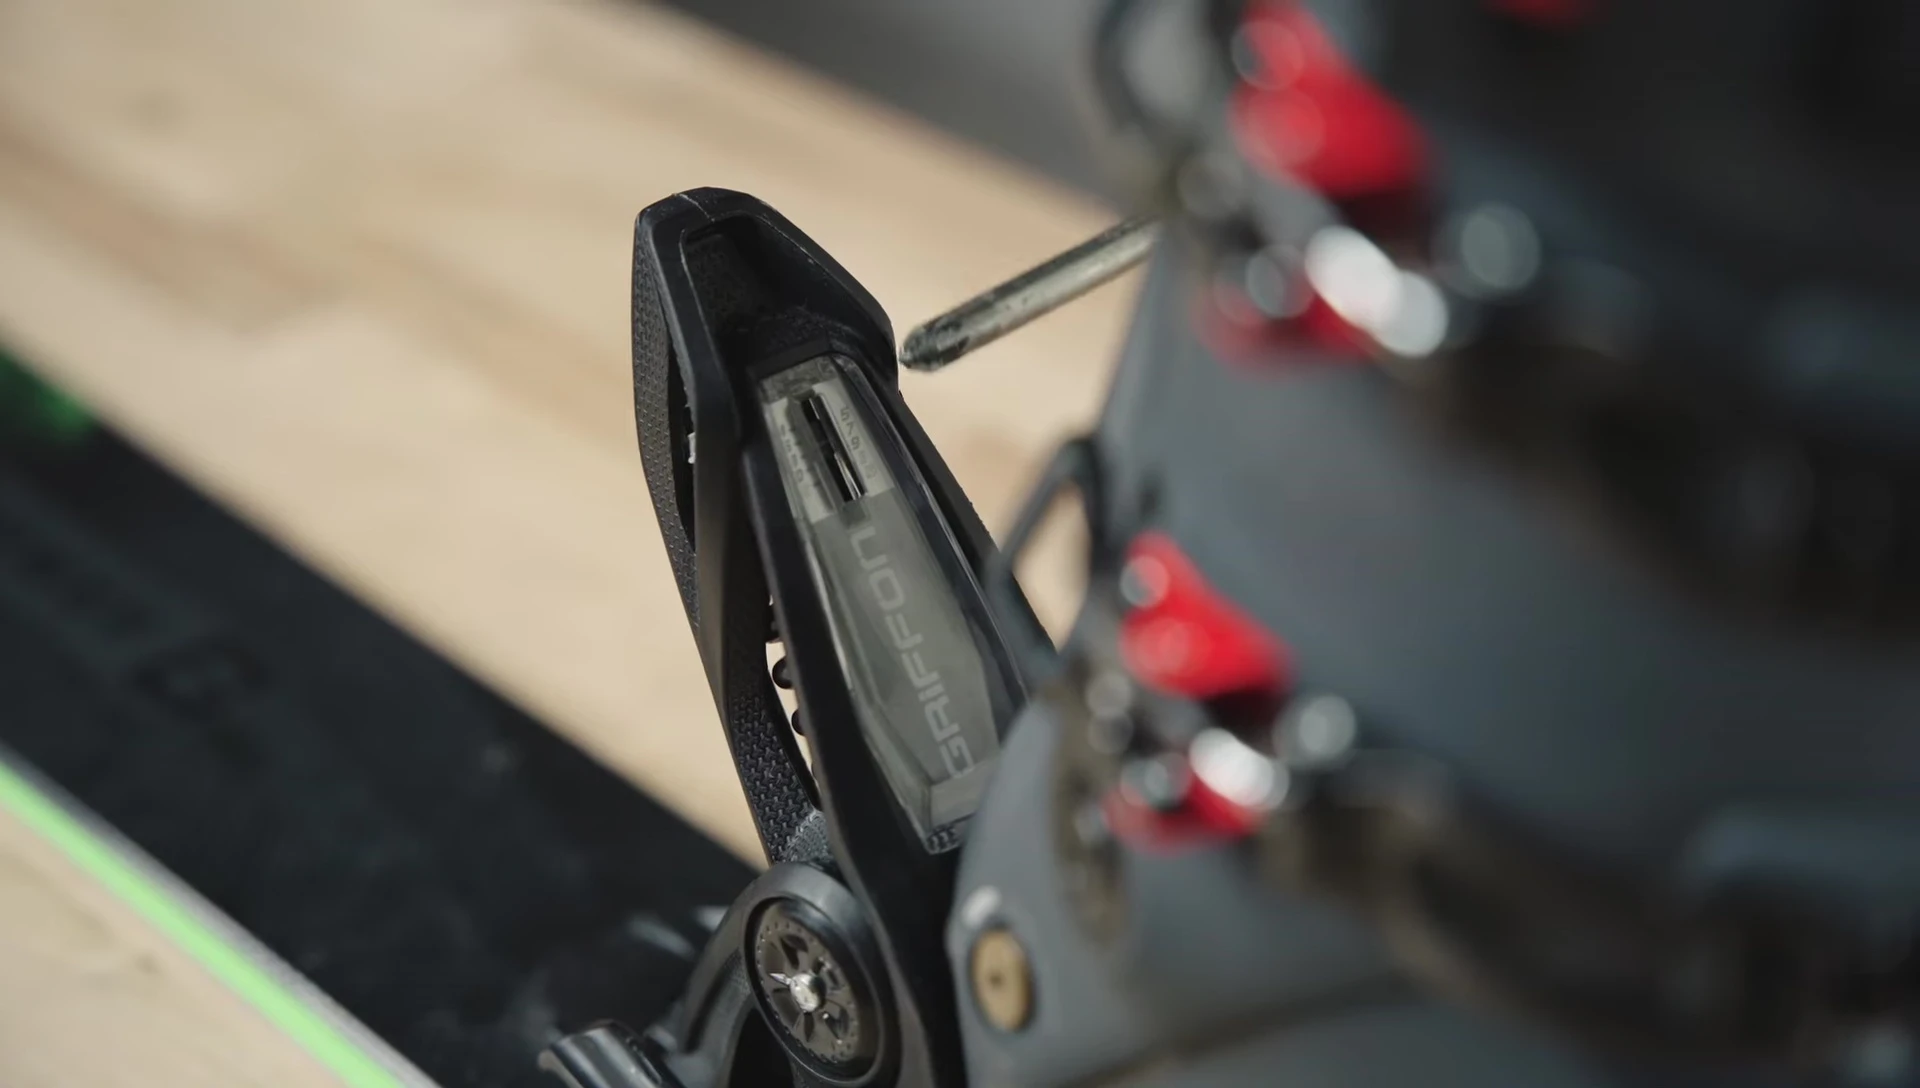
Setting the Forward Pressure on the Heel Piece
The forward pressure adjustment, located on the heel piece, influences how easily the binding releases. The goal is to have the screw cap flush with the heel piece housing.

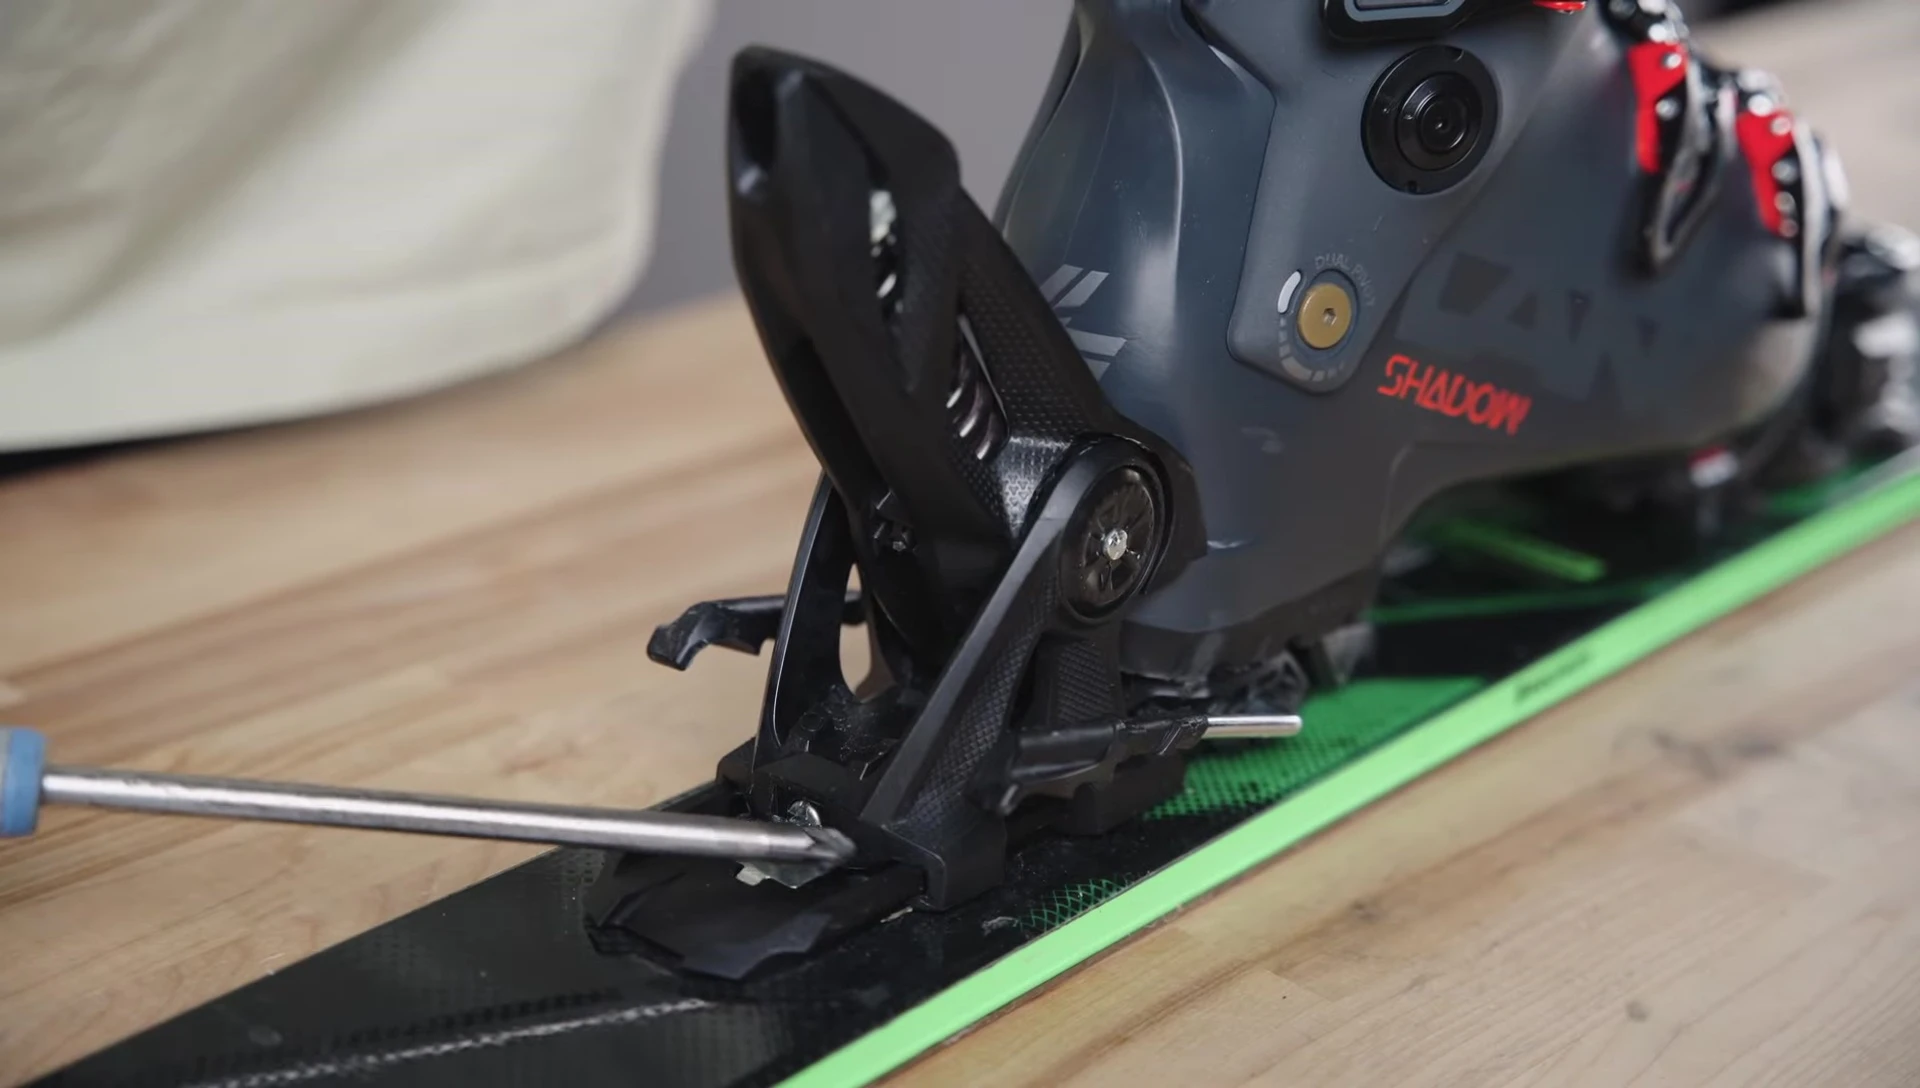
Use a Posi-drive or large Phillips head screwdriver to rotate the forward pressure screw clockwise until the screw is flush. This provides optimal forward pressure.
After adjustment, test by removing and re-inserting the boot. The screw cap should remain flush, verifying the adjustment held. An improperly adjusted forward pressure could result in delayed or failed release.
Adjusting the DIN Setting (Release Value)
The DIN setting determines the release force of the binding. This setting is crucial for safety and must be adjusted by a certified technician based on your weight, height, skiing ability, and boot size.
If you need minor adjustments on the mountain, small increments are recommended (one DIN number at a time). If you're releasing too easily, increase the DIN. If you're not releasing easily enough, decrease the DIN.
Always ensure both the toe and heel pieces have the same DIN setting. Incorrect DIN settings compromise safety and the functionality of the release mechanism. Make sure you adjust the heel piece to match the toe piece.
Conclusion: Safety First!
While this guide offers insights into adjusting your Marker Griffon bindings, professional tuning is vital for optimal safety and performance. A certified technician will ensure your bindings are perfectly matched to your equipment and skiing style.
Never attempt significant DIN adjustments without professional guidance. Improper settings increase the risk of injury or binding failure.
Regular binding checks by a professional are recommended to maintain optimal performance and safety, regardless of how adept you are at making adjustments yourself. Prioritize safety!