Removing Rossignol Axitec bindings can be a frustrating experience, especially for those unfamiliar with the binding's unique locking mechanism. Many online resources offer insufficient guidance, leaving skiers stranded with seemingly irremovable bindings. This step-by-step guide provides a clear and concise solution to this common problem, enabling you to easily change or adjust your bindings without needing specialized tools or professional assistance. We'll demystify the often-overlooked locking tabs that hold the front mounting plate in place, providing visual context and detailed instructions to ensure a smooth and successful removal.This guide focuses specifically on the challenges presented by the Axitec system's adjustable front plate. Designed for quick binding swaps, the plate's clever locking mechanism can initially appear insurmountable. We'll break down the process into simple, manageable steps, using clear language and visual aids to guide you through each stage. By understanding the crucial role of the hidden locking tabs, you'll gain the confidence to effortlessly remove the front plate, access the binding screws, and ultimately customize your ski setup with ease.
Read more: Top 5 Burton Ski Bindings: A Buyer's Guide
Identifying the Challenge: Removing Rossignol Axitec Bindings
Many skiers have encountered difficulties removing Rossignol Axitec bindings, particularly the front mounting plate. Online resources often lack clear instructions, leading to confusion. This guide aims to provide a straightforward solution for this common problem, allowing for easy binding changes.

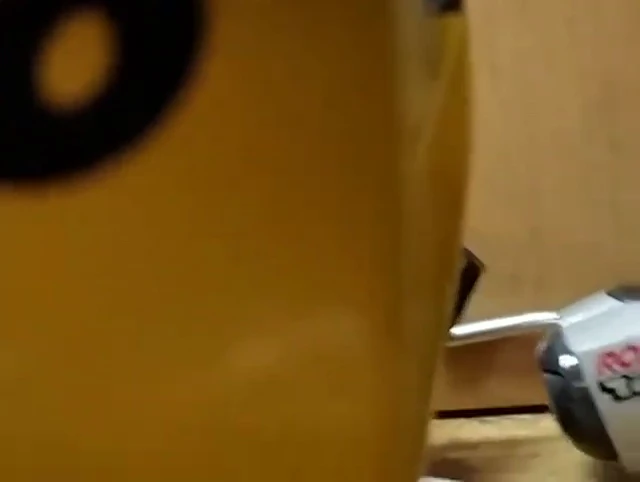
The Axitec system's adjustable front plate is designed for demo skis and quick binding swaps, but removing it to access the screws underneath can seem impossible at first glance. Some believe the plate is permanently attached, hindering the ability to switch to different bindings.
This guide will meticulously detail how to overcome this challenge, providing visual aids and step-by-step instructions to effortlessly remove the plate and swap out bindings.
Understanding the Mechanism: How the Plate Locks
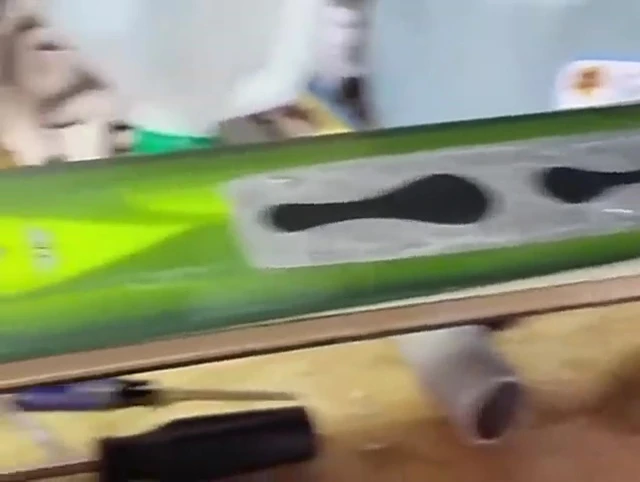
The key to removing the front plate lies in understanding its locking mechanism. The plate slides back and forth to accommodate different binding sizes, locking into place when the correct size is achieved. This seemingly simple design hides a clever locking system that initially appears to be irremovable.
Upon closer inspection, you will discover that the plate is held in place by two small tabs located underneath. These tabs engage with grooves on the ski, preventing the plate from sliding backward and completely detaching. These are often hard to see without proper lighting and leverage.
This intricate design is what causes the confusion, as the tabs are hidden and not immediately apparent during initial inspection.
Step-by-Step Removal: A Practical Guide
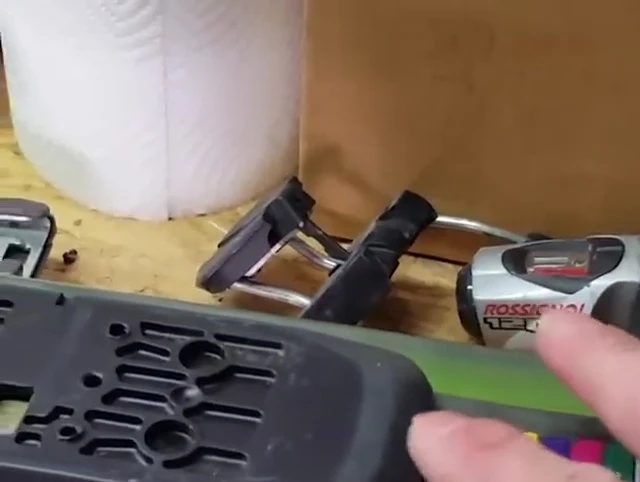
To begin the removal process, use a thin, flat-bladed tool (like a thin screwdriver) to lift the rear edge of the front plate slightly. This will disengage the tabs from their grooves. Simultaneously, slide the plate forward. You'll see a slight separation with the tabs.
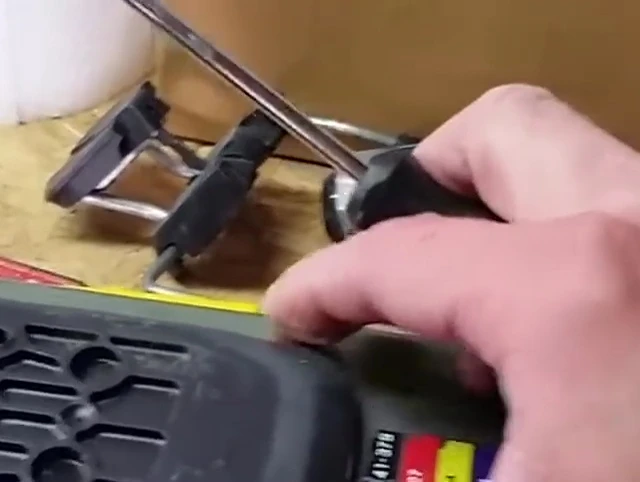
As you slide it forward, you should feel it disengage from the front tabs. You'll likely need a screwdriver, or similar tool, to lift the plate just enough for the tabs to clear the grooves. Once disengaged, the entire plate will slide off freely.
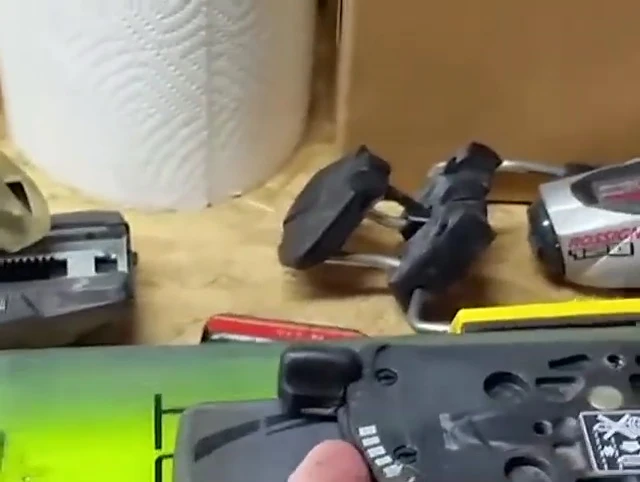
With the plate removed, you'll have full access to the screws securing the bindings. Unscrew these and you can replace your bindings as needed. Remember to reinstall the plate in the reverse order.
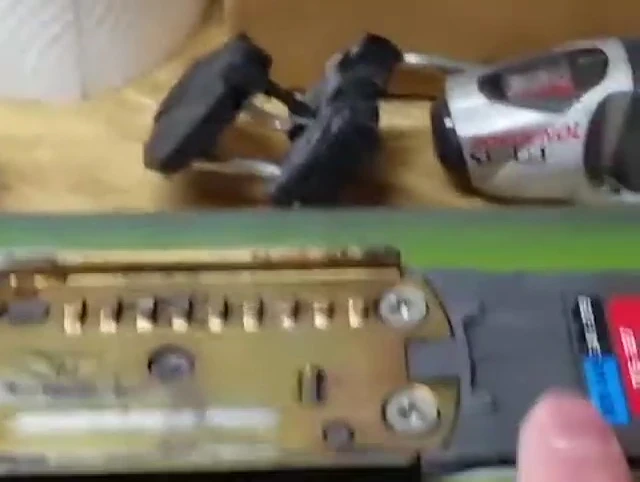
Visual Explanation: Understanding the Locking Mechanism
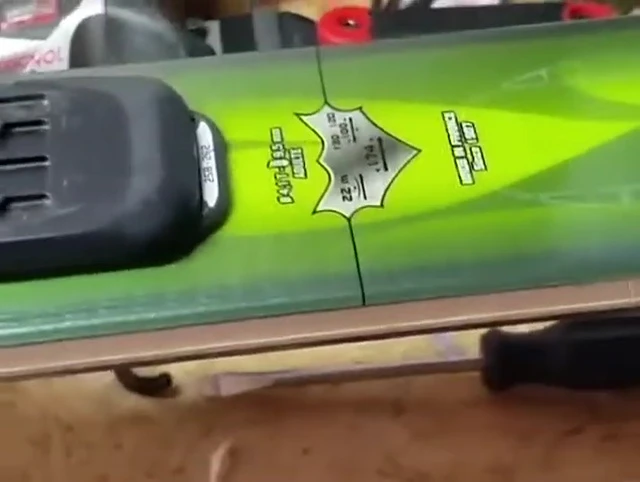
The following image shows the crucial tabs that lock the mounting plate in place, hindering the removal process. These tabs are small and located under the plate, making their detection initially challenging.
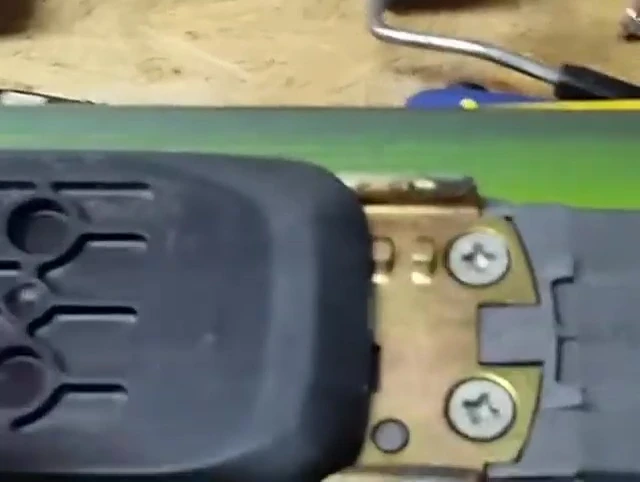
The plate's design incorporates these tabs along the edges to smoothly engage the grooves in the ski. This mechanism effectively locks the plate in place, providing stability and preventing accidental slippage during skiing.

Understanding the location and function of these tabs is essential for successful binding removal. Visualizing these will simplify the entire process.
Conclusion: Successfully Removing Rossignol Axitec Bindings
Removing Rossignol Axitec bindings can seem daunting at first but is achievable with a methodical approach. Understanding the locking mechanism, specifically the location and function of the small tabs underneath the front plate, is key to successful removal.
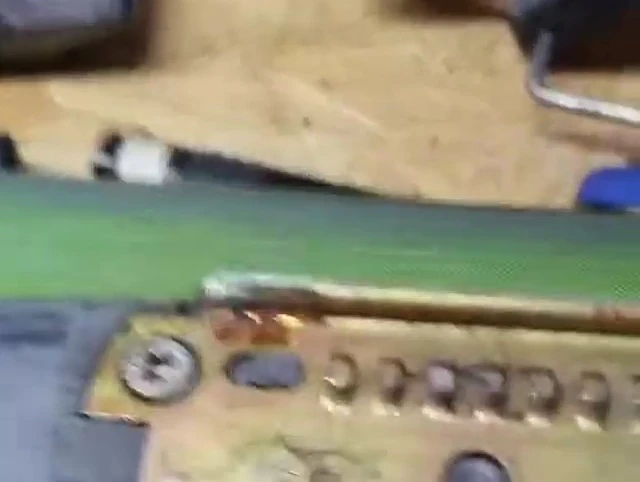
The process involves using a thin, flat tool to lift the rear edge of the plate slightly and slide it forward, disengaging the tabs. This reveals the screws that secure the bindings to the base plate, allowing for their replacement or adjustments.
This guide offers a complete solution, enabling skiers to easily swap their bindings and customize their setup to different needs and conditions without professional help.