This step-by-step guide provides a comprehensive approach to shortening your ski poles to achieve the perfect fit. Whether you're a seasoned skier needing an adjustment or a beginner looking to customize new equipment, this guide will walk you through the process efficiently and safely. We’ll cover essential tools, accurate measurement techniques, and safe grip removal methods, ensuring a professional finish without requiring specialized expertise. Learning how to adjust your ski poles allows for optimized performance and comfort on the slopes.Incorrectly sized poles can hinder your skiing experience, leading to discomfort and poor technique. This guide emphasizes precision at every stage, from initial measurement and marking to the final reassembly. By following the detailed instructions, you'll confidently adjust your ski poles to the ideal length, ensuring optimal balance, control, and enjoyment during your next ski adventure. This will empower you to customize your equipment for a truly personalized skiing experience.
Read more: Top 5 Women's Ski Poles for Superior Performance
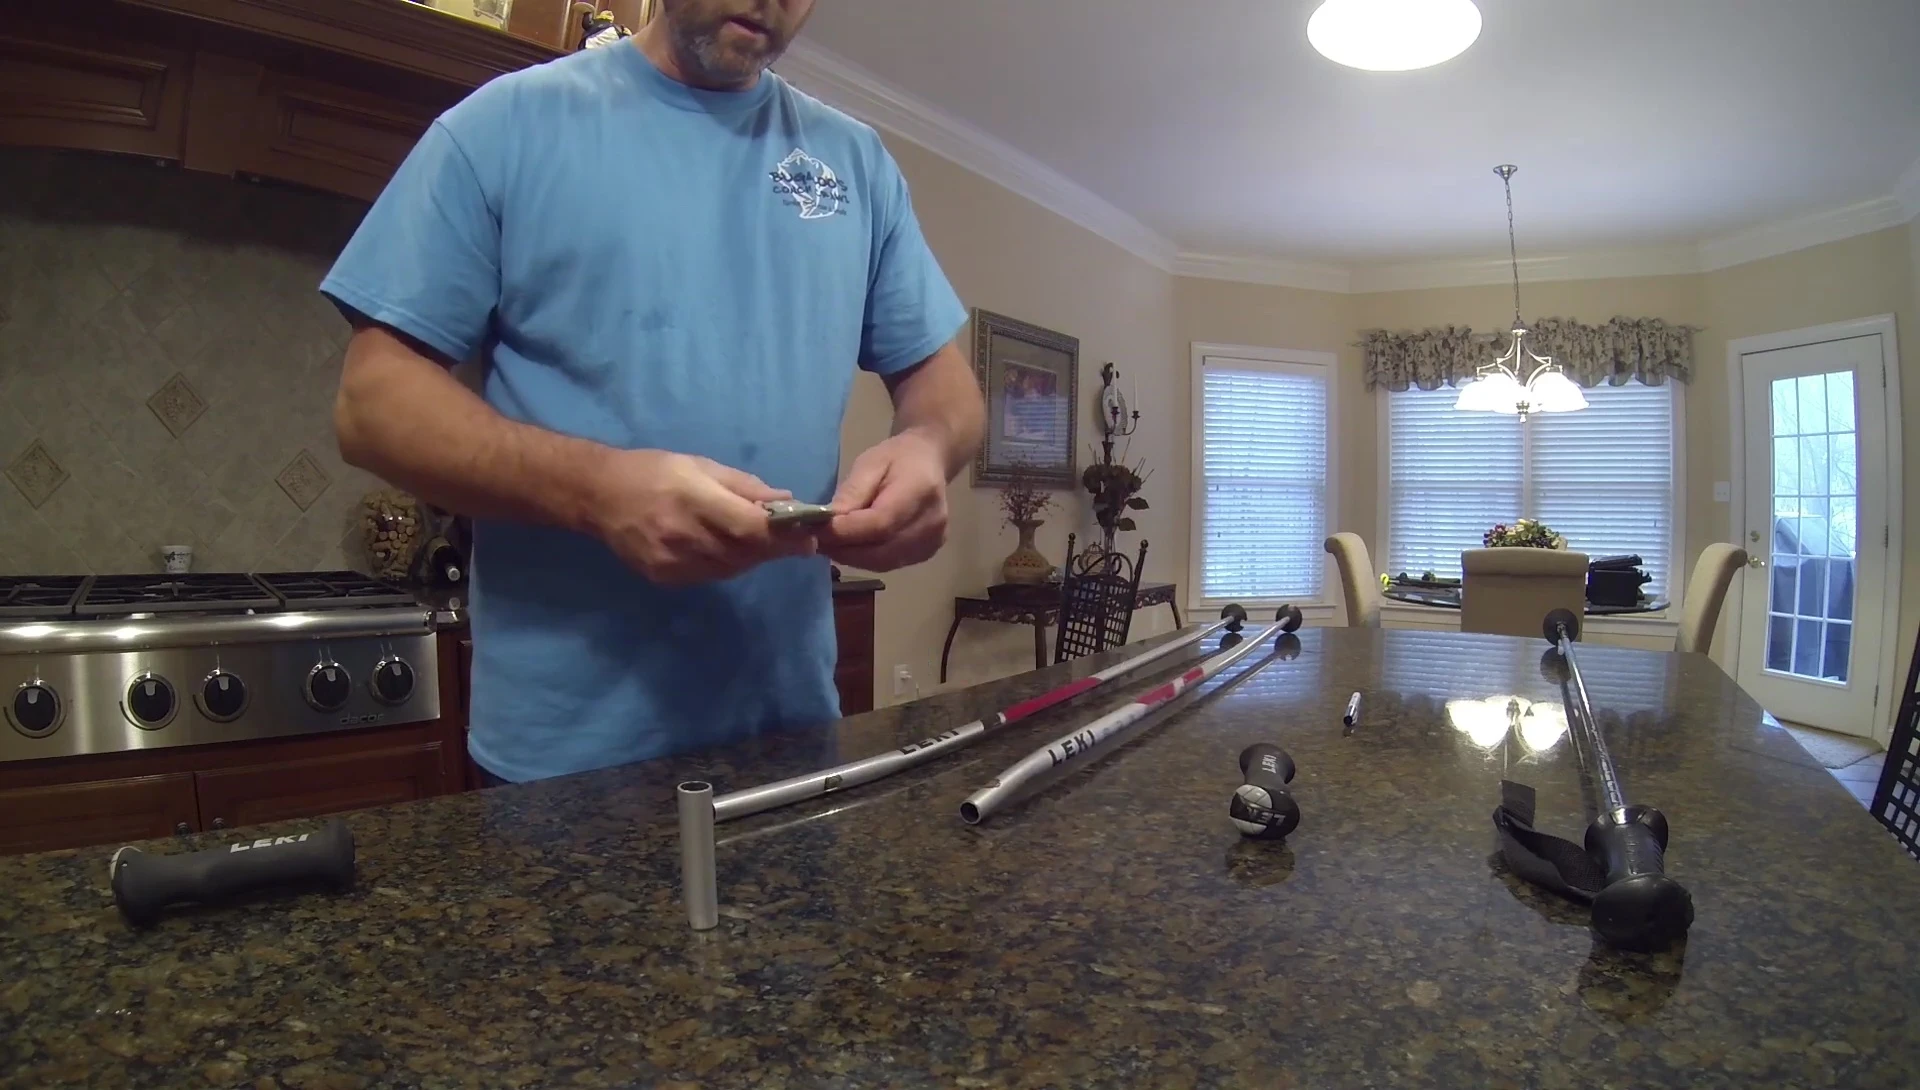
Tools and Measurements
To shorten your ski poles, you'll need a tubing cutter for a clean cut. A hacksaw can work as a substitute, but a tubing cutter provides a more precise result. It's crucial to measure your poles accurately to determine the ideal length.
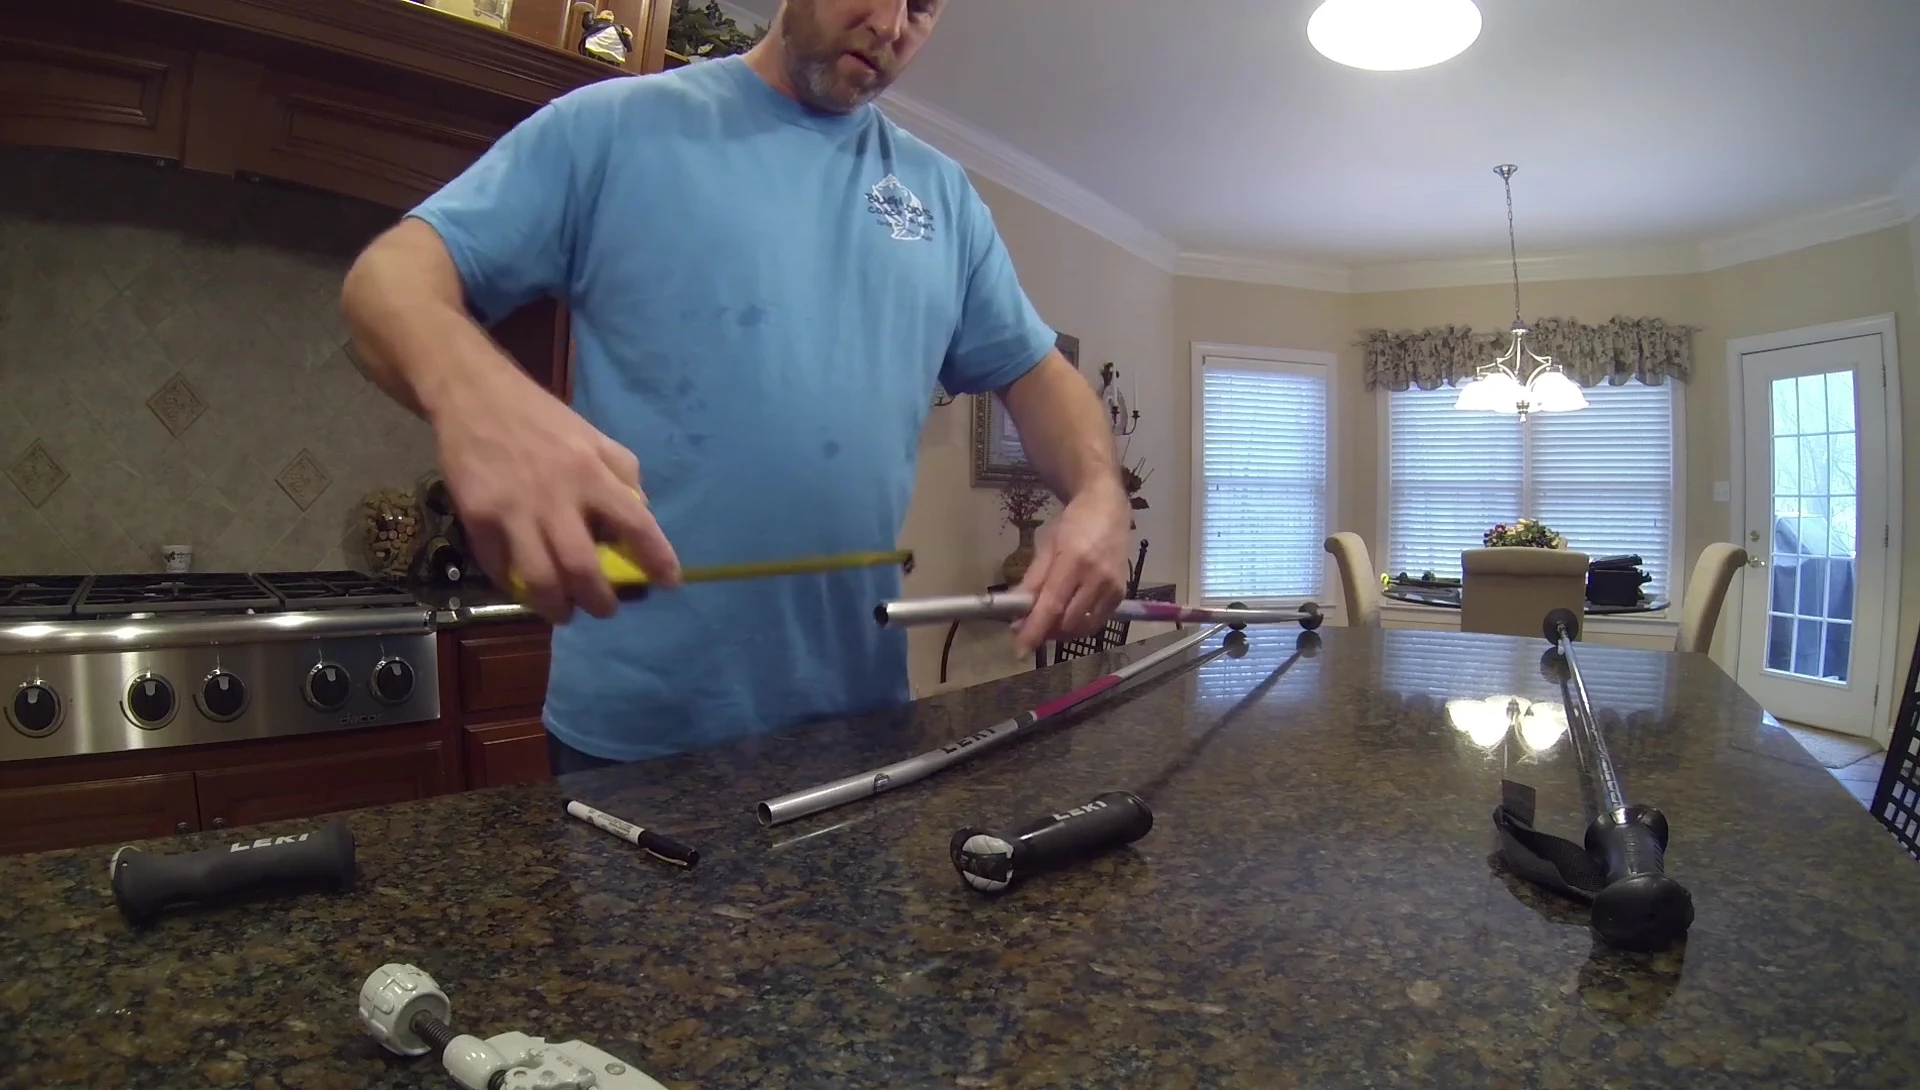
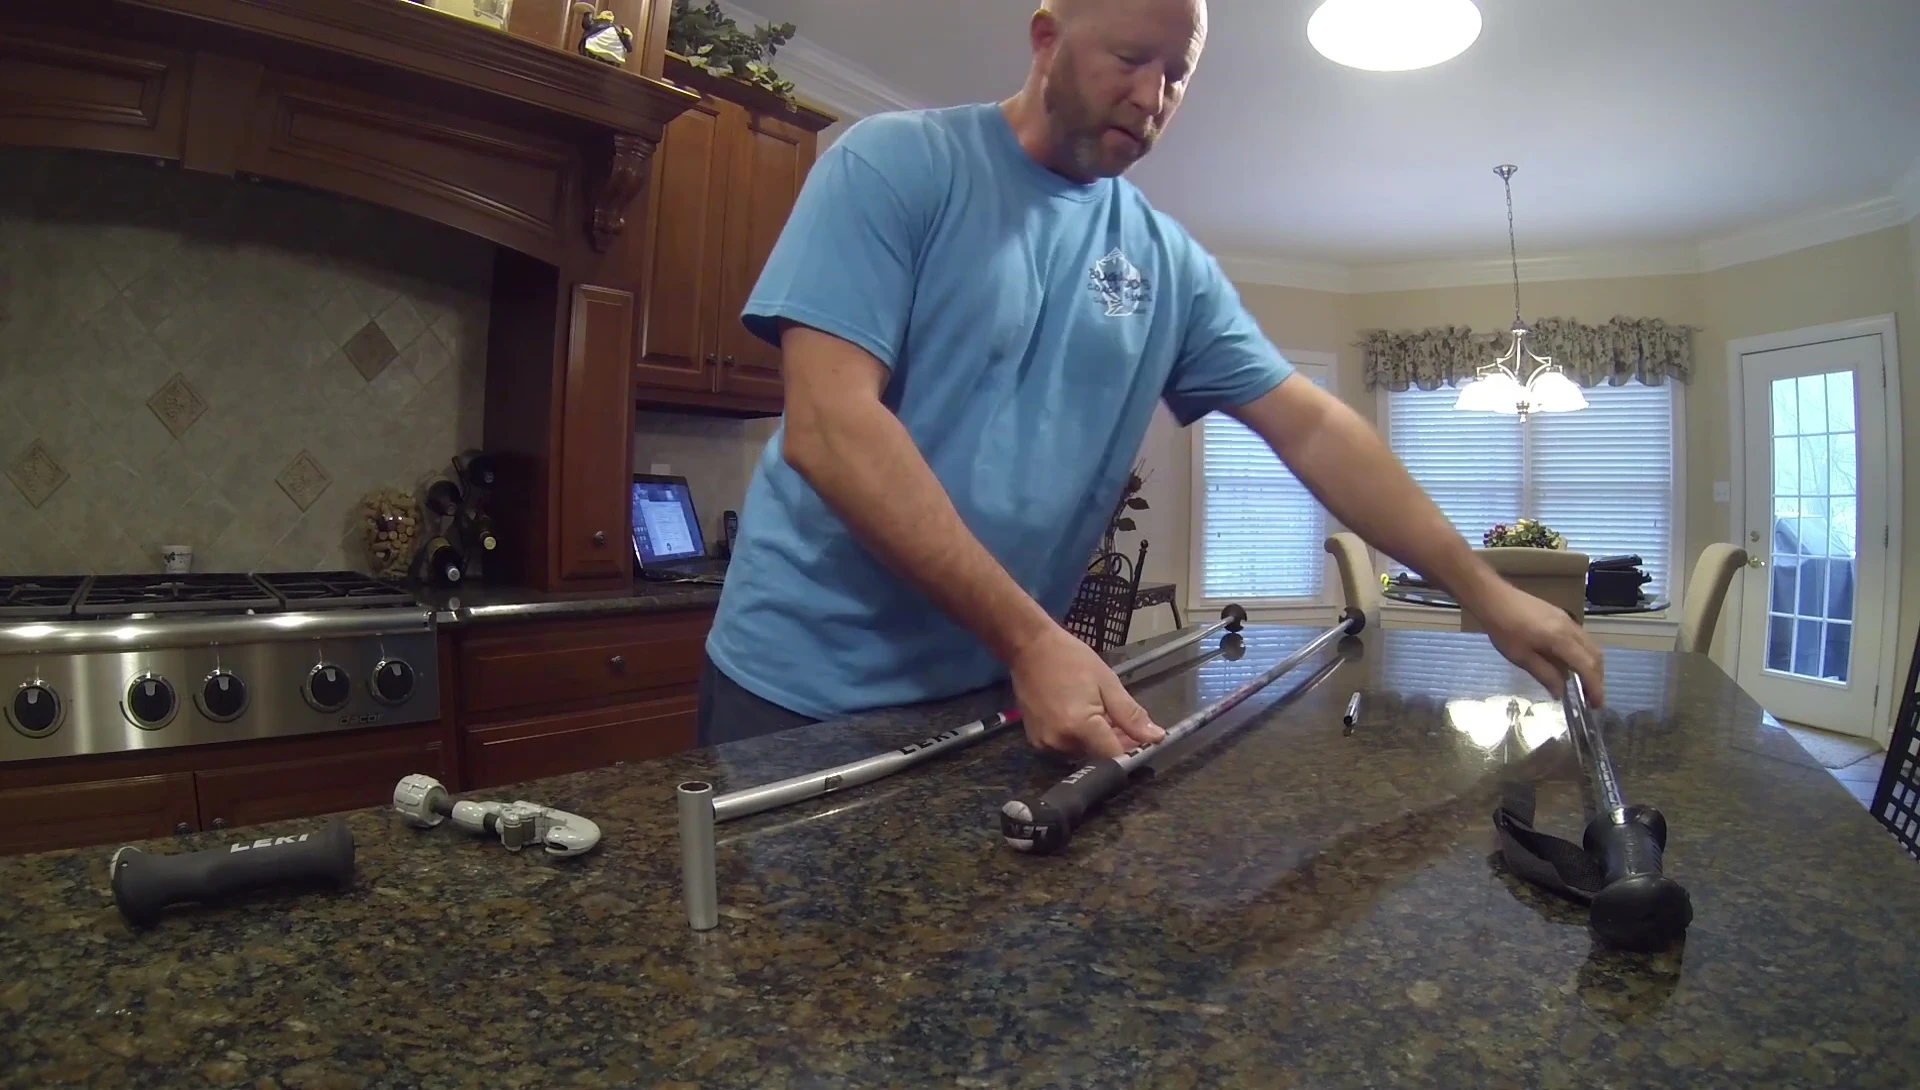
The standard method involves holding the pole upside down, with your hand under the basket. Your arm should be parallel to the floor, creating a right angle at your elbow. Use an existing pole as a template to determine how much to cut off the new poles.
Mark the poles using a marker pen. This ensures an accurate cut. The placement of the grip must be considered, especially for poles with bends. The ideal length allows the handle to align perfectly with the curve of the poles. This is essential for proper balance and grip.
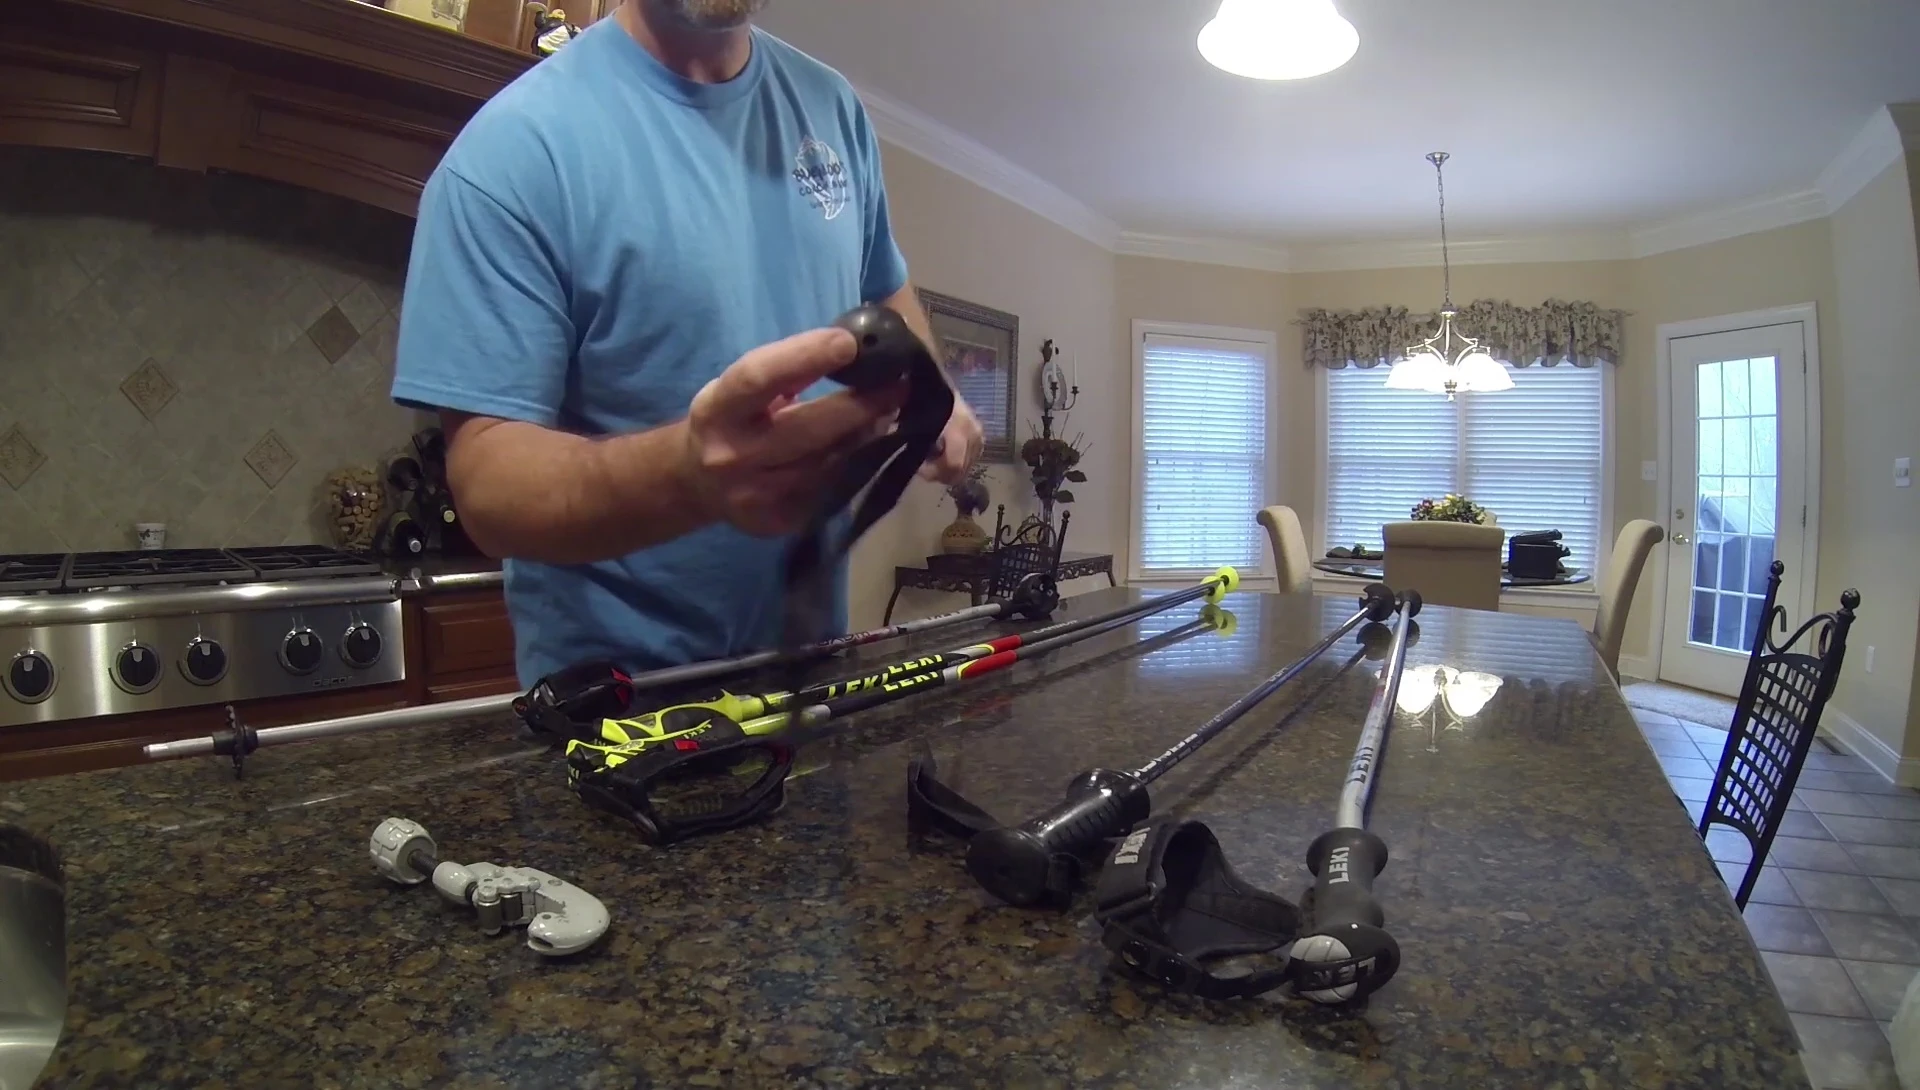
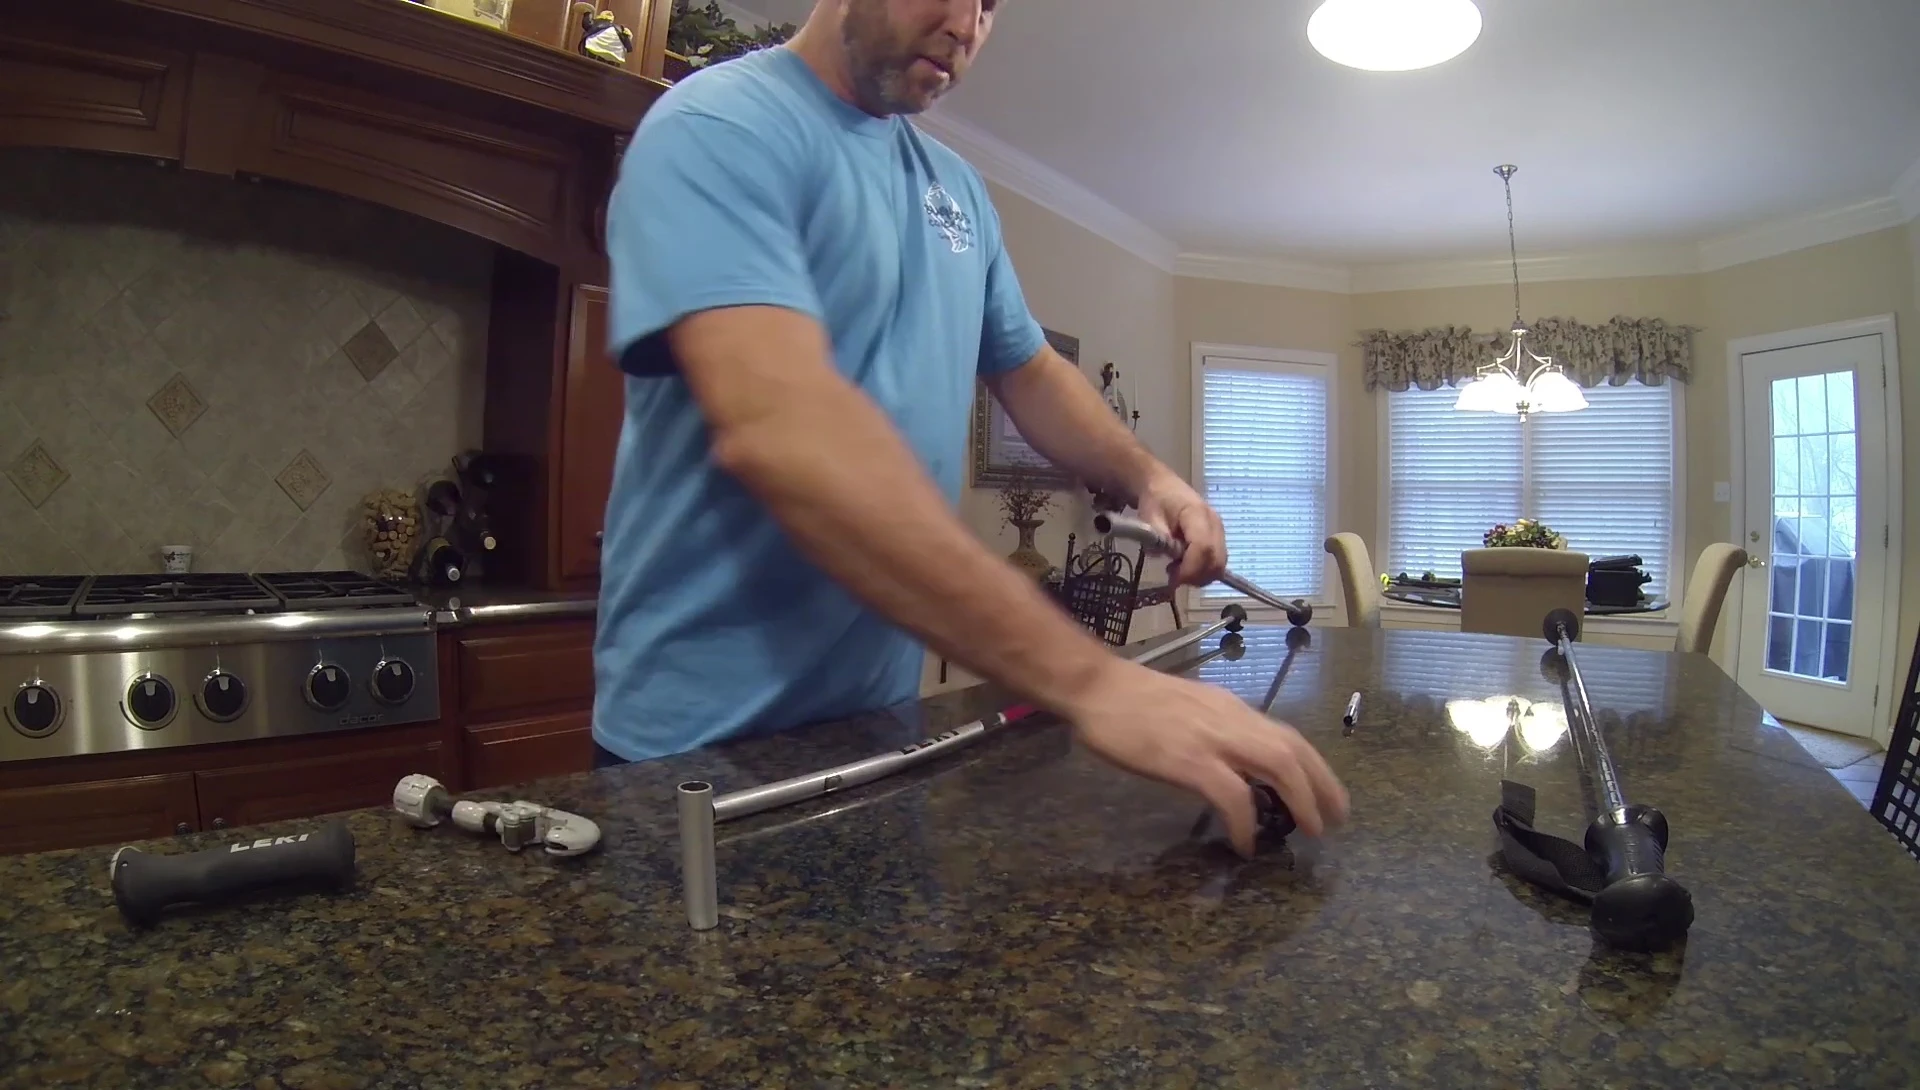
Removing the Grips
Removing ski pole grips can be challenging. Some poles have a screw mechanism; unscrew this before attempting to remove the grip.
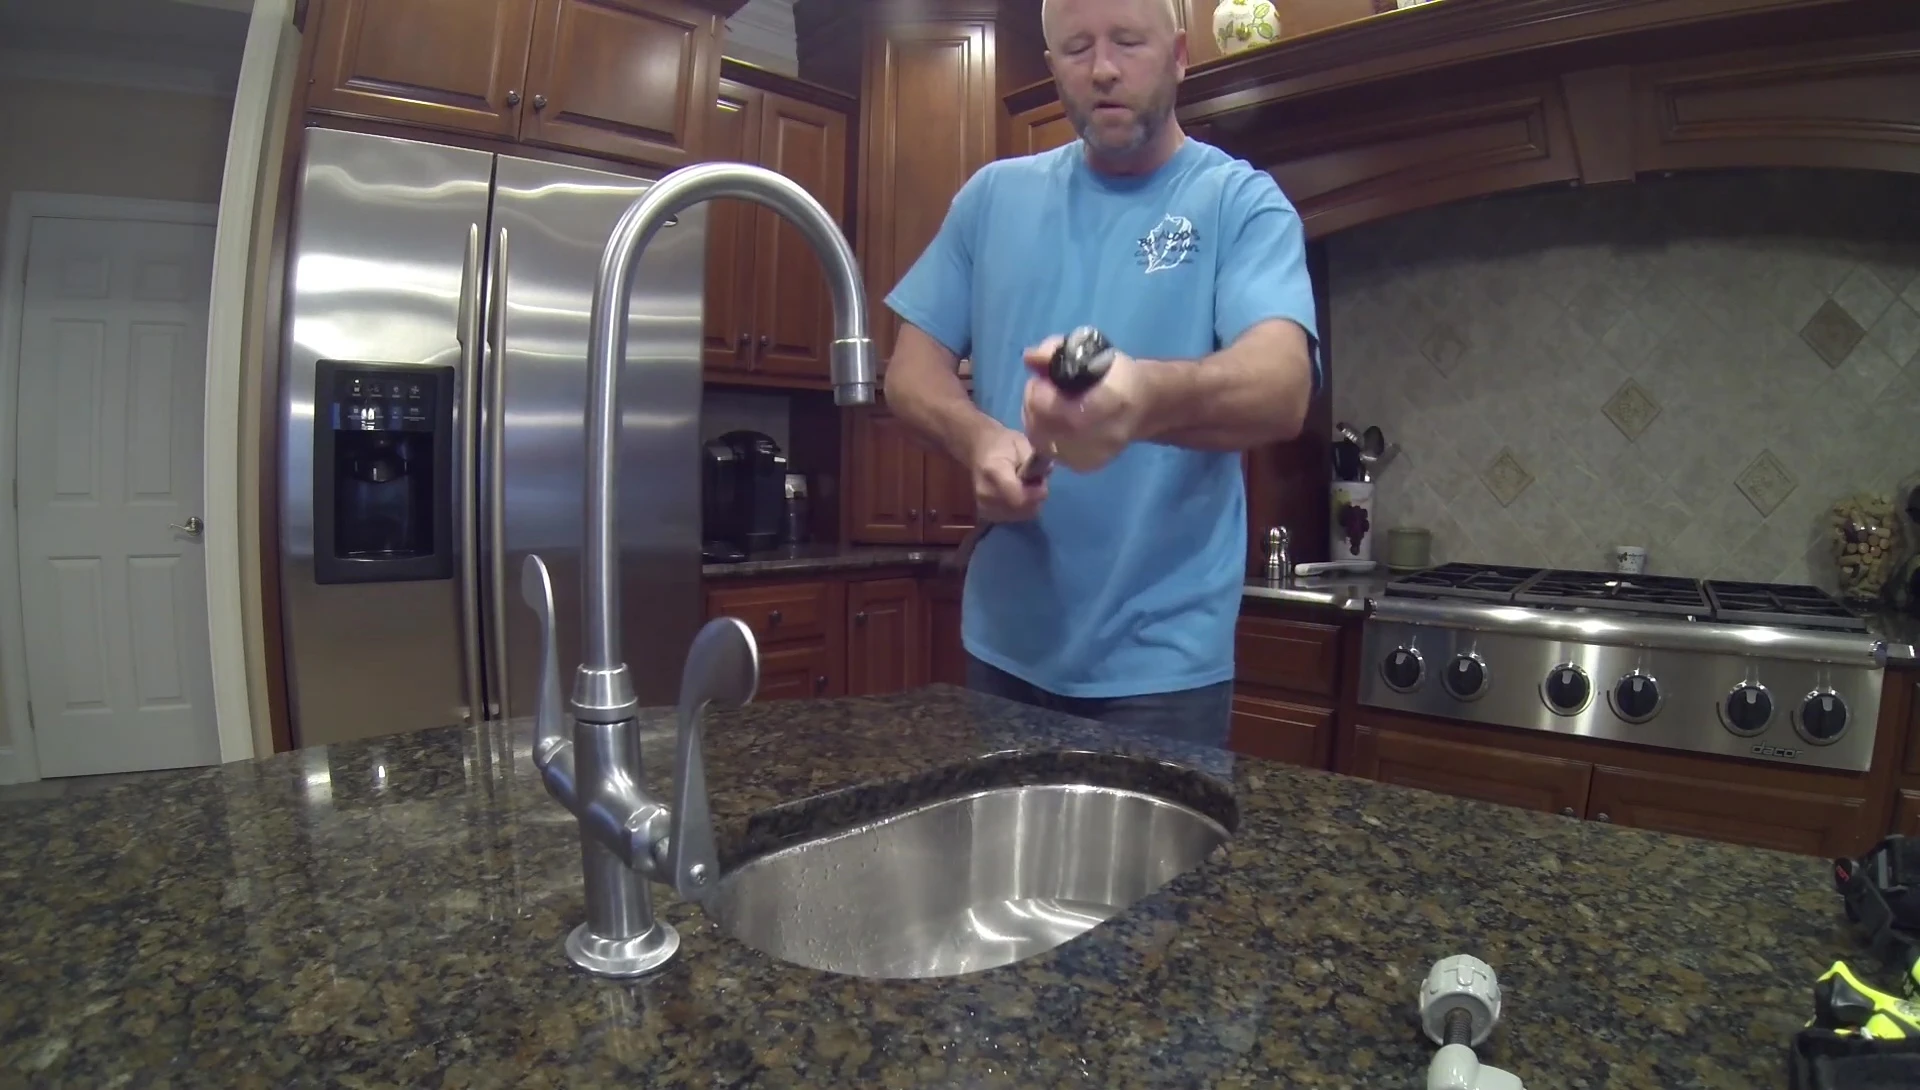
For poles without screws, methods include heating with a heat gun or hot water. Using hot water is a safer and more convenient option. Submerge the grips in hot water to loosen the adhesive, then carefully twist and pull them off.
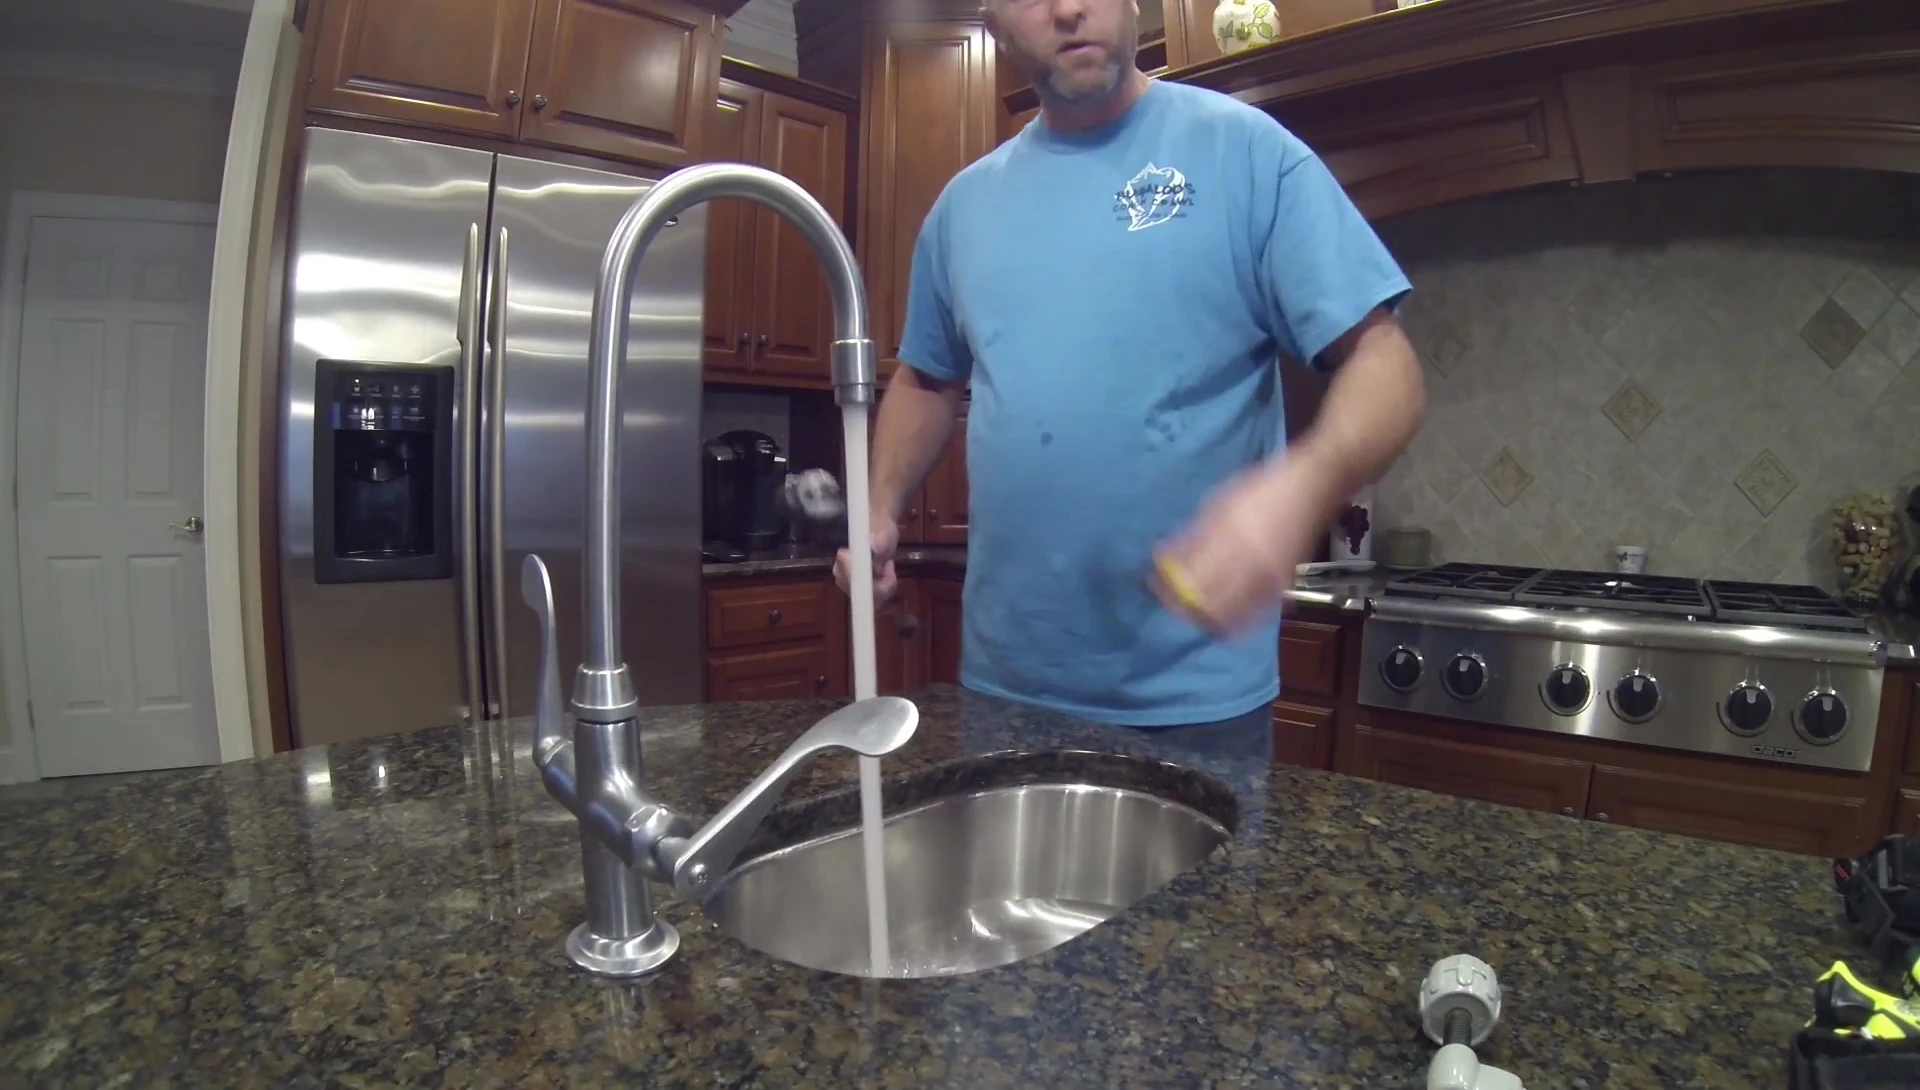
Gently heat the grips in hot water to loosen the adhesive. This prevents damage to the grips and ensures easy removal. Once loosened, the grip should twist and pull off smoothly from the pole shaft.
Cutting the Poles
Precisely measure the desired cut length using the markings. Take extra care with curved poles to determine the ideal cutting point for proper grip alignment and functionality.
Use your tubing cutter. Align it with your mark, tighten it securely, and rotate it to make a smooth cut. Clean up the cut end with a file or sandpaper for a smooth finish.
The tubing cutter ensures a clean and precise cut. If you lack this tool, a hacksaw is a viable alternative. Ensure the cut is perpendicular to the pole shaft for a professional and safe outcome.
Reassembling the Poles
Once cut, carefully slide the grip back onto the pole, ensuring correct orientation. Gently push the grip down until it's firmly secured.
Avoid excessive force to prevent damage. Ensure the grip is securely attached and aligned correctly. Your adjusted ski poles are now ready for use.
Double-check the pole length after reassembly. Comparing it with your template pole confirms a correct and safe adjustment.
Conclusion
Cutting down ski poles is a straightforward process that requires careful measurement and the right tools. A tubing cutter is ideal for clean cuts, but a hacksaw is a suitable alternative.
The hot water method for removing grips is efficient and safe. Always prioritize safety and handle tools with care. Proper technique ensures a well-fitted, functional ski pole.
Remember to double-check all measurements and cut lengths to achieve the perfect fit. Now you can enjoy your custom-sized ski poles, ensuring comfortable and effective skiing.