Upgrade your ski touring experience without emptying your wallet! This guide provides a simple, budget-friendly DIY project to revitalize your old ski poles and enhance your backcountry adventures. Using readily available materials – bar tape, electrical tape, and your existing poles – you can dramatically improve grip and comfort, making your ascents and descents more enjoyable. This cost-effective solution offers a significant upgrade in functionality and warmth without the expense of new poles.This step-by-step tutorial walks you through the entire process, from gathering the necessary supplies to expertly applying the bar tape and securing it with electrical tape. Learn how to achieve a professional-looking finish and ensure a durable, long-lasting grip that will withstand the rigors of backcountry skiing. Get ready to experience enhanced control, warmth, and comfort on your next ski touring expedition – all for the price of a few readily accessible materials.
Pros And Cons
- Lightweight
- Cheap to modify
- Provides extra grip while skiing without gloves
- Keeps hands warmer while touching metal
Read more: Top 5 Women's Ski Poles for Superior Performance
Materials and Preparation
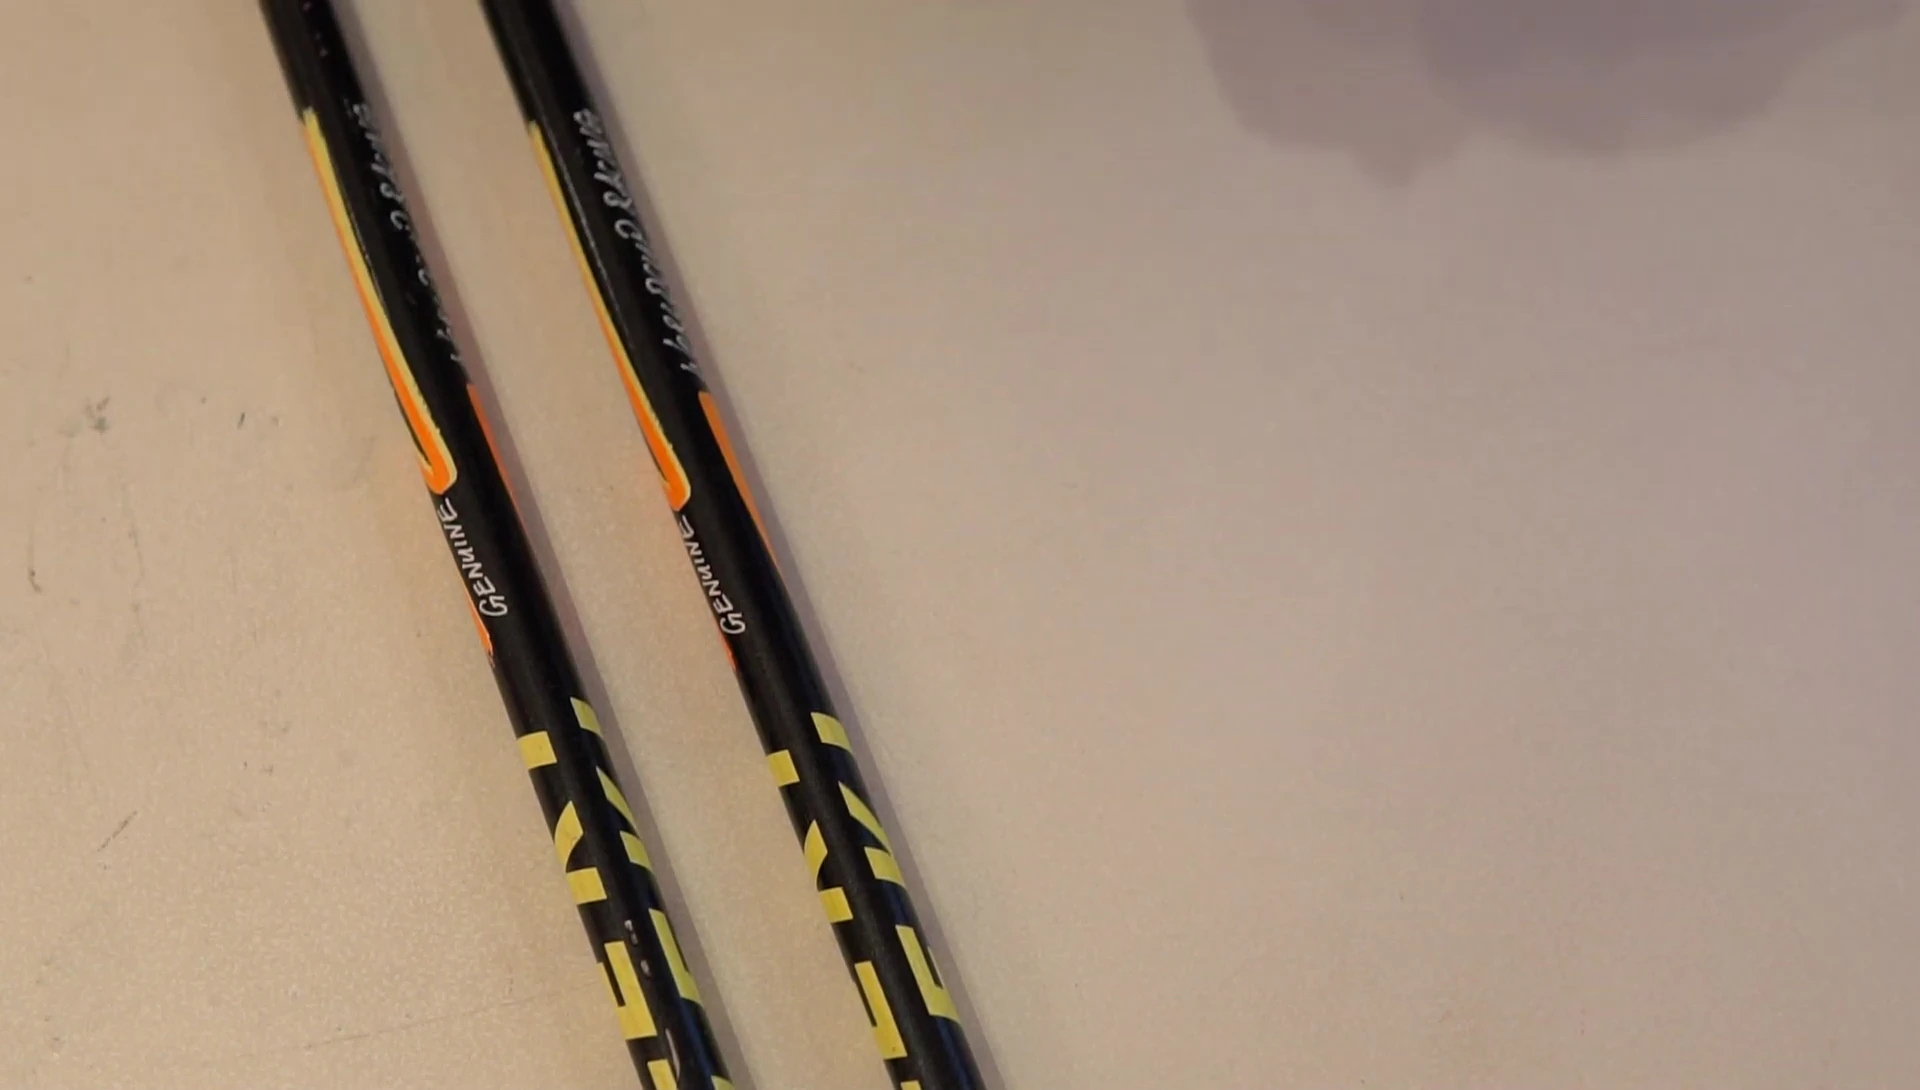
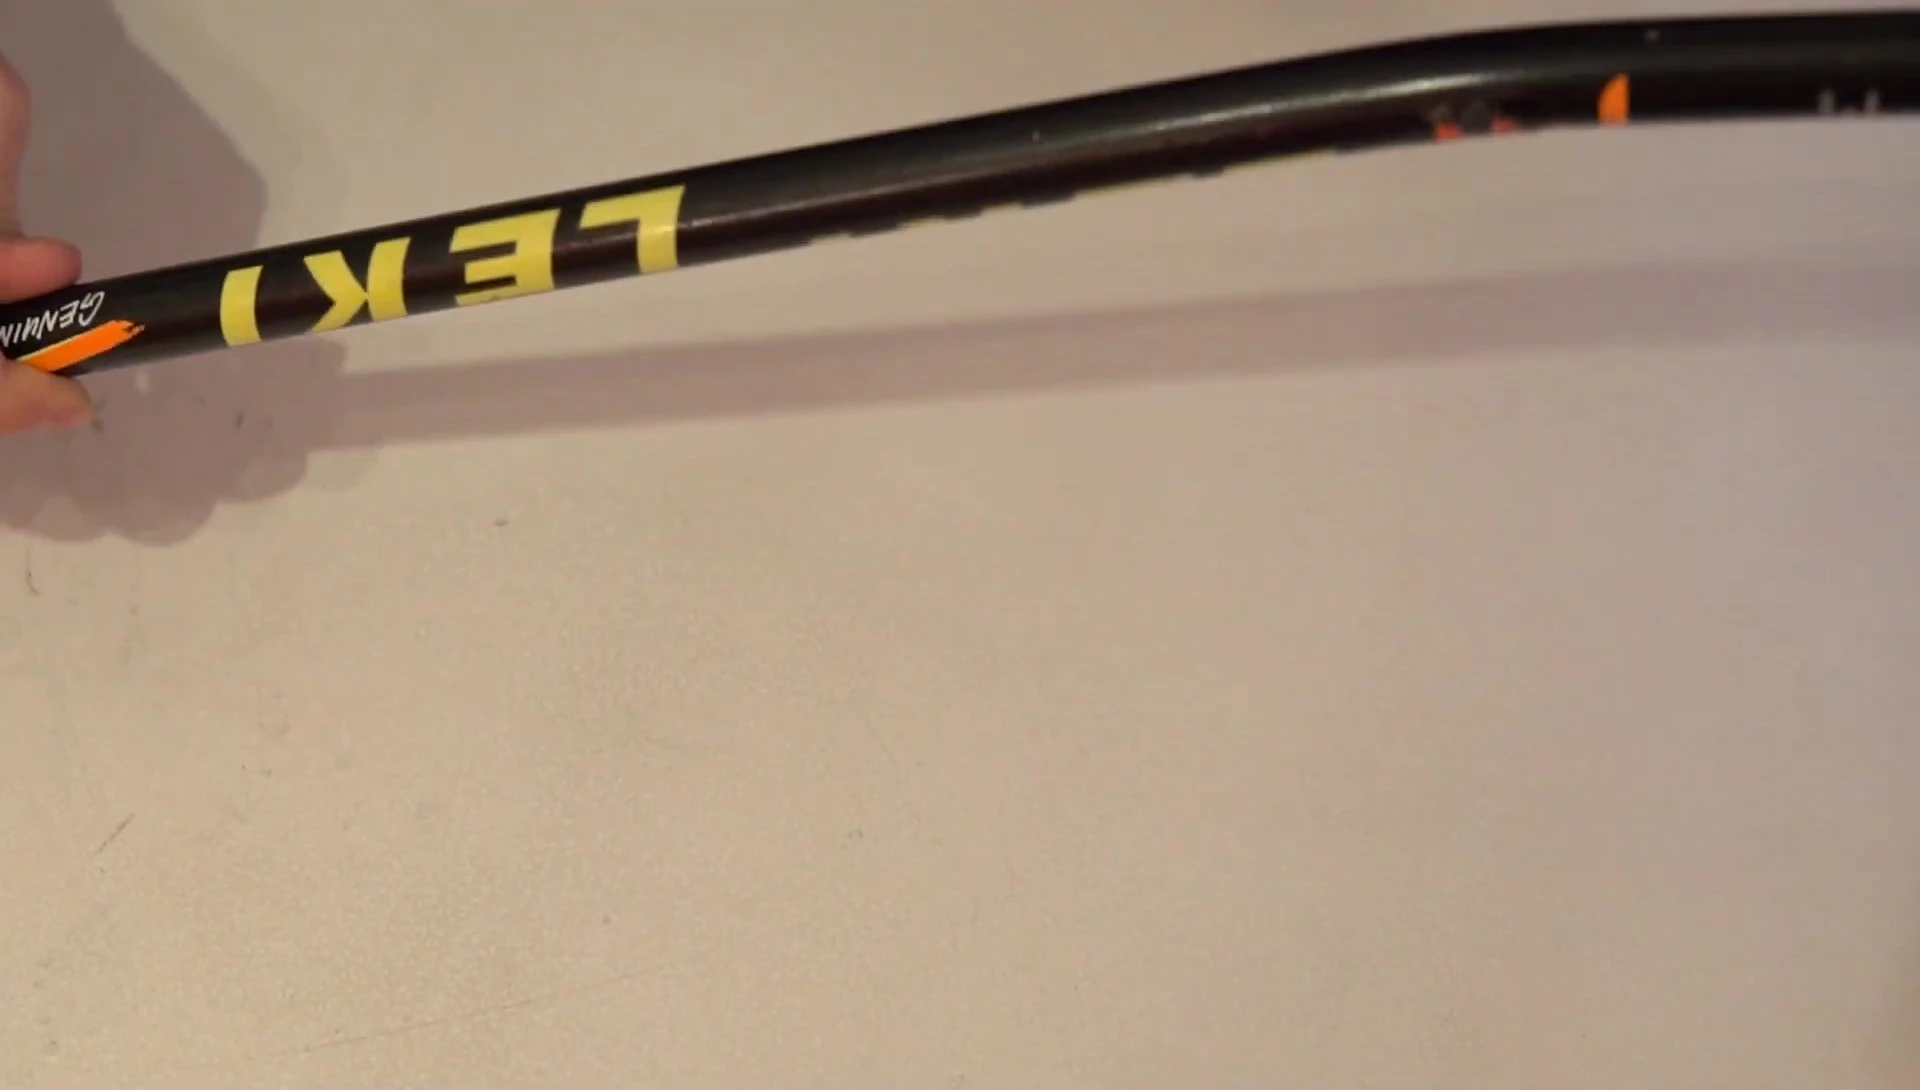
This project requires minimal materials, making it incredibly budget-friendly. You'll need your old ski poles, bar tape (I prefer this over rubber tape due to its less sticky nature), scissors, and electrical tape for added security. Before you begin, clean your poles thoroughly to ensure a secure grip for the tape.
Gathering your supplies is the first step. Make sure your chosen bar tape is of good quality and the right width to provide ample grip. Having sharp scissors ensures a clean cut for the tape application. The electrical tape acts as a sealant, ensuring the bar tape stays in place and protects the pole.
Applying the Bar Tape
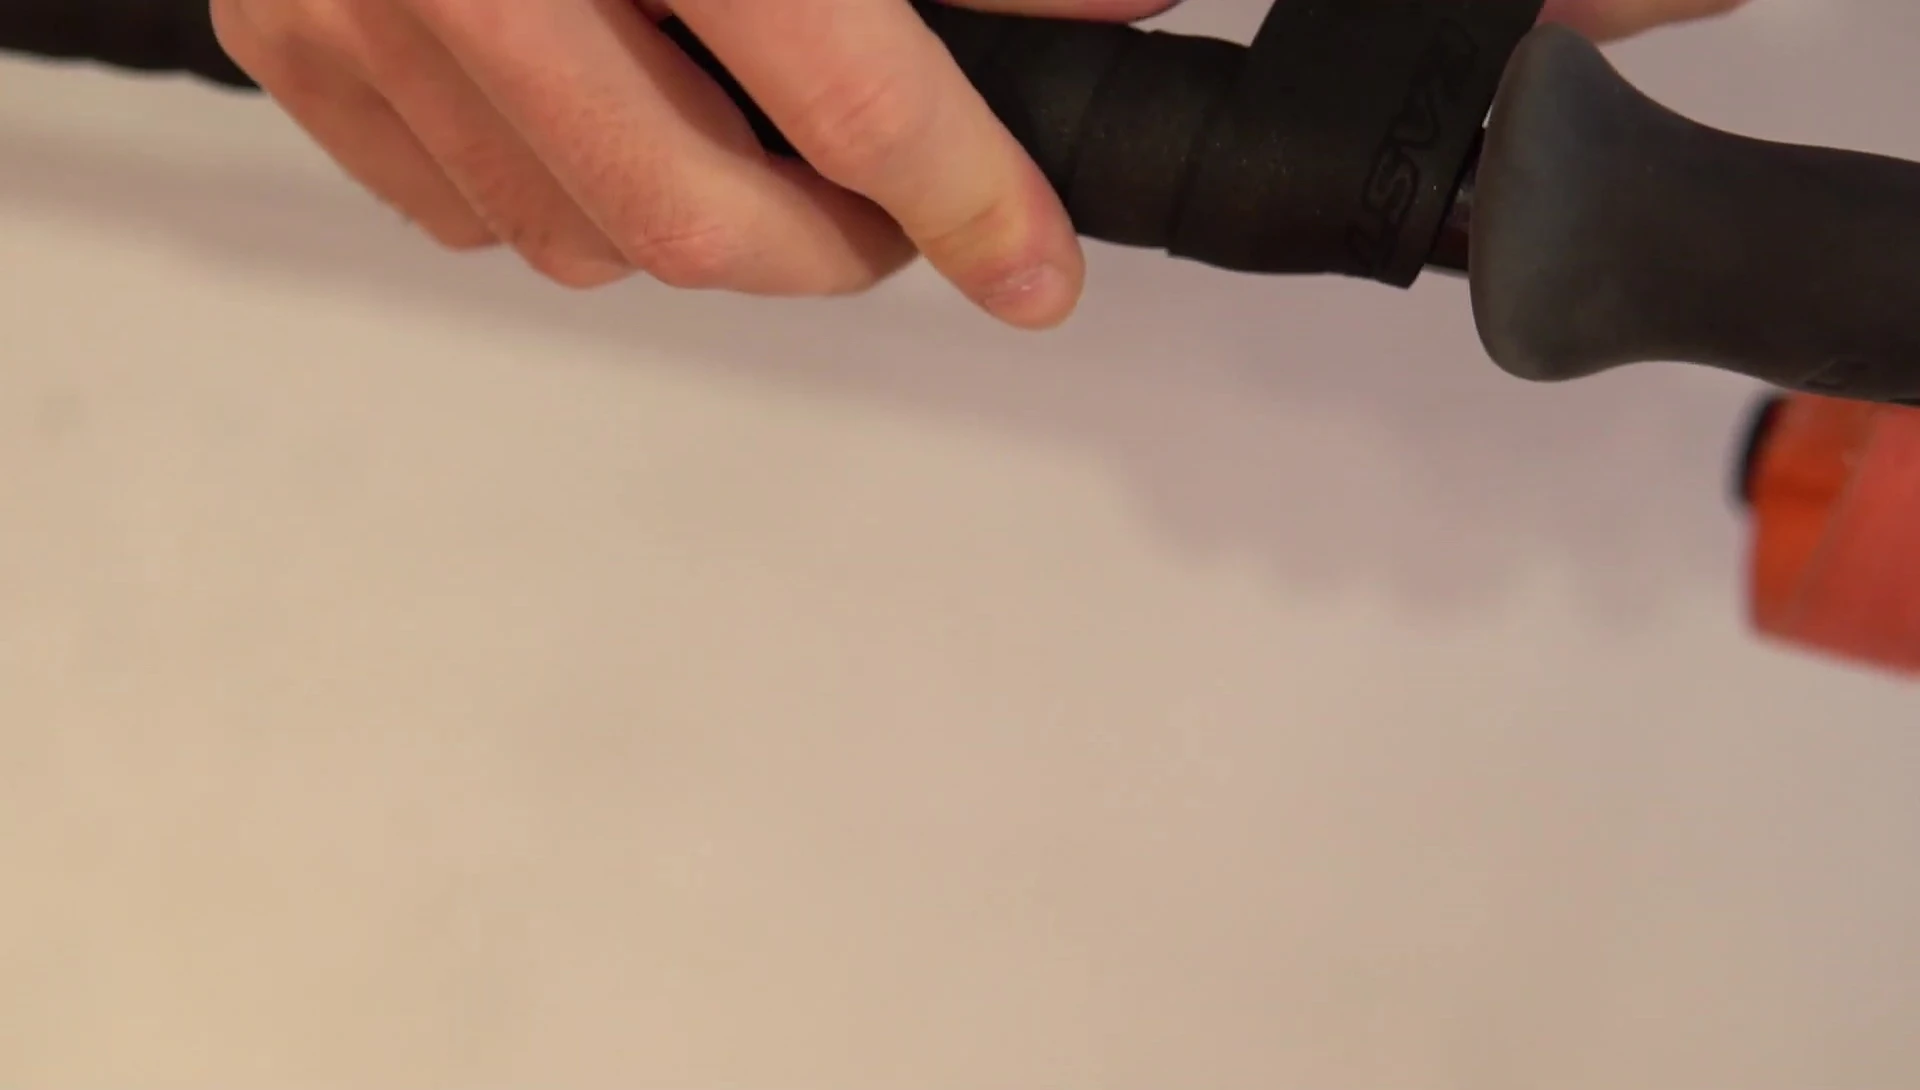
Begin by cutting the bar tape at an angle to ensure a flush finish. Wrap the tape around the pole, overlapping each layer slightly for a secure grip. Maintain a consistent tension to prevent unevenness or gaps. The angle cut ensures a neat and professional look and prevents any bulky buildup at the edges.
Continue wrapping the bar tape until you reach the desired length, ensuring you maintain a firm grip while applying it to avoid any wrinkles or bubbles. Finish by securing the end of the tape with electrical tape, ensuring it doesn't unravel during use. This creates a firm, durable grip on your ski poles.
Finishing Touches and Conclusion
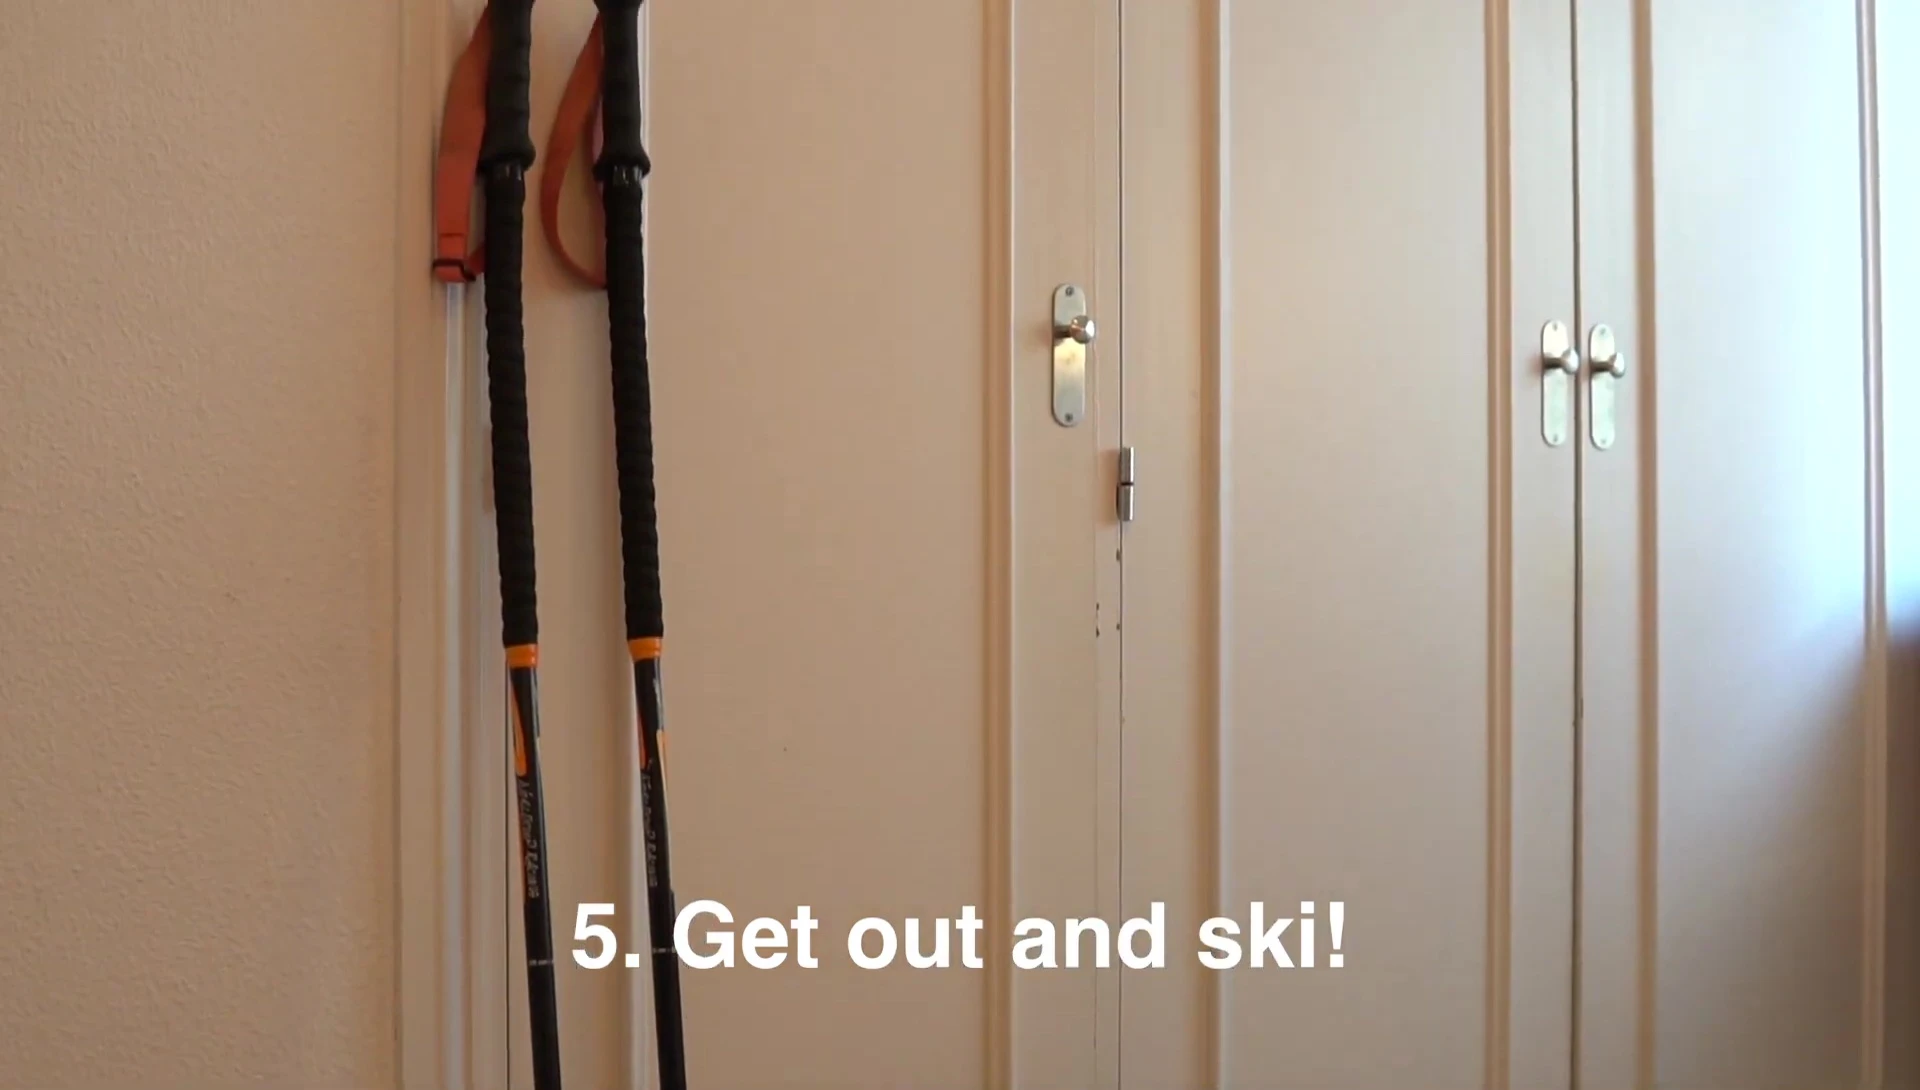
Once both poles are wrapped, you'll have a comfortable, improved grip for backcountry touring. The added layer of bar tape provides extra insulation, keeping your hands warmer in cold conditions. This DIY upgrade enhances your ski poles' functionality for backcountry use without breaking the bank.
This project is a cost-effective way to upgrade your existing ski poles for backcountry use. The increased grip and added warmth make it a worthwhile endeavor. The result is a functional, comfortable, and affordable upgrade for your skiing equipment.