Finding the perfect snowboard stance is crucial for maximizing performance and enjoyment on the slopes. Your stance, encompassing both width and binding angles, directly impacts your balance, power, and control. A poorly configured stance can lead to instability, reduced agility, and even injury. This comprehensive guide will walk you through the process of determining your ideal stance width, using various methods to ensure a comfortable and powerful setup. We'll delve into understanding snowboard binding angles and their influence on different riding styles, from freestyle to carving.This article provides a step-by-step approach to finding the perfect width and angles for your bindings, covering everything from measuring your leg length for optimal width to understanding the significance of positive and negative angles. We'll also cover different binding systems and offer essential mounting tips to ensure a secure and damage-free installation. Whether you're a seasoned pro or a complete beginner, mastering your snowboard stance is key to unlocking your full potential on the mountain. Let's get started!
Read more: 2025 Nitro Team Snowboard: A Versatile All-Mountain Dominator
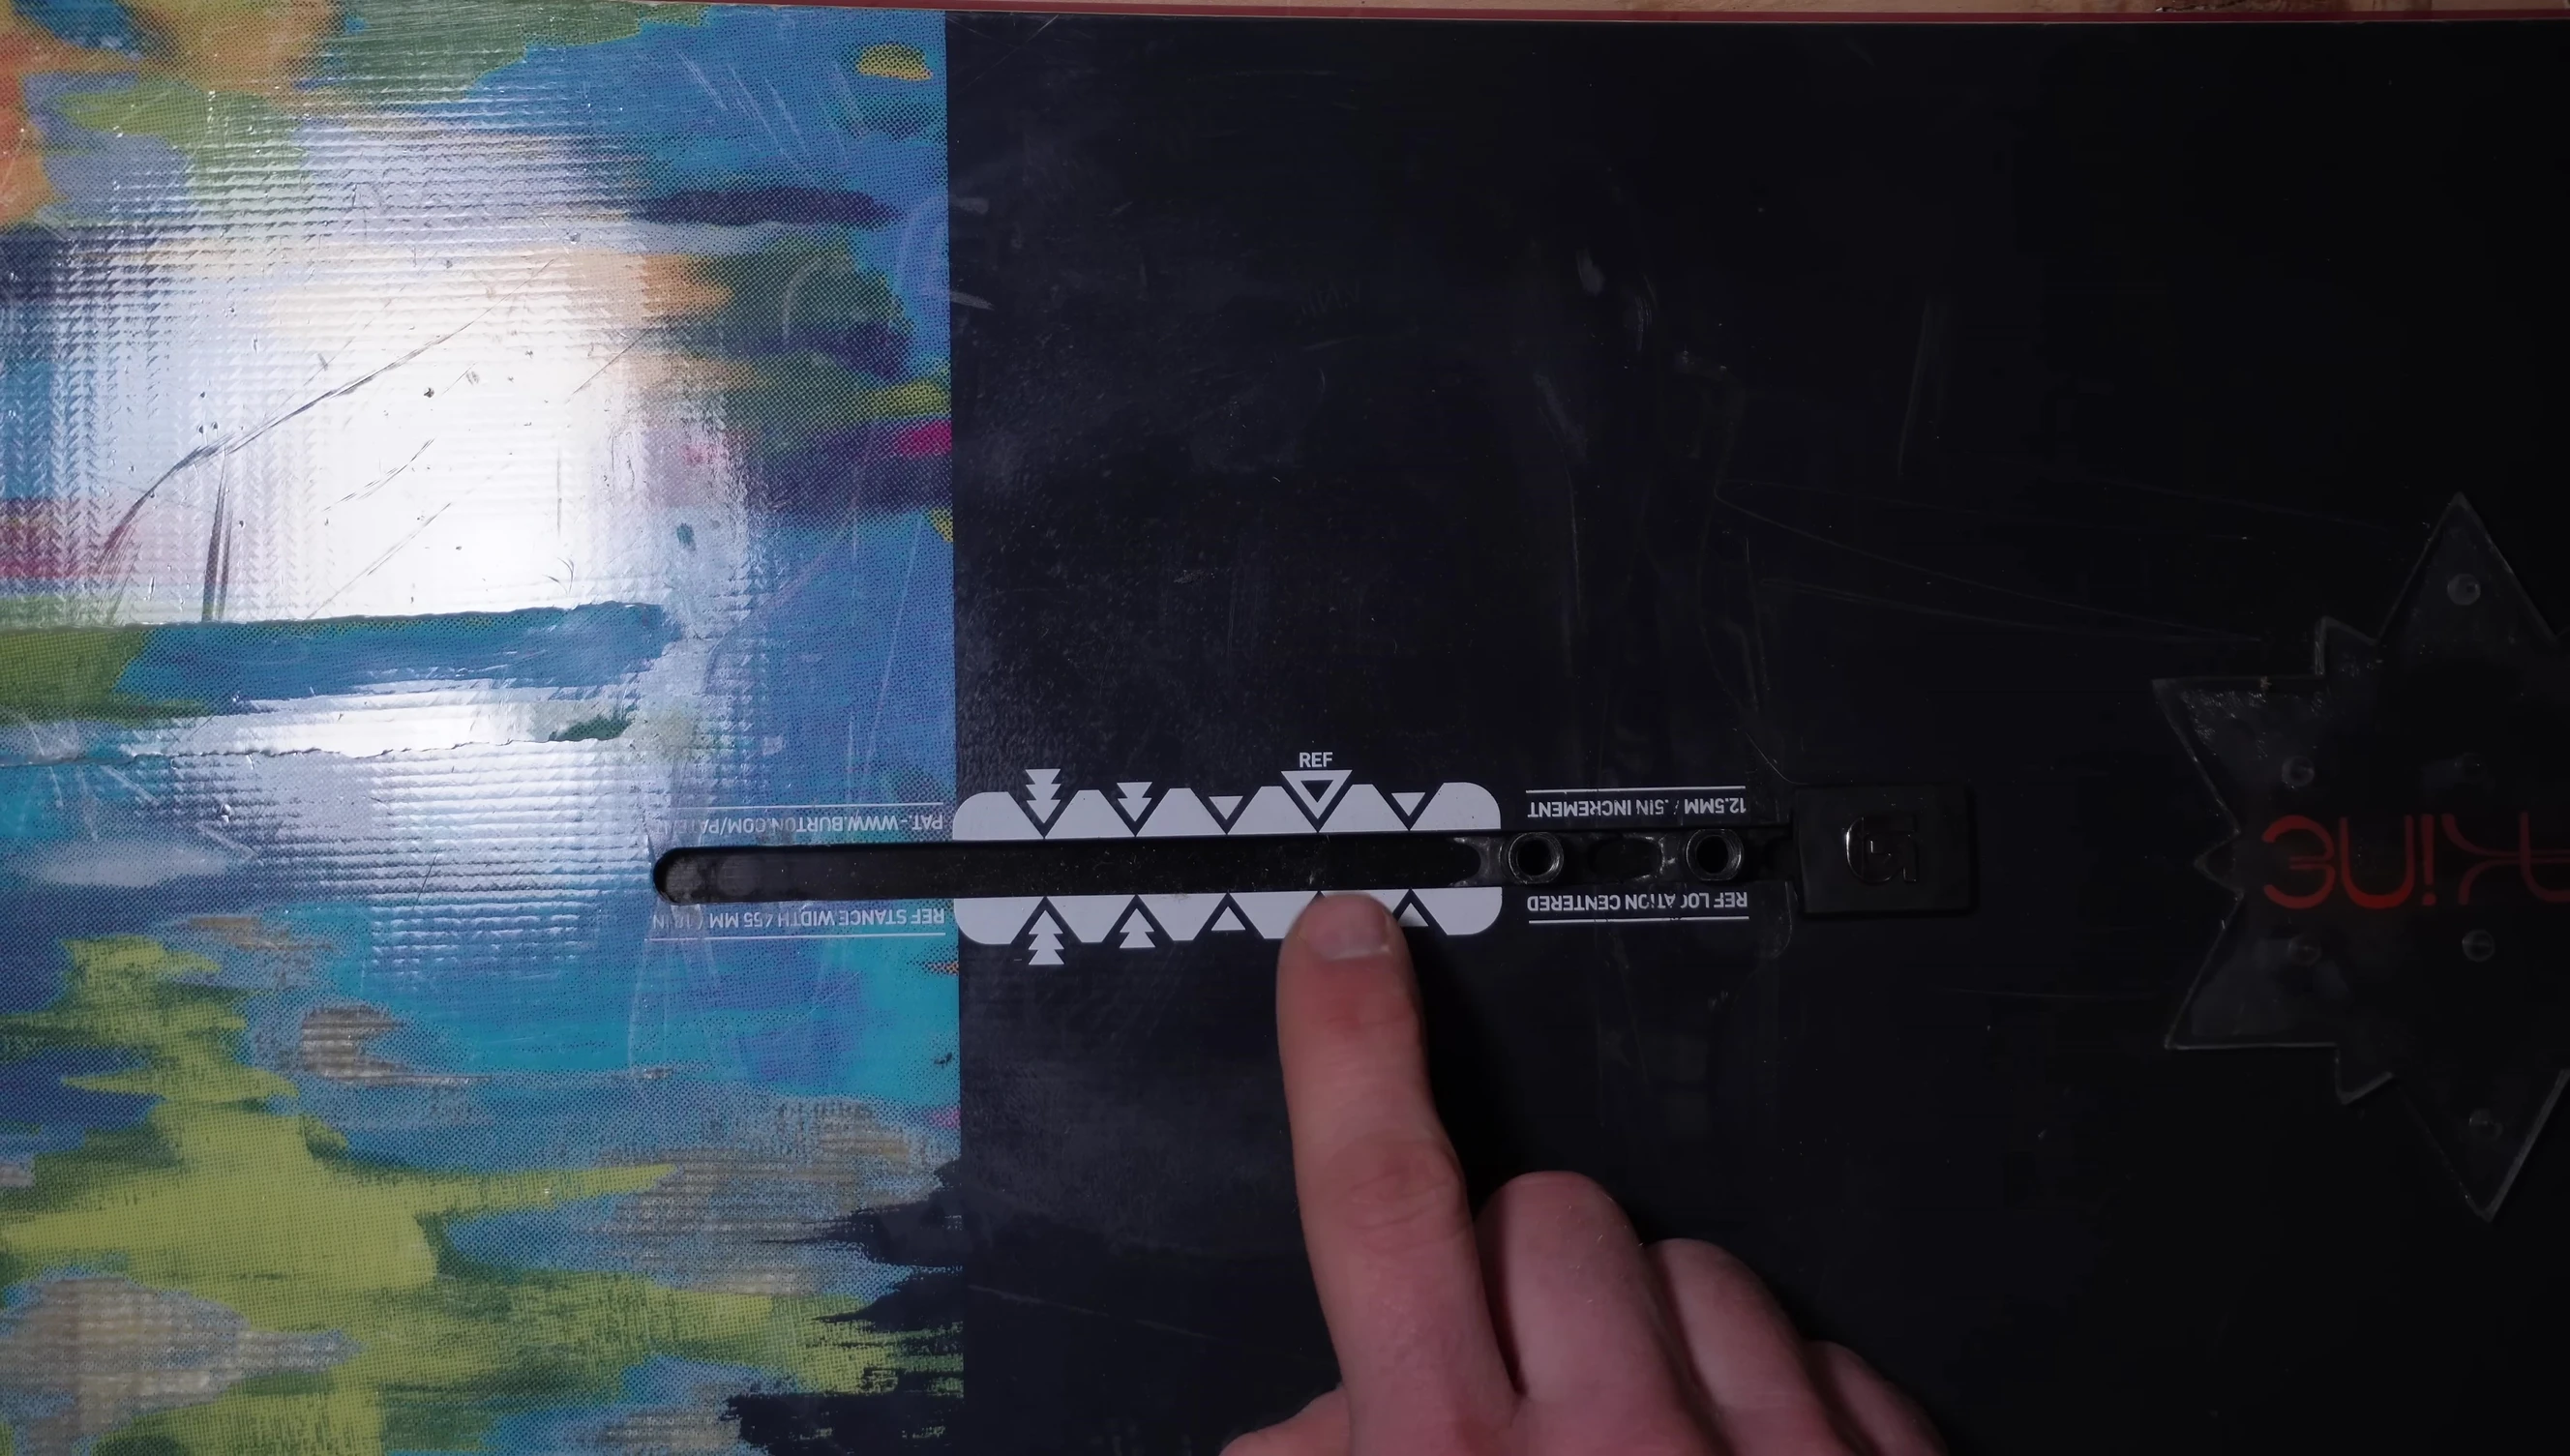
Determining Your Snowboard Stance Width
Finding the ideal stance width is crucial for power and balance. A too-narrow stance limits power transfer, leading to instability. Conversely, a stance that's too wide restricts hip movement and reduces overall control. The goal is a comfortable, athletic stance that maximizes both power and agility.
Several methods exist for determining your optimal width. One involves measuring your lower leg from the floor to the top of your bent knee. This measurement often correlates closely with an ideal stance width. Another technique is to jump into a snowboard stance and have someone measure the distance between your feet.
Finally, many snowboards provide a reference stance width. While useful as a starting point, it shouldn't be the sole determinant as manufacturers' references can vary considerably. Consider using a combination of these methods for a more accurate assessment.
Understanding Snowboard Stance Angles
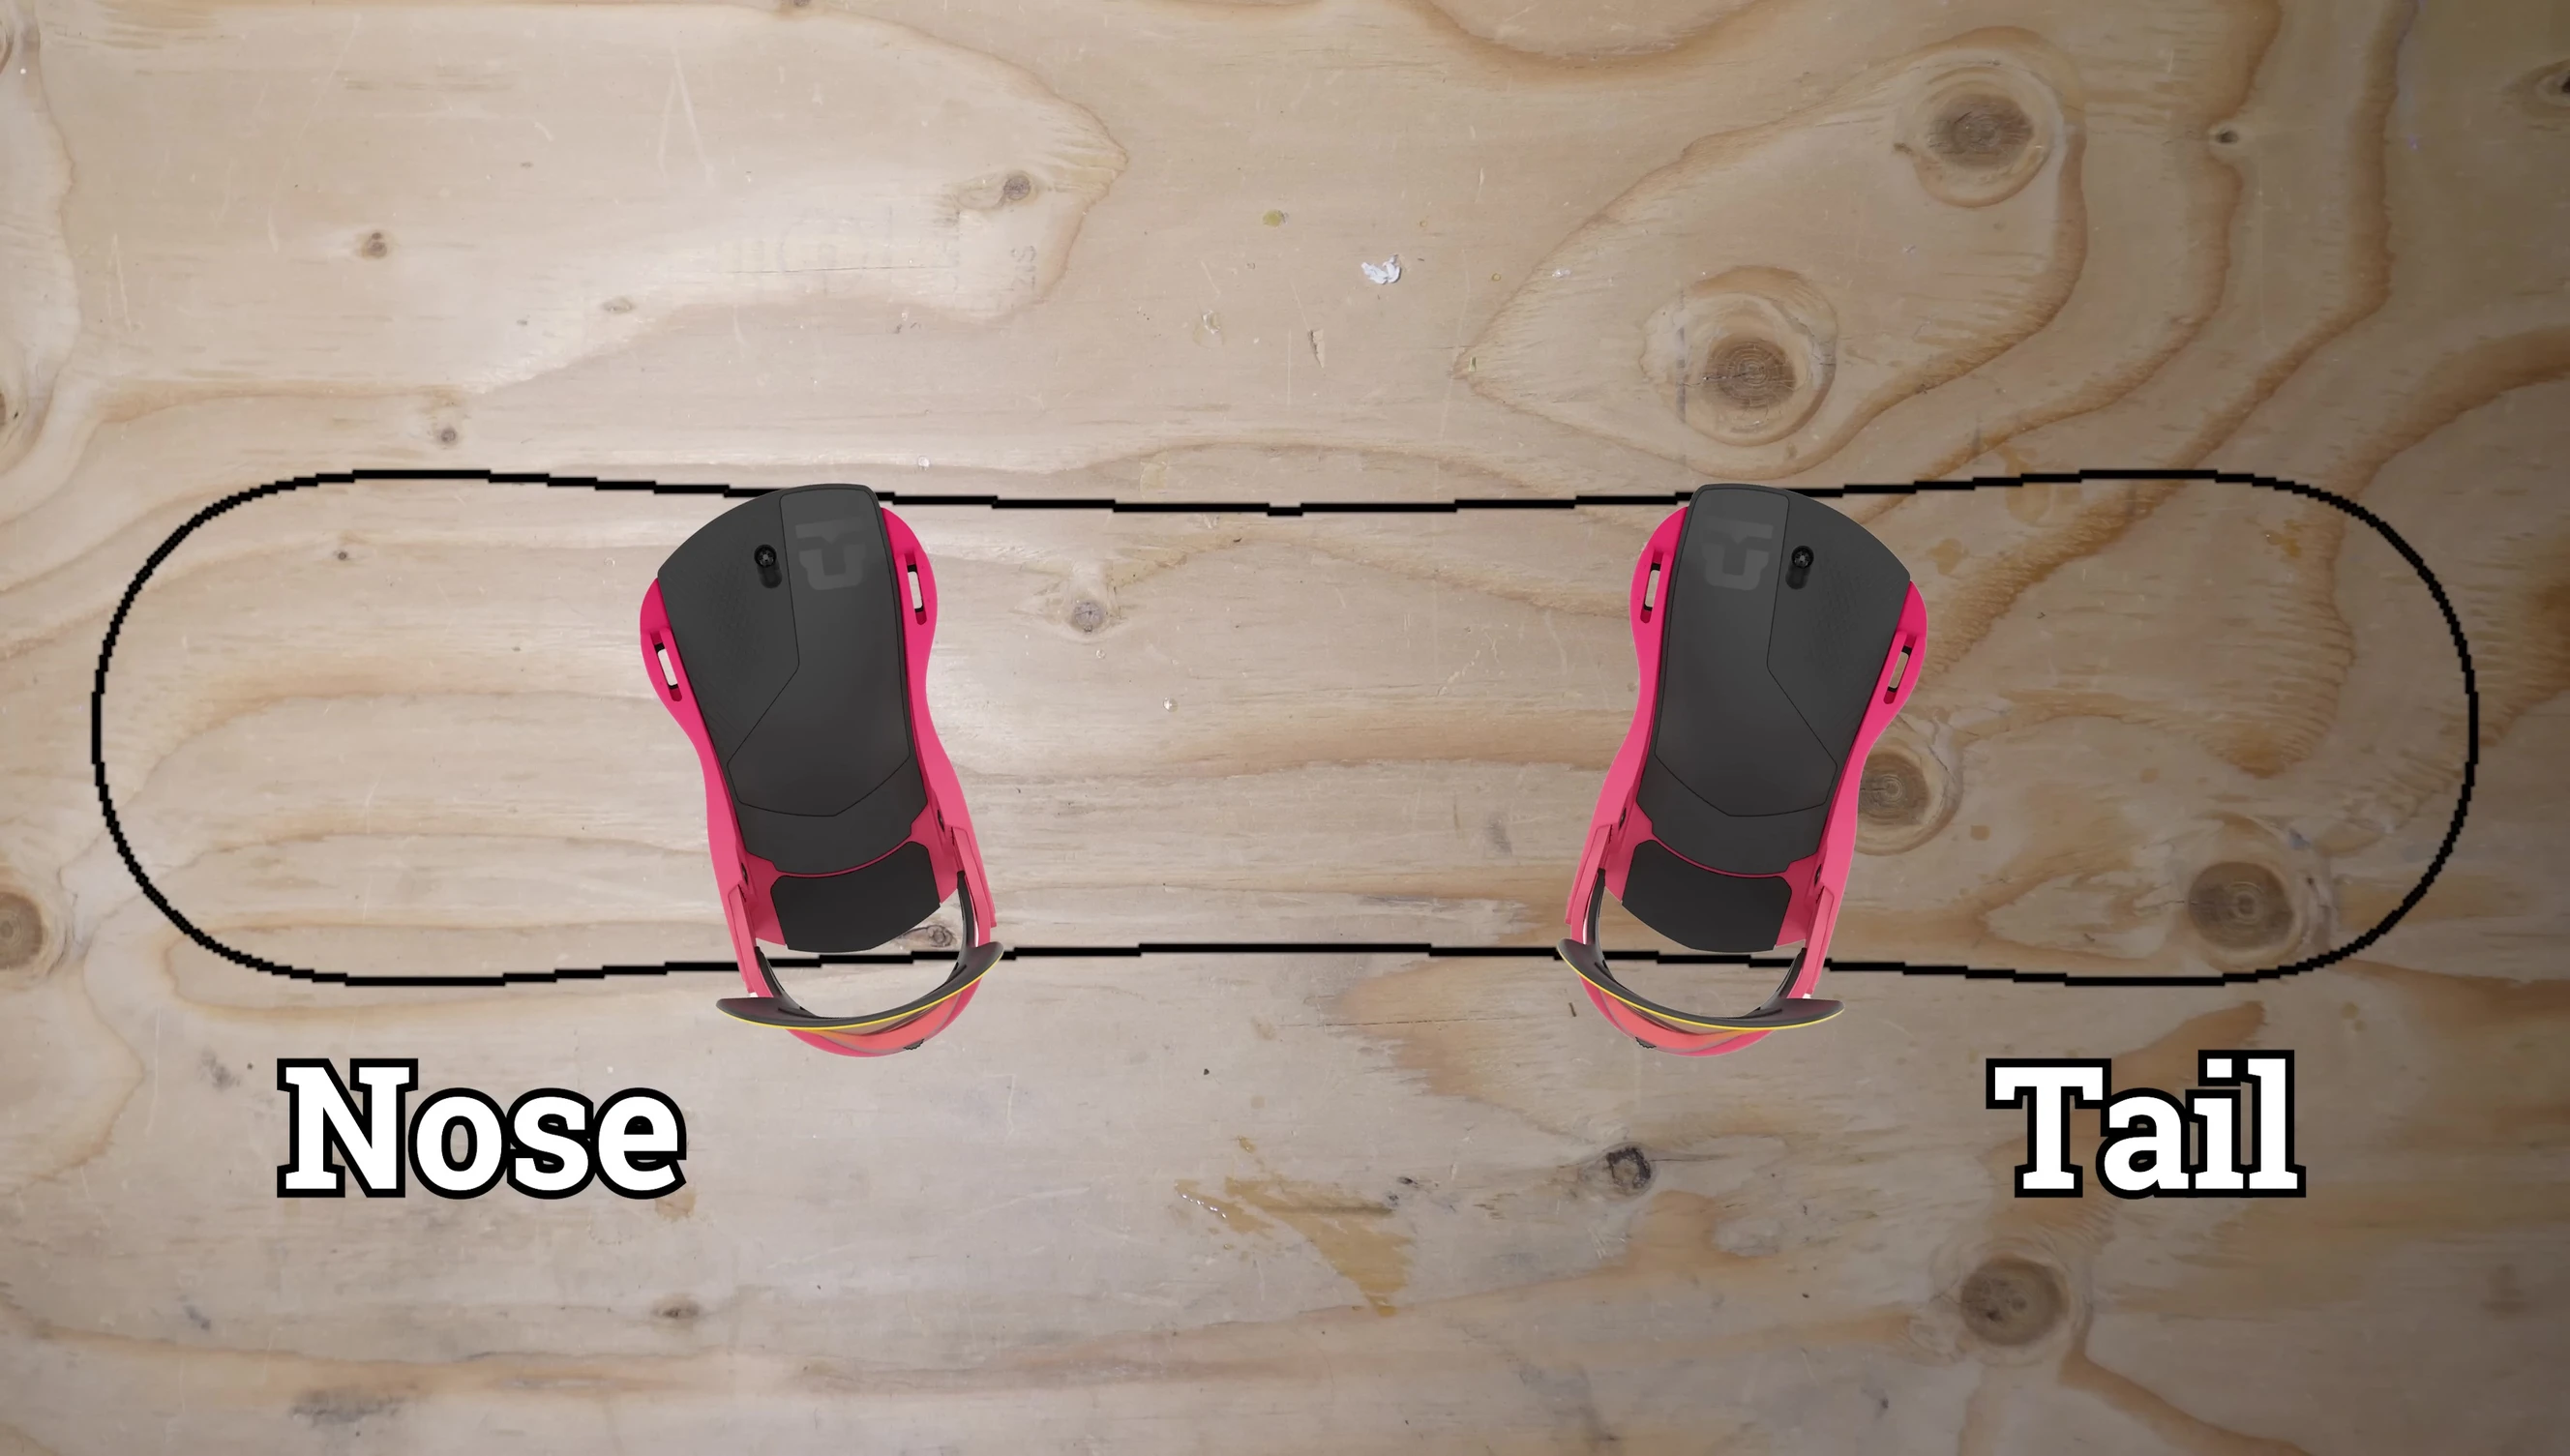
Snowboard binding angles are measured in increments of three degrees, usually marked on the binding or disc. A positive angle indicates rotation towards the nose, while a negative angle points towards the tail. The front foot angle is stated first; for example, +15/-15 means 15 degrees positive on the front foot and 15 degrees negative on the back foot.
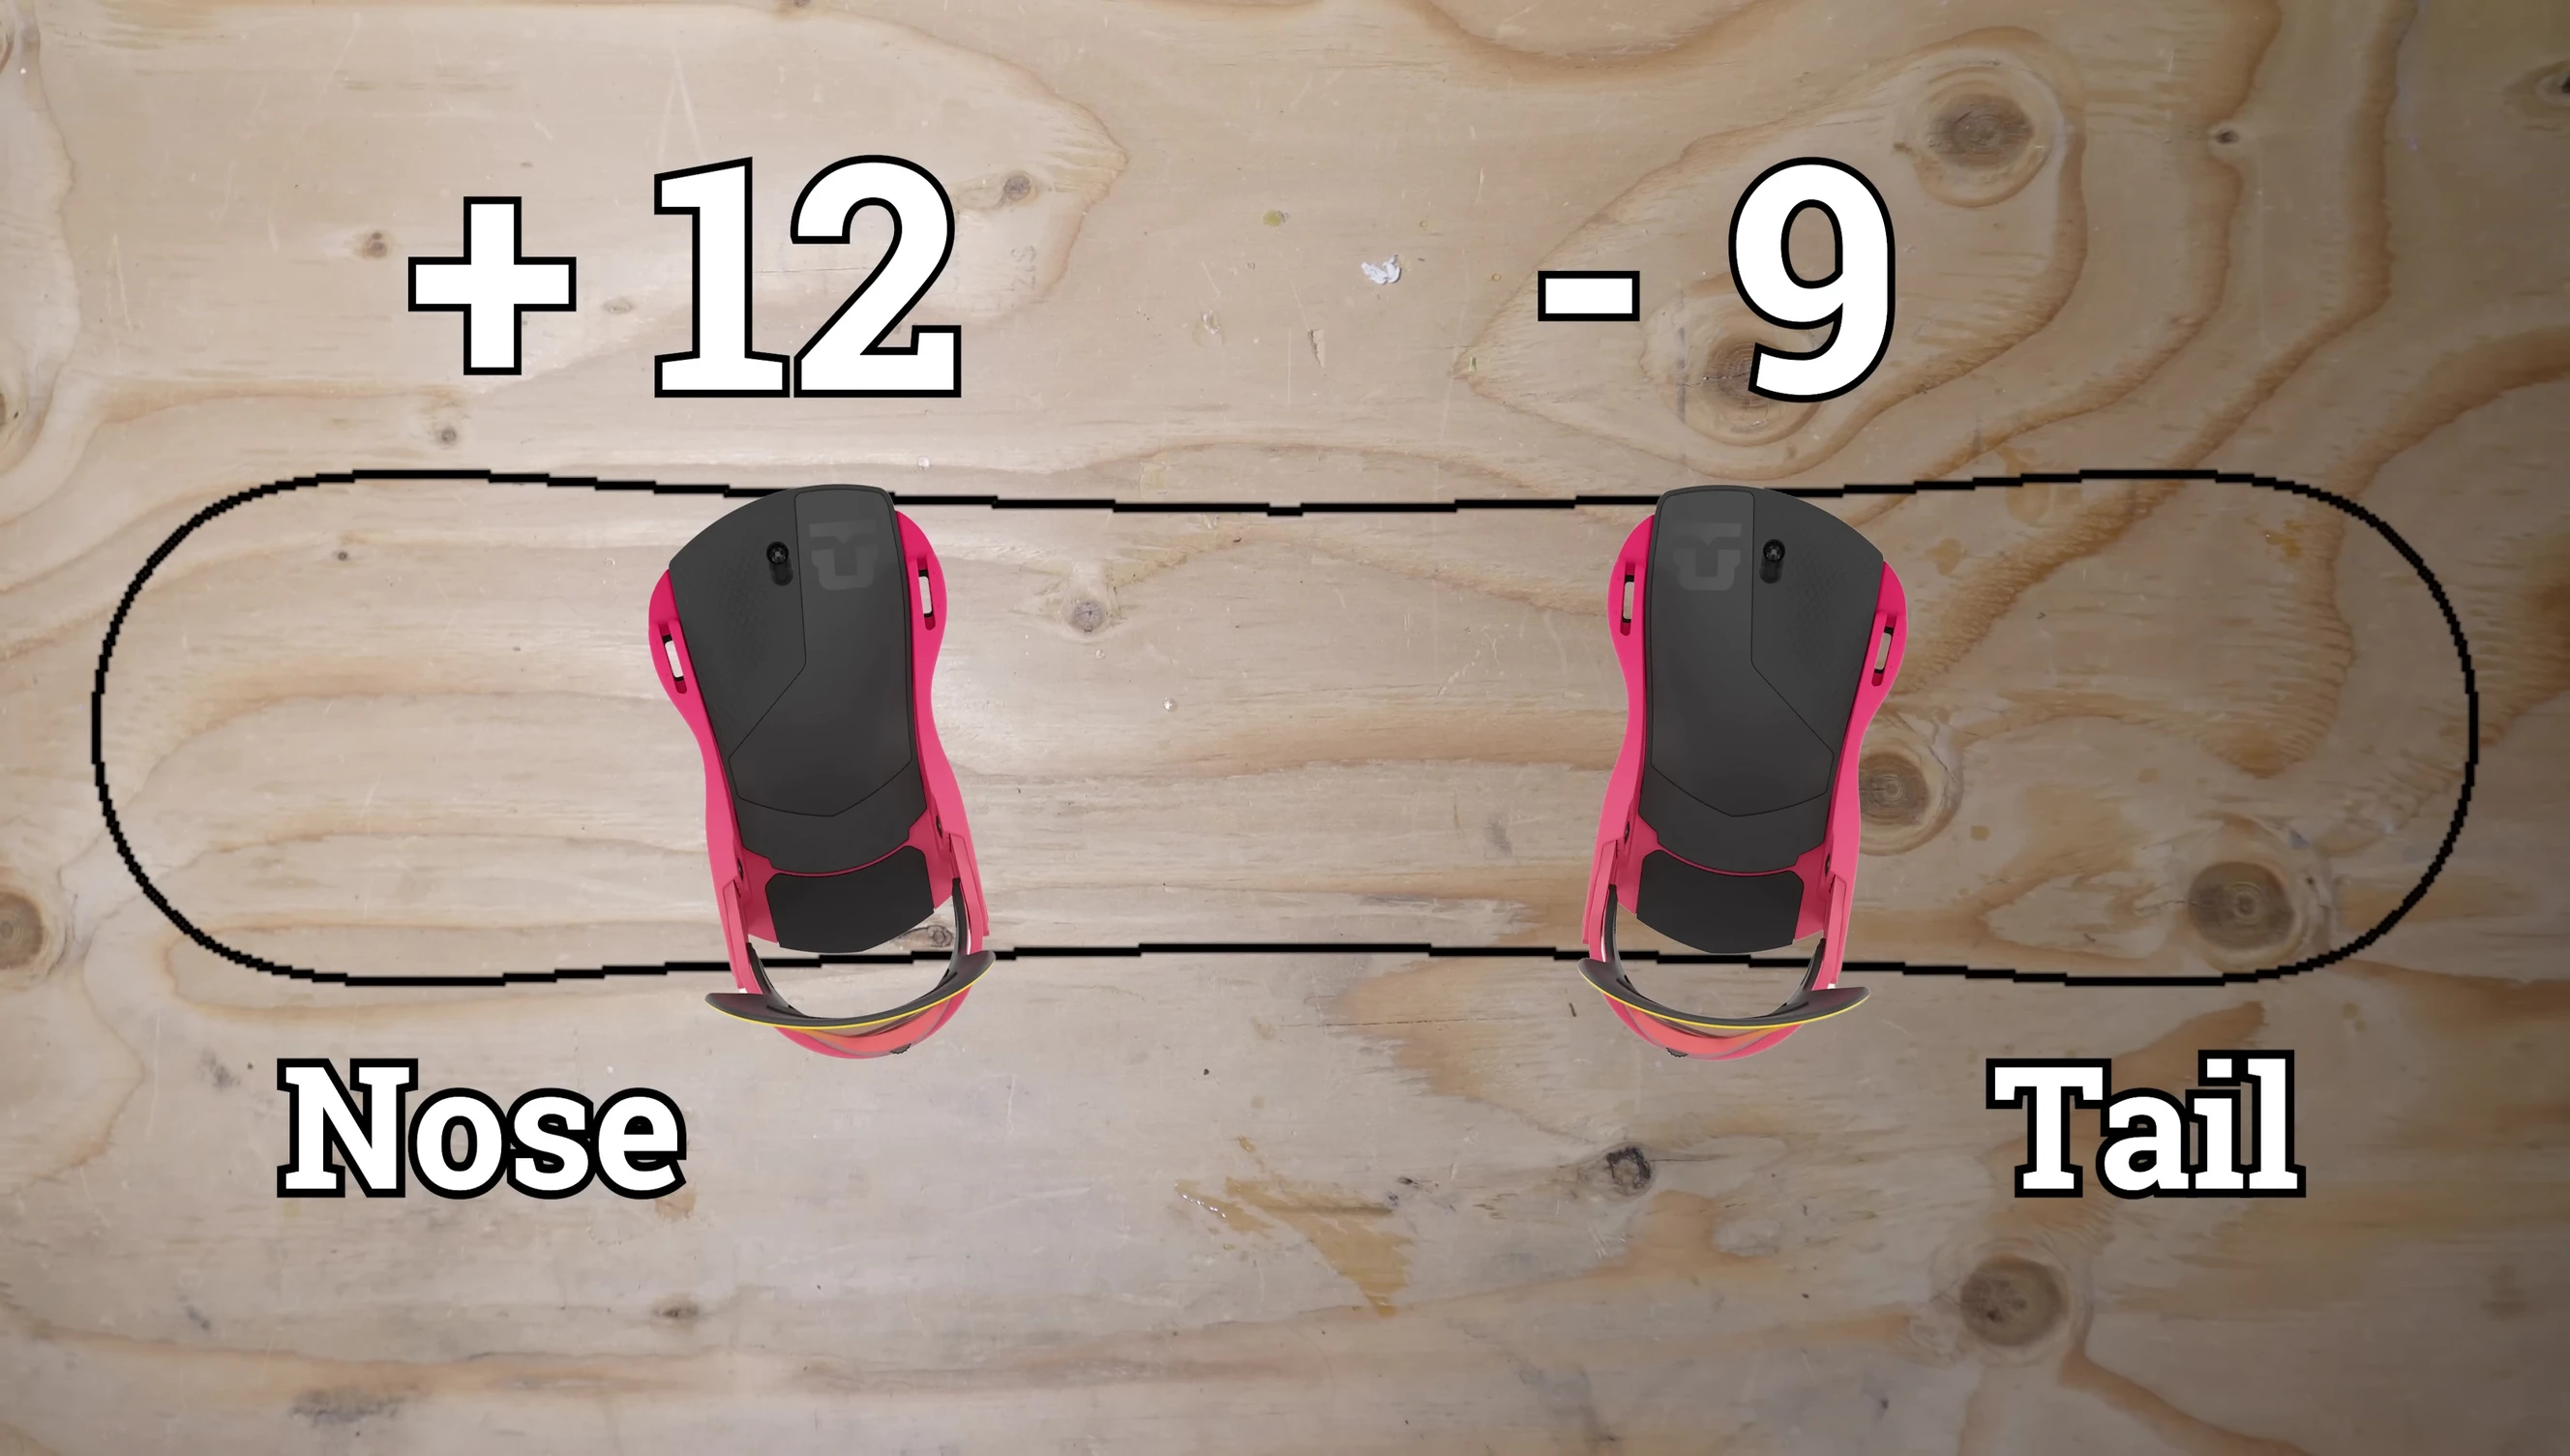
Angle selection greatly impacts riding style. Beginners might find +12/-9 comfortable, promoting board flex and power transfer. Freestyle riders often prefer a symmetrical stance like +15/-15. Powder riders may opt for +15/0, placing more weight on the back foot for deep snow conditions.
Carvers frequently use a stance like +18/+6, allowing for better control and edge transitions. Experimentation is key to finding your ideal stance angles, and adjustments over time are common as your riding style evolves.
Mounting Your Snowboard Bindings
Once you've determined your width and angles, it's time to mount the bindings. Carefully measure and mark the insert holes corresponding to your chosen width. Always ensure the stance is centered on the board using the inner sets of holes as a reference point.
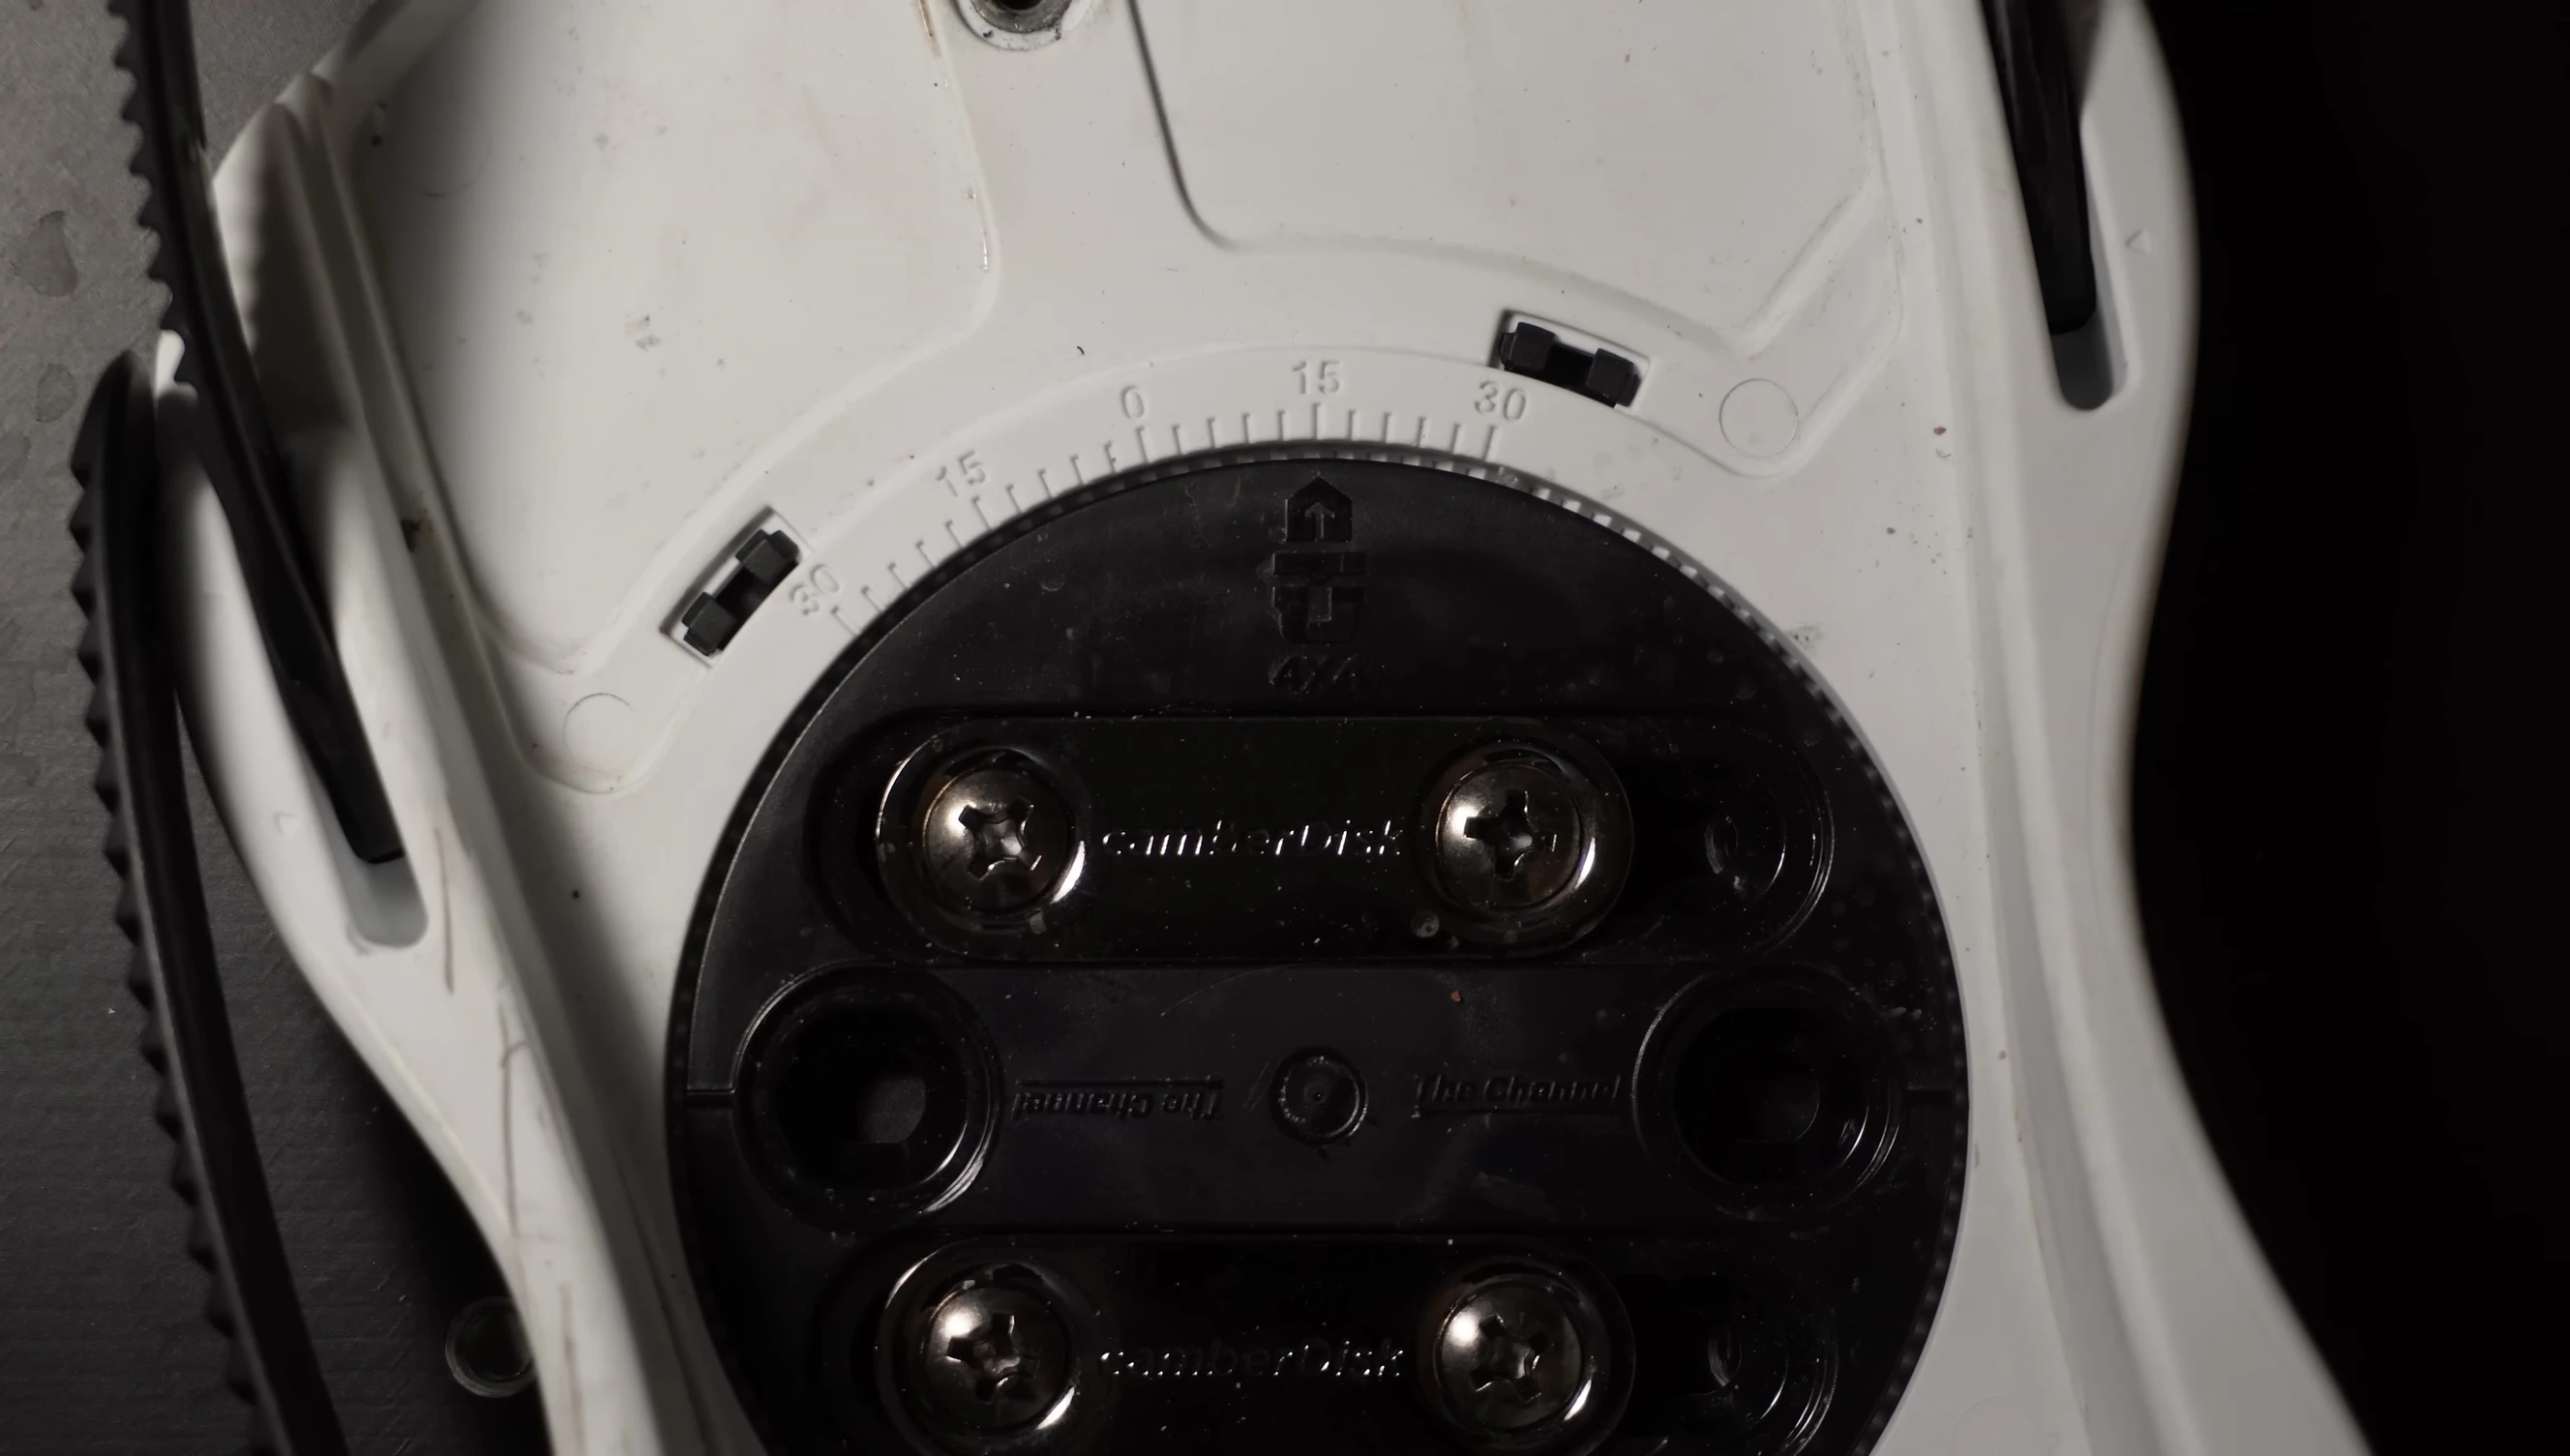
Different binding systems require different approaches. With Union bindings, micro-adjustments often allow for precise alignment. EST Channel boards use a marked reference location on the board for easy mounting. Always use the correct screws for your binding and board type.
When tightening the screws, do so evenly and gradually to avoid stripping them. Using a number three screwdriver is recommended. Avoid using a drill, as this can easily strip the threads or damage your board. For Burton Channel boards, always utilize the shorter, provided black screws to prevent damage.
Conclusion
Setting up your snowboard bindings involves finding the right width and angles to suit your individual preferences and riding style. Experimentation is crucial, and adjusting your stance over time is common. Using the methods outlined above—measuring your leg, testing a jump stance, and referring to the board's reference points—provides a strong foundation.
Understanding the differences between positive and negative angles and how they affect various riding styles is key. Whether you're a beginner, freestyle rider, powder enthusiast, or carver, there's a stance configuration that will enhance your performance. Remember to always mount your bindings correctly and utilize the appropriate tools.
With careful consideration of width, angles, and proper mounting techniques, you can optimize your snowboard setup for a superior riding experience. Enjoy the slopes!