This comprehensive guide provides step-by-step instructions for adjusting Rossignol Axium 100 ski bindings. Proper adjustment is crucial for safety and optimal performance, ensuring your bindings release correctly in a fall and provide secure control while skiing. This guide covers the key adjustments necessary, from setting the correct boot length and forward pressure to configuring the crucial DIN setting. Whether you're a seasoned skier or new to binding maintenance, understanding these adjustments is vital.The instructions are designed to be easy to follow, even for those with limited experience in ski binding maintenance. While focusing on the Axium 100, the fundamental principles outlined here can be applied to other binding models, though specific adjustments may vary. Remember, precise alignment is paramount for safety, so take your time and carefully follow each step to ensure your bindings are correctly adjusted for your specific needs and skiing abilities.
Read more: Top 5 Burton Ski Bindings: A Buyer's Guide
Adjusting the Toe Piece
Begin by removing the screws securing the top portion of the binding using a Phillips head #3 screwdriver and a T25 Torx bit. Once removed, the top piece and the track system will detach.
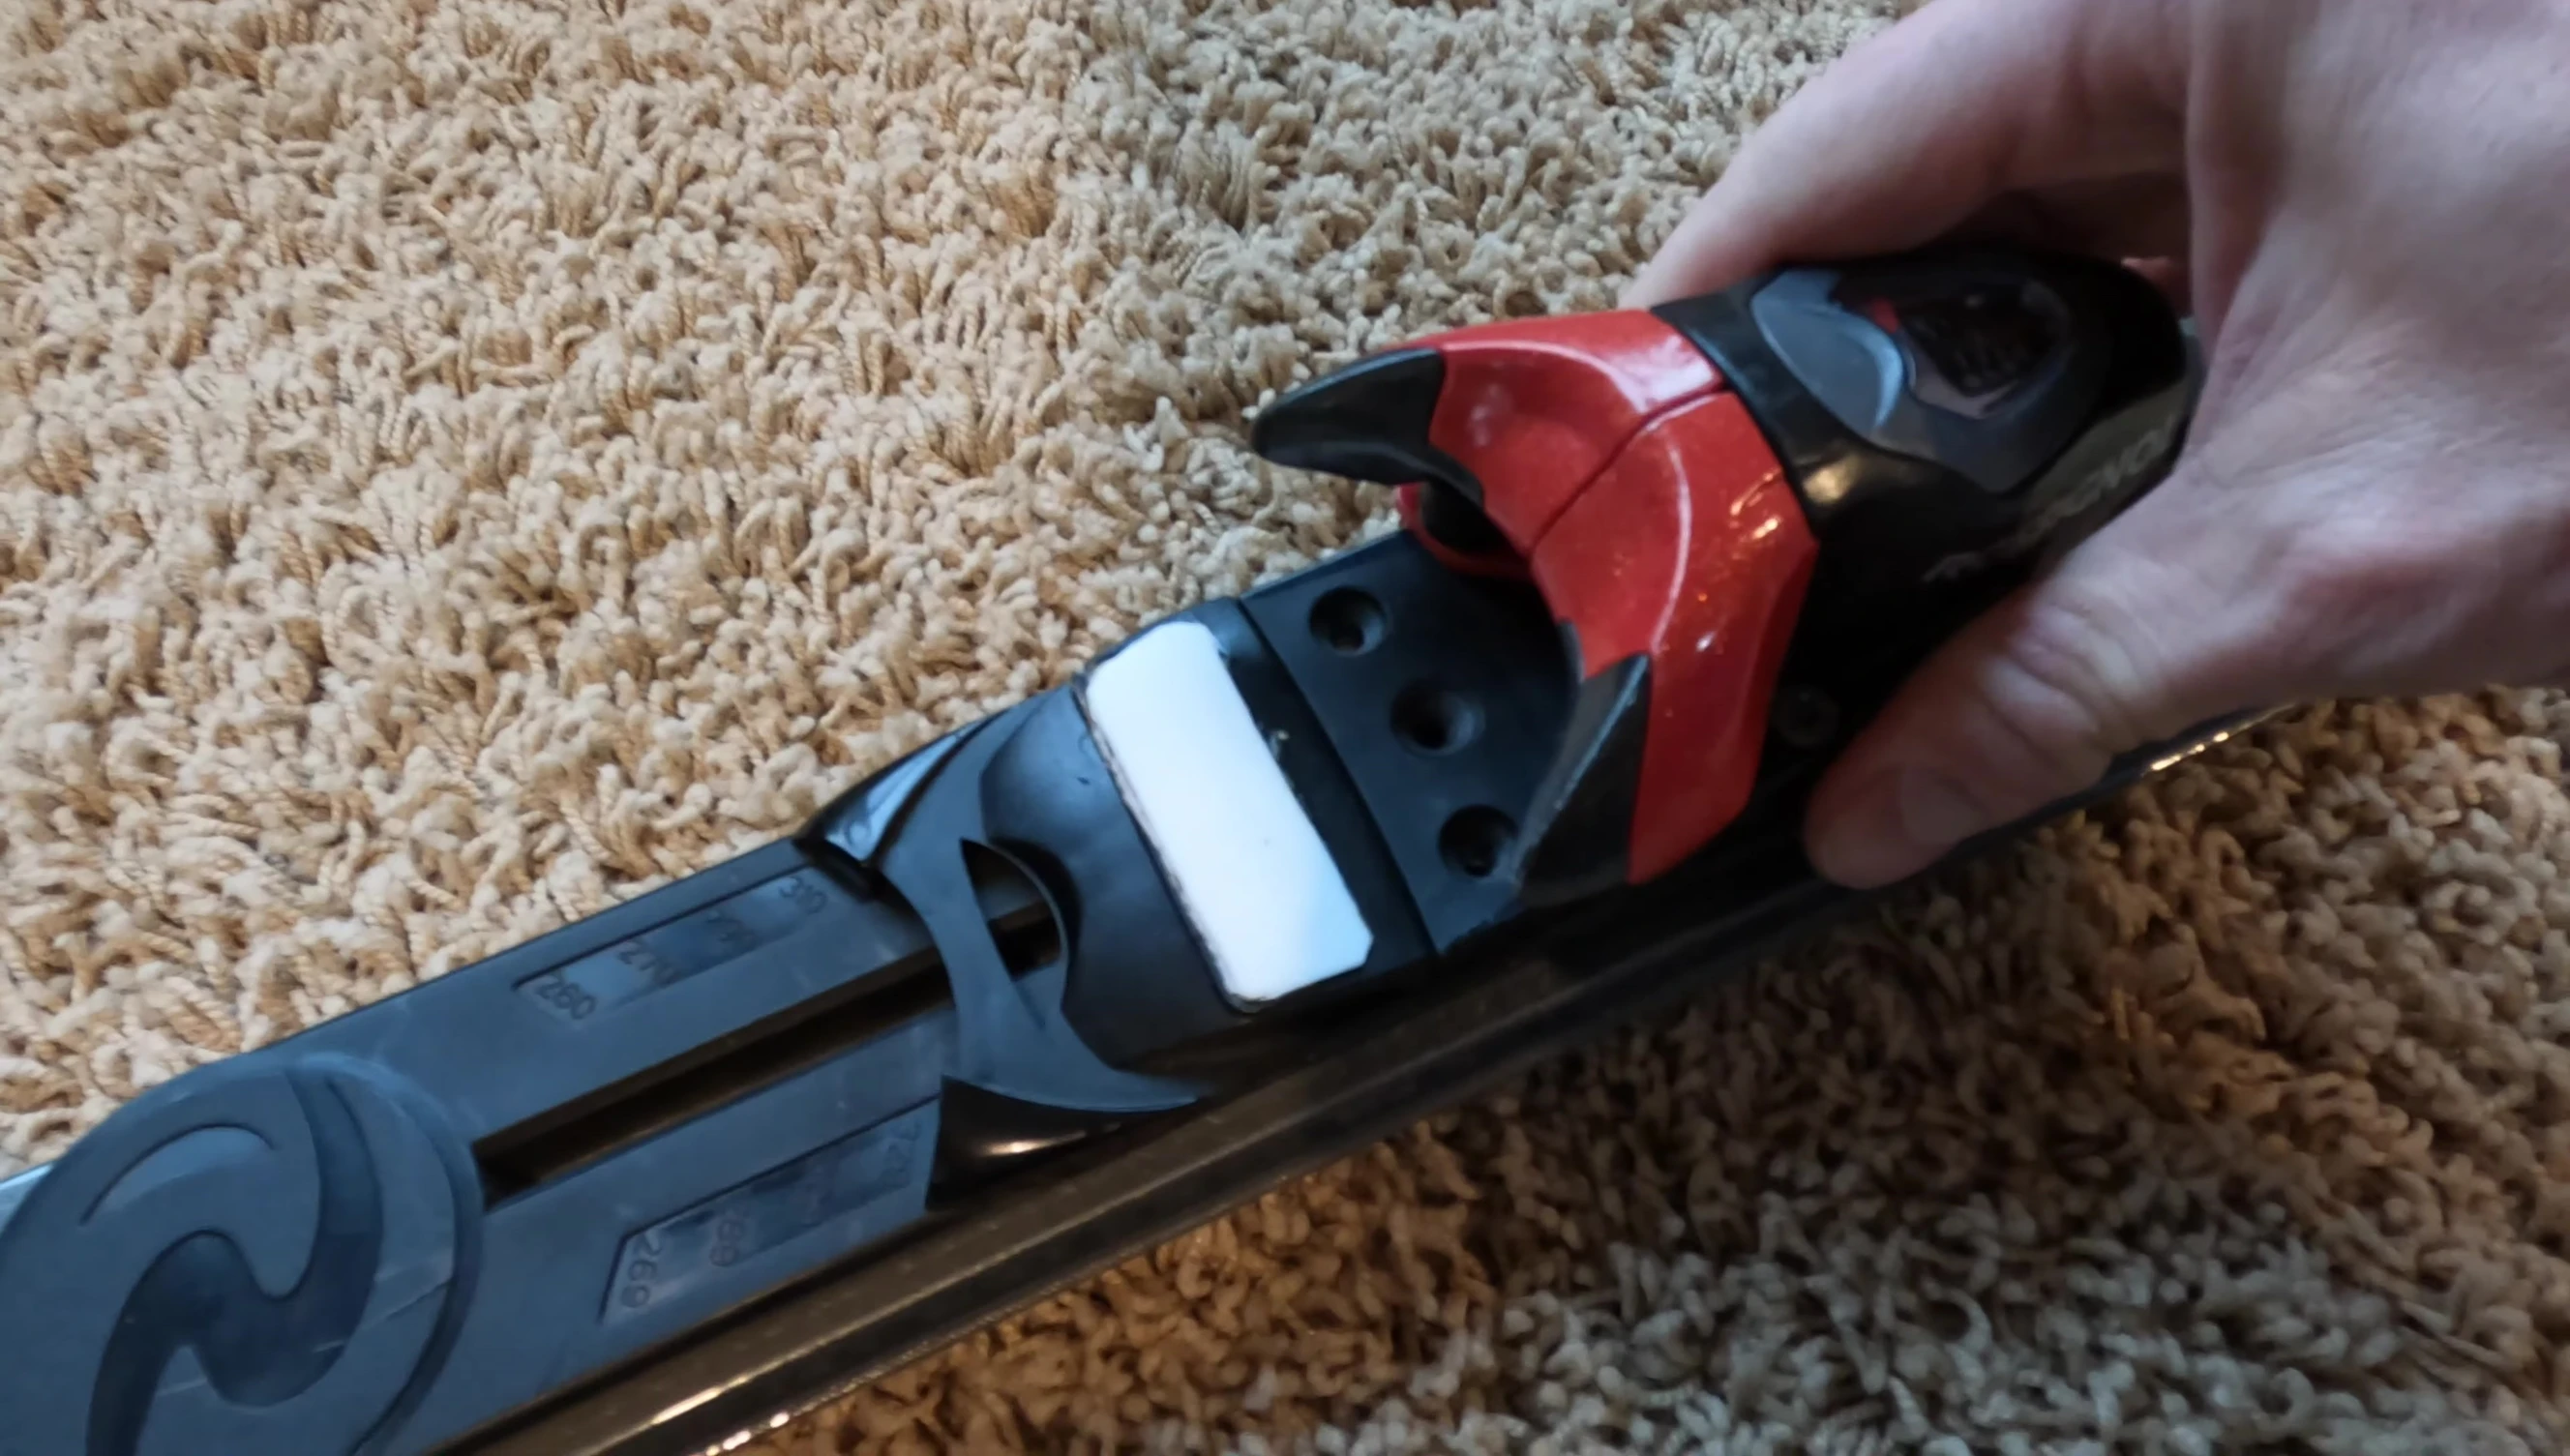
Underneath, you'll find a bracket that controls the boot length range. This bracket can be moved and snapped into different positions.
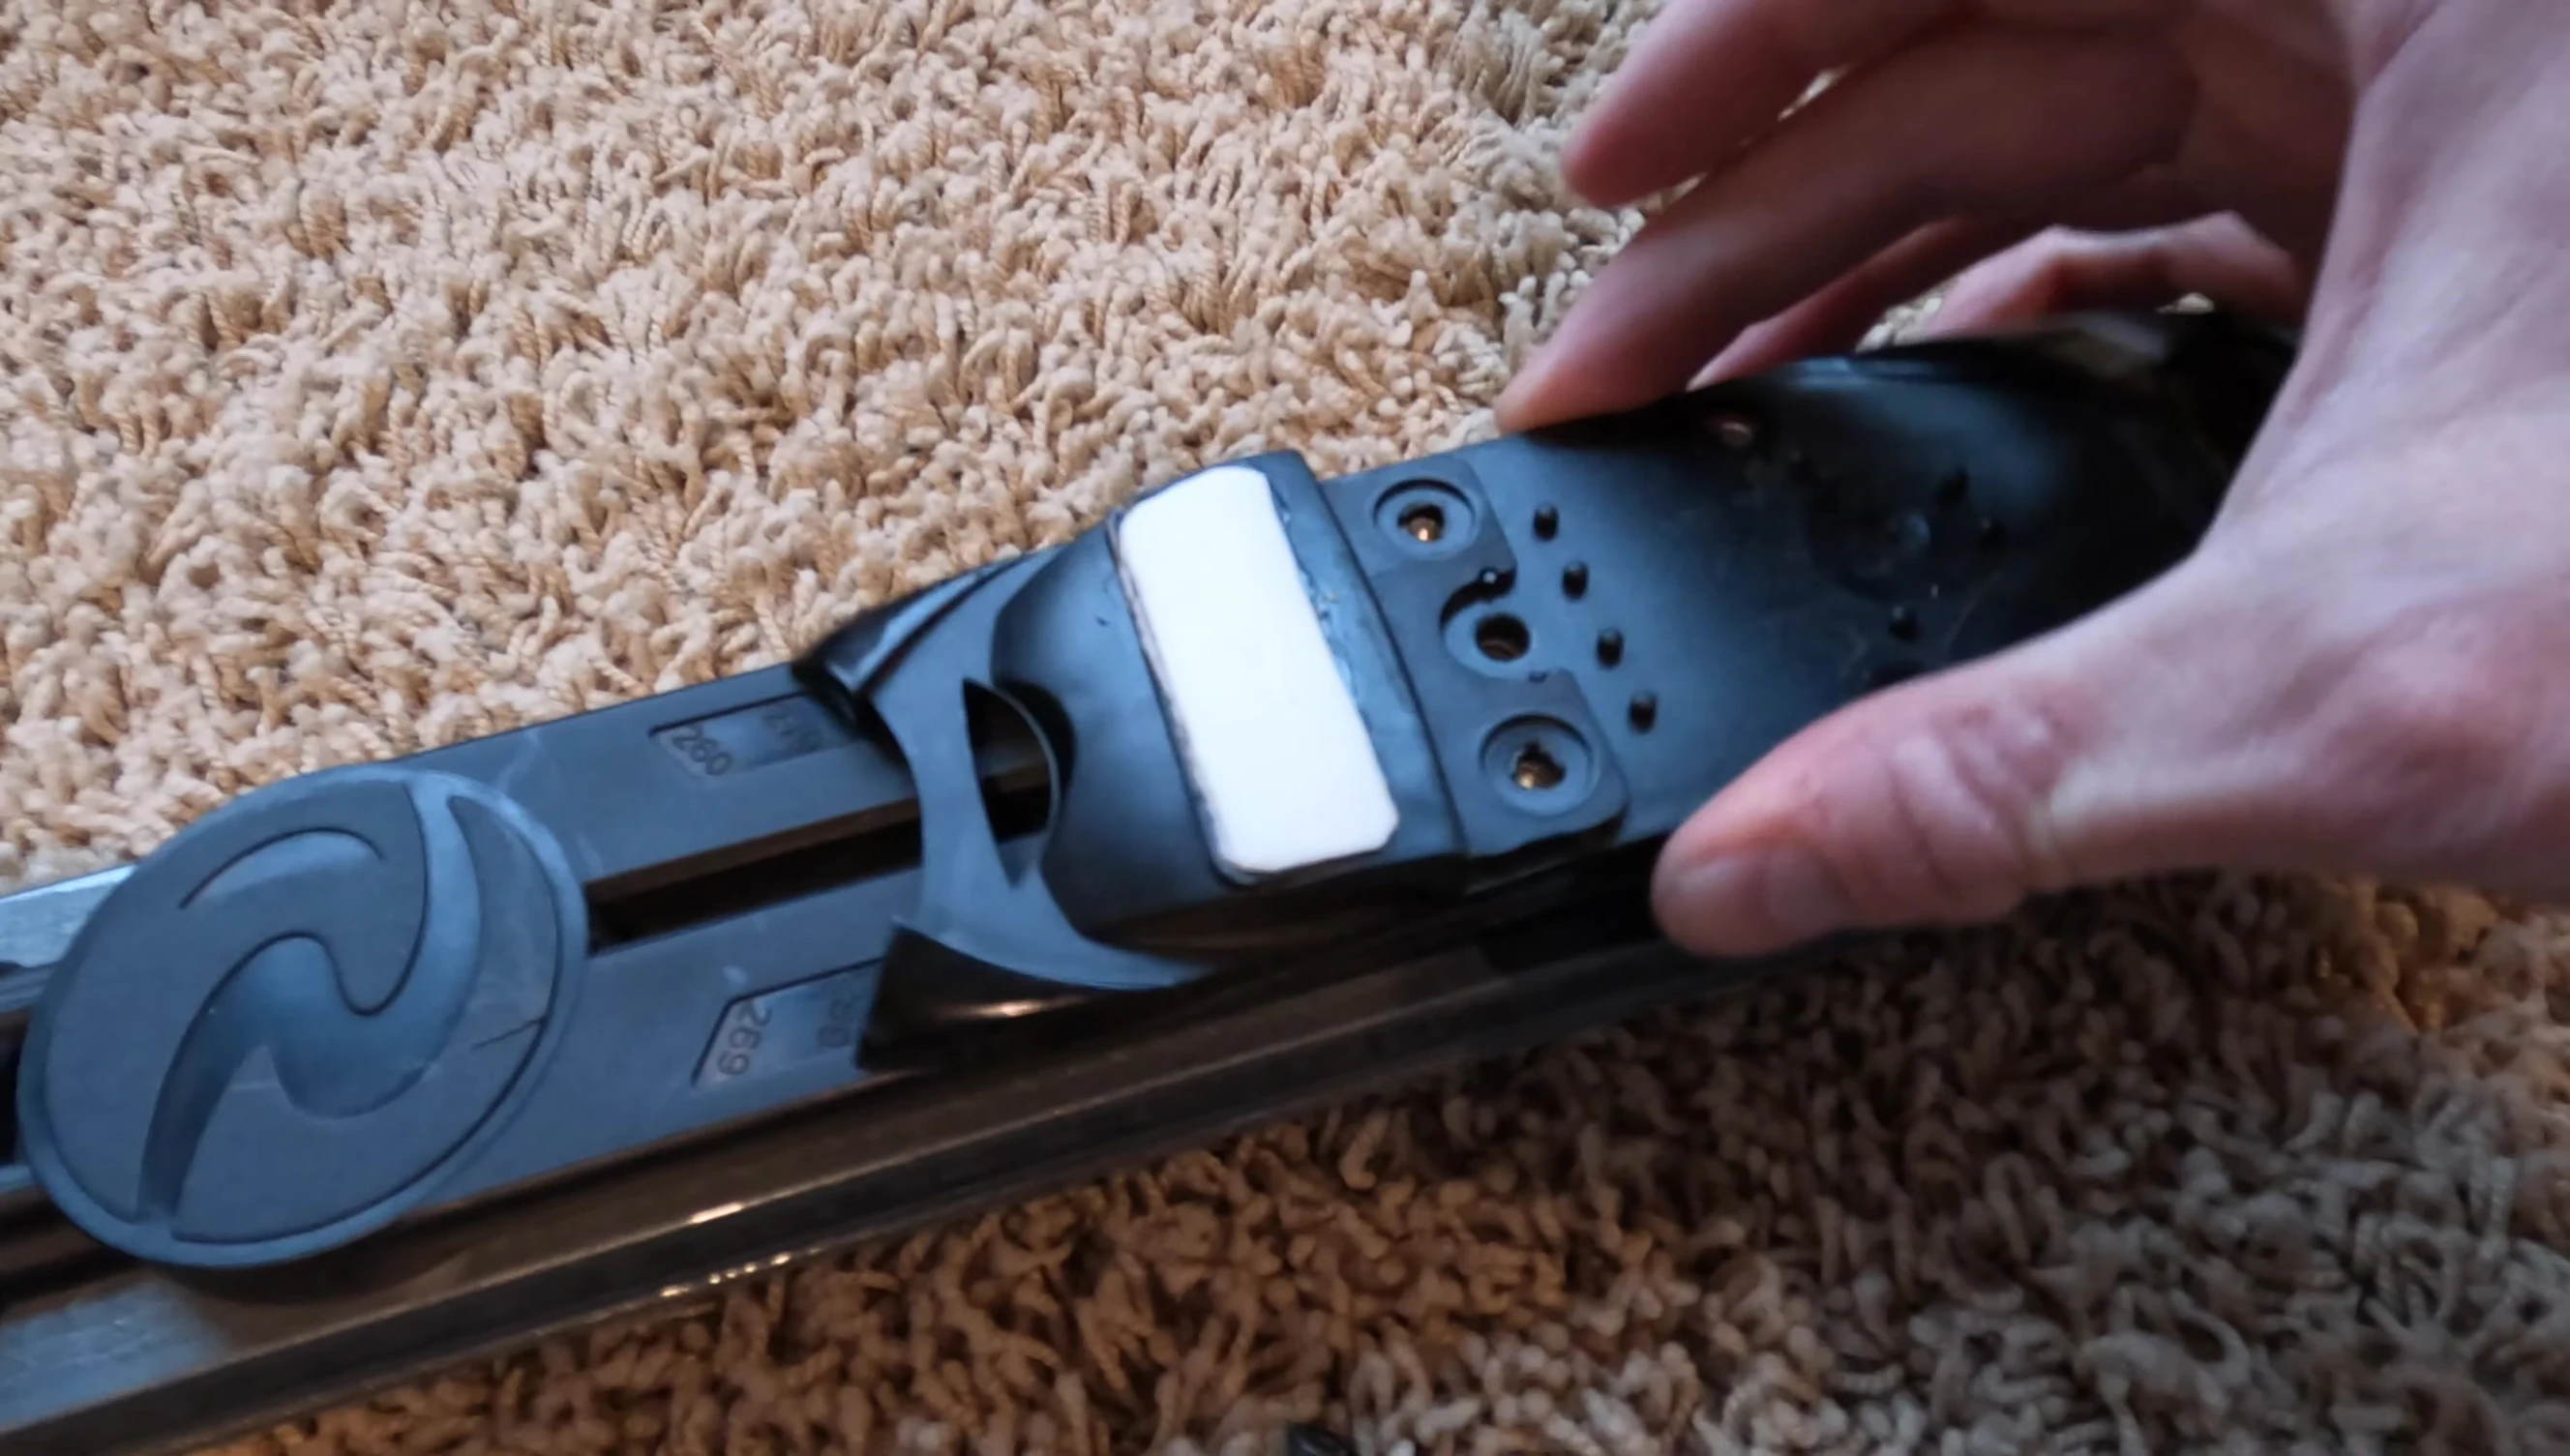
Match the bracket's position to your boot size range. Reassemble and secure everything with the screws.
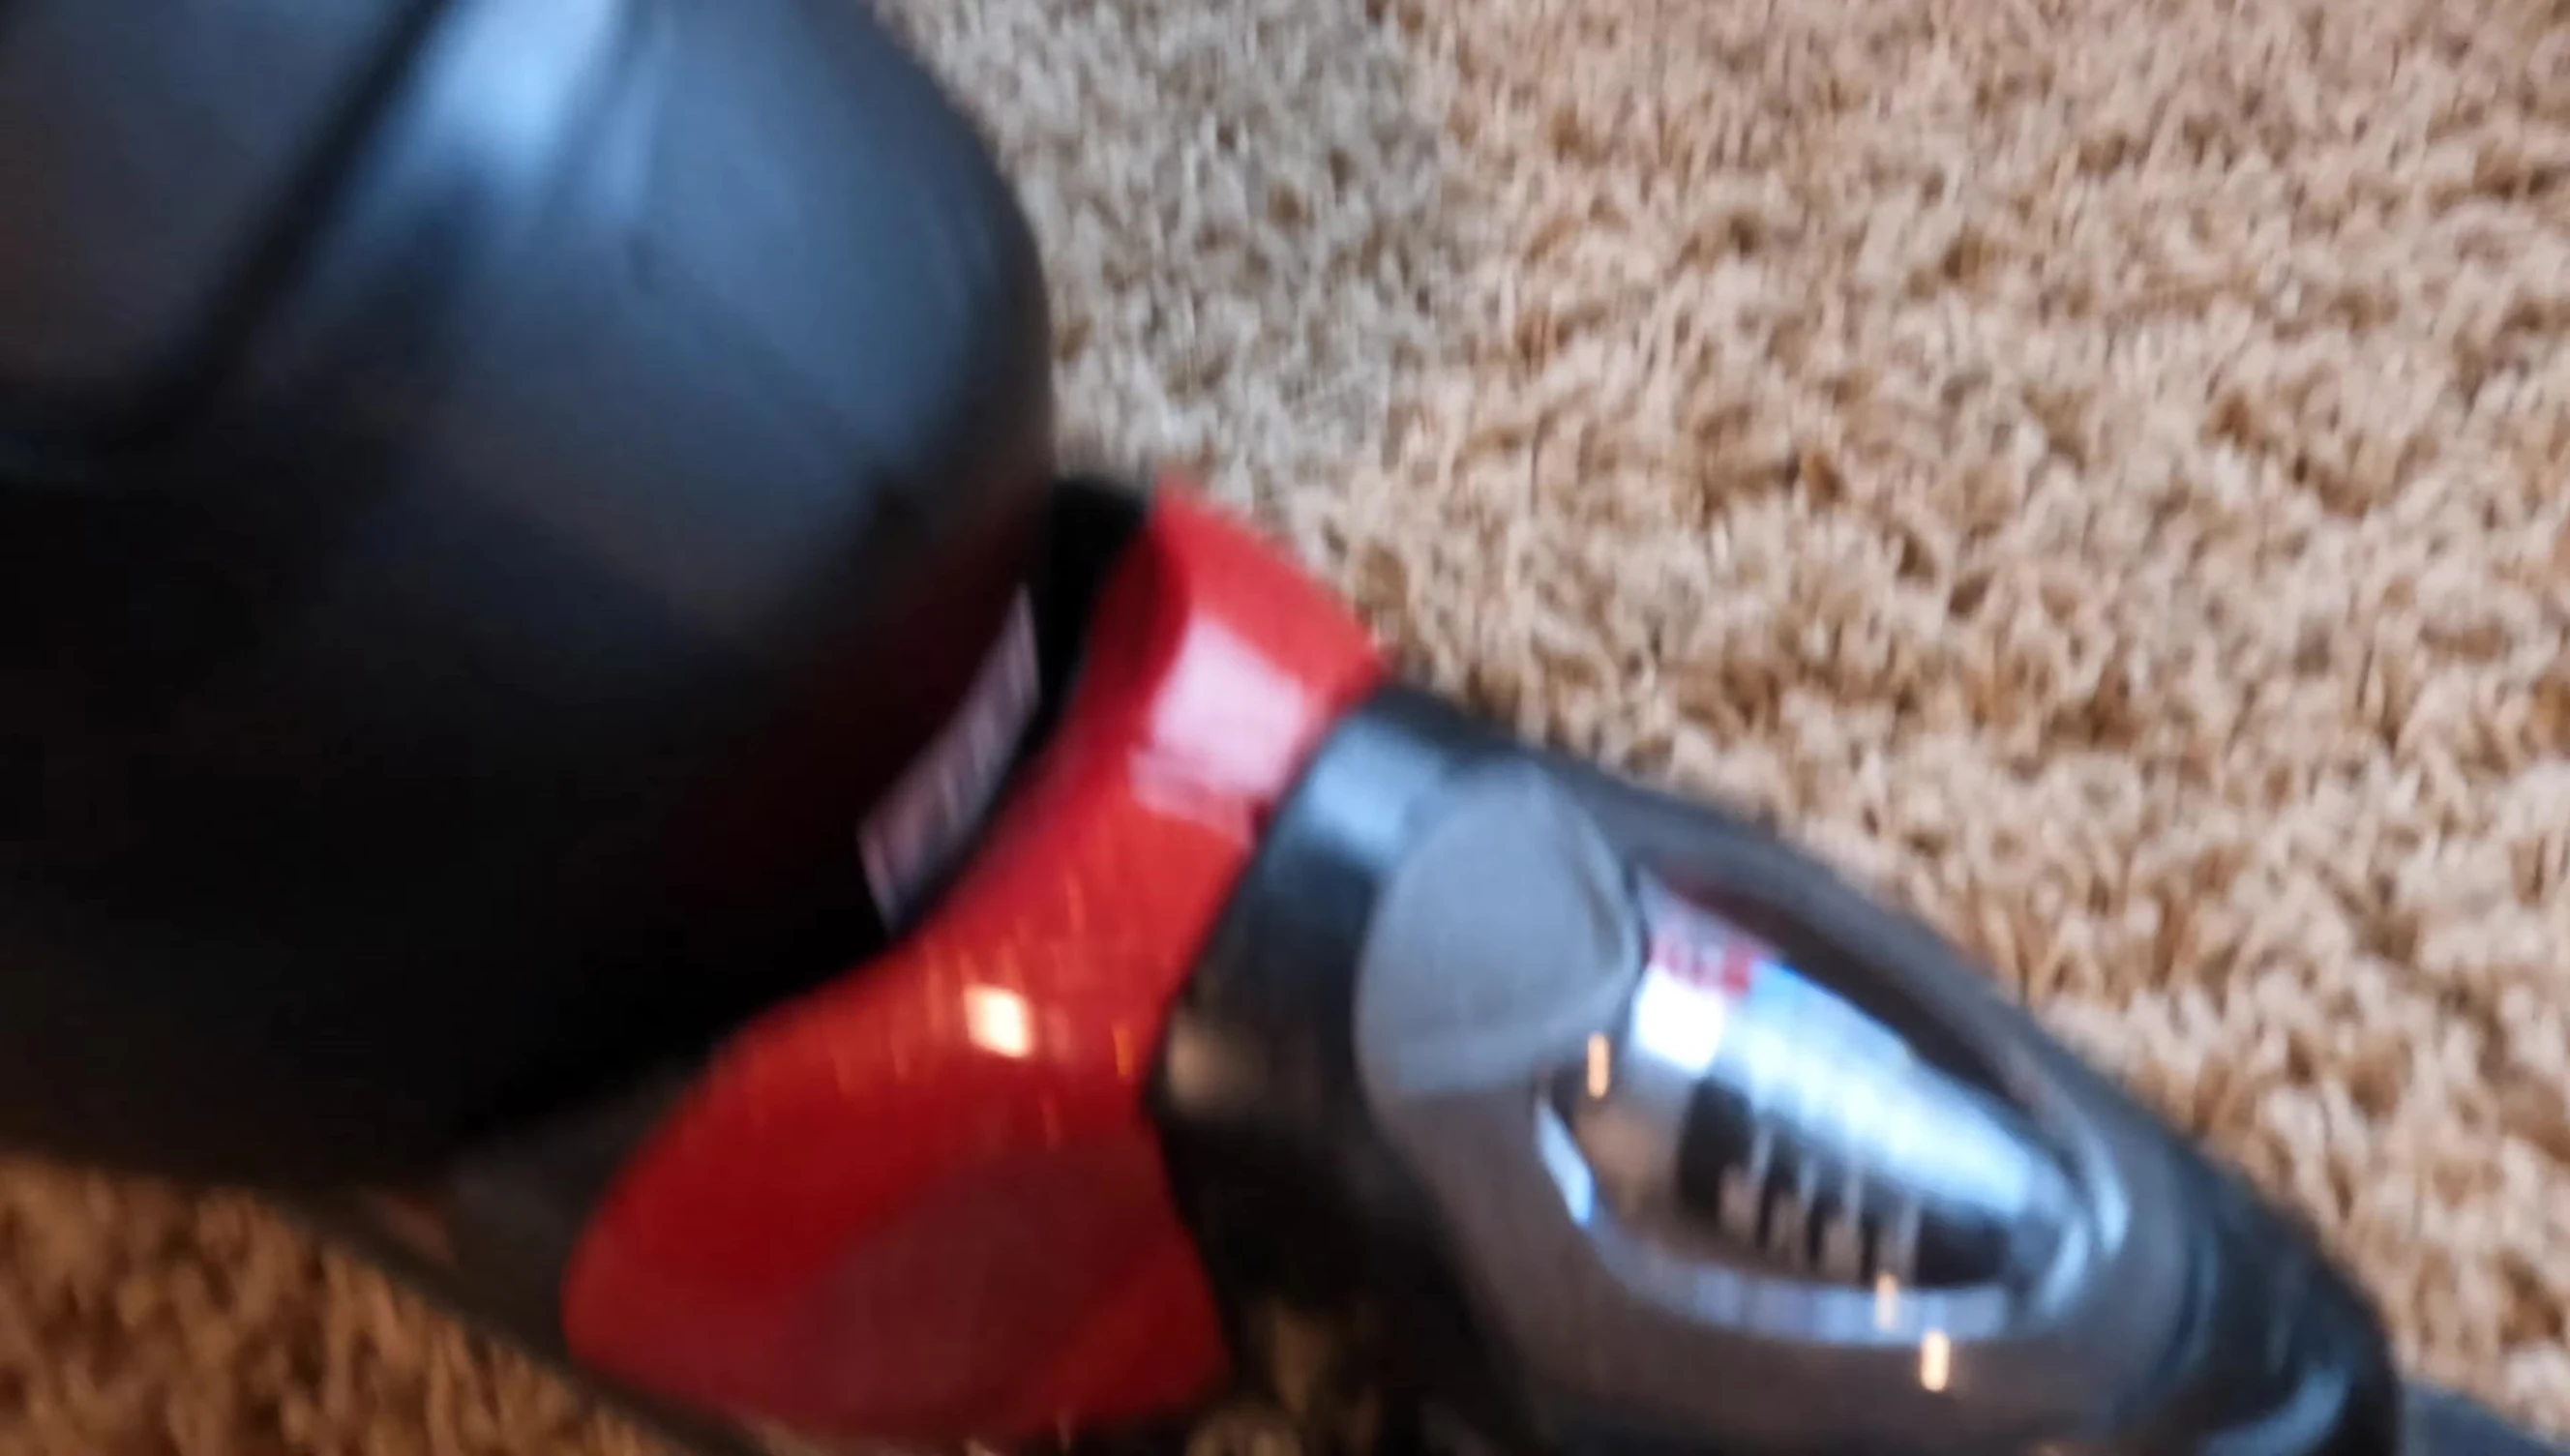
Setting the Heel Piece and Forward Pressure
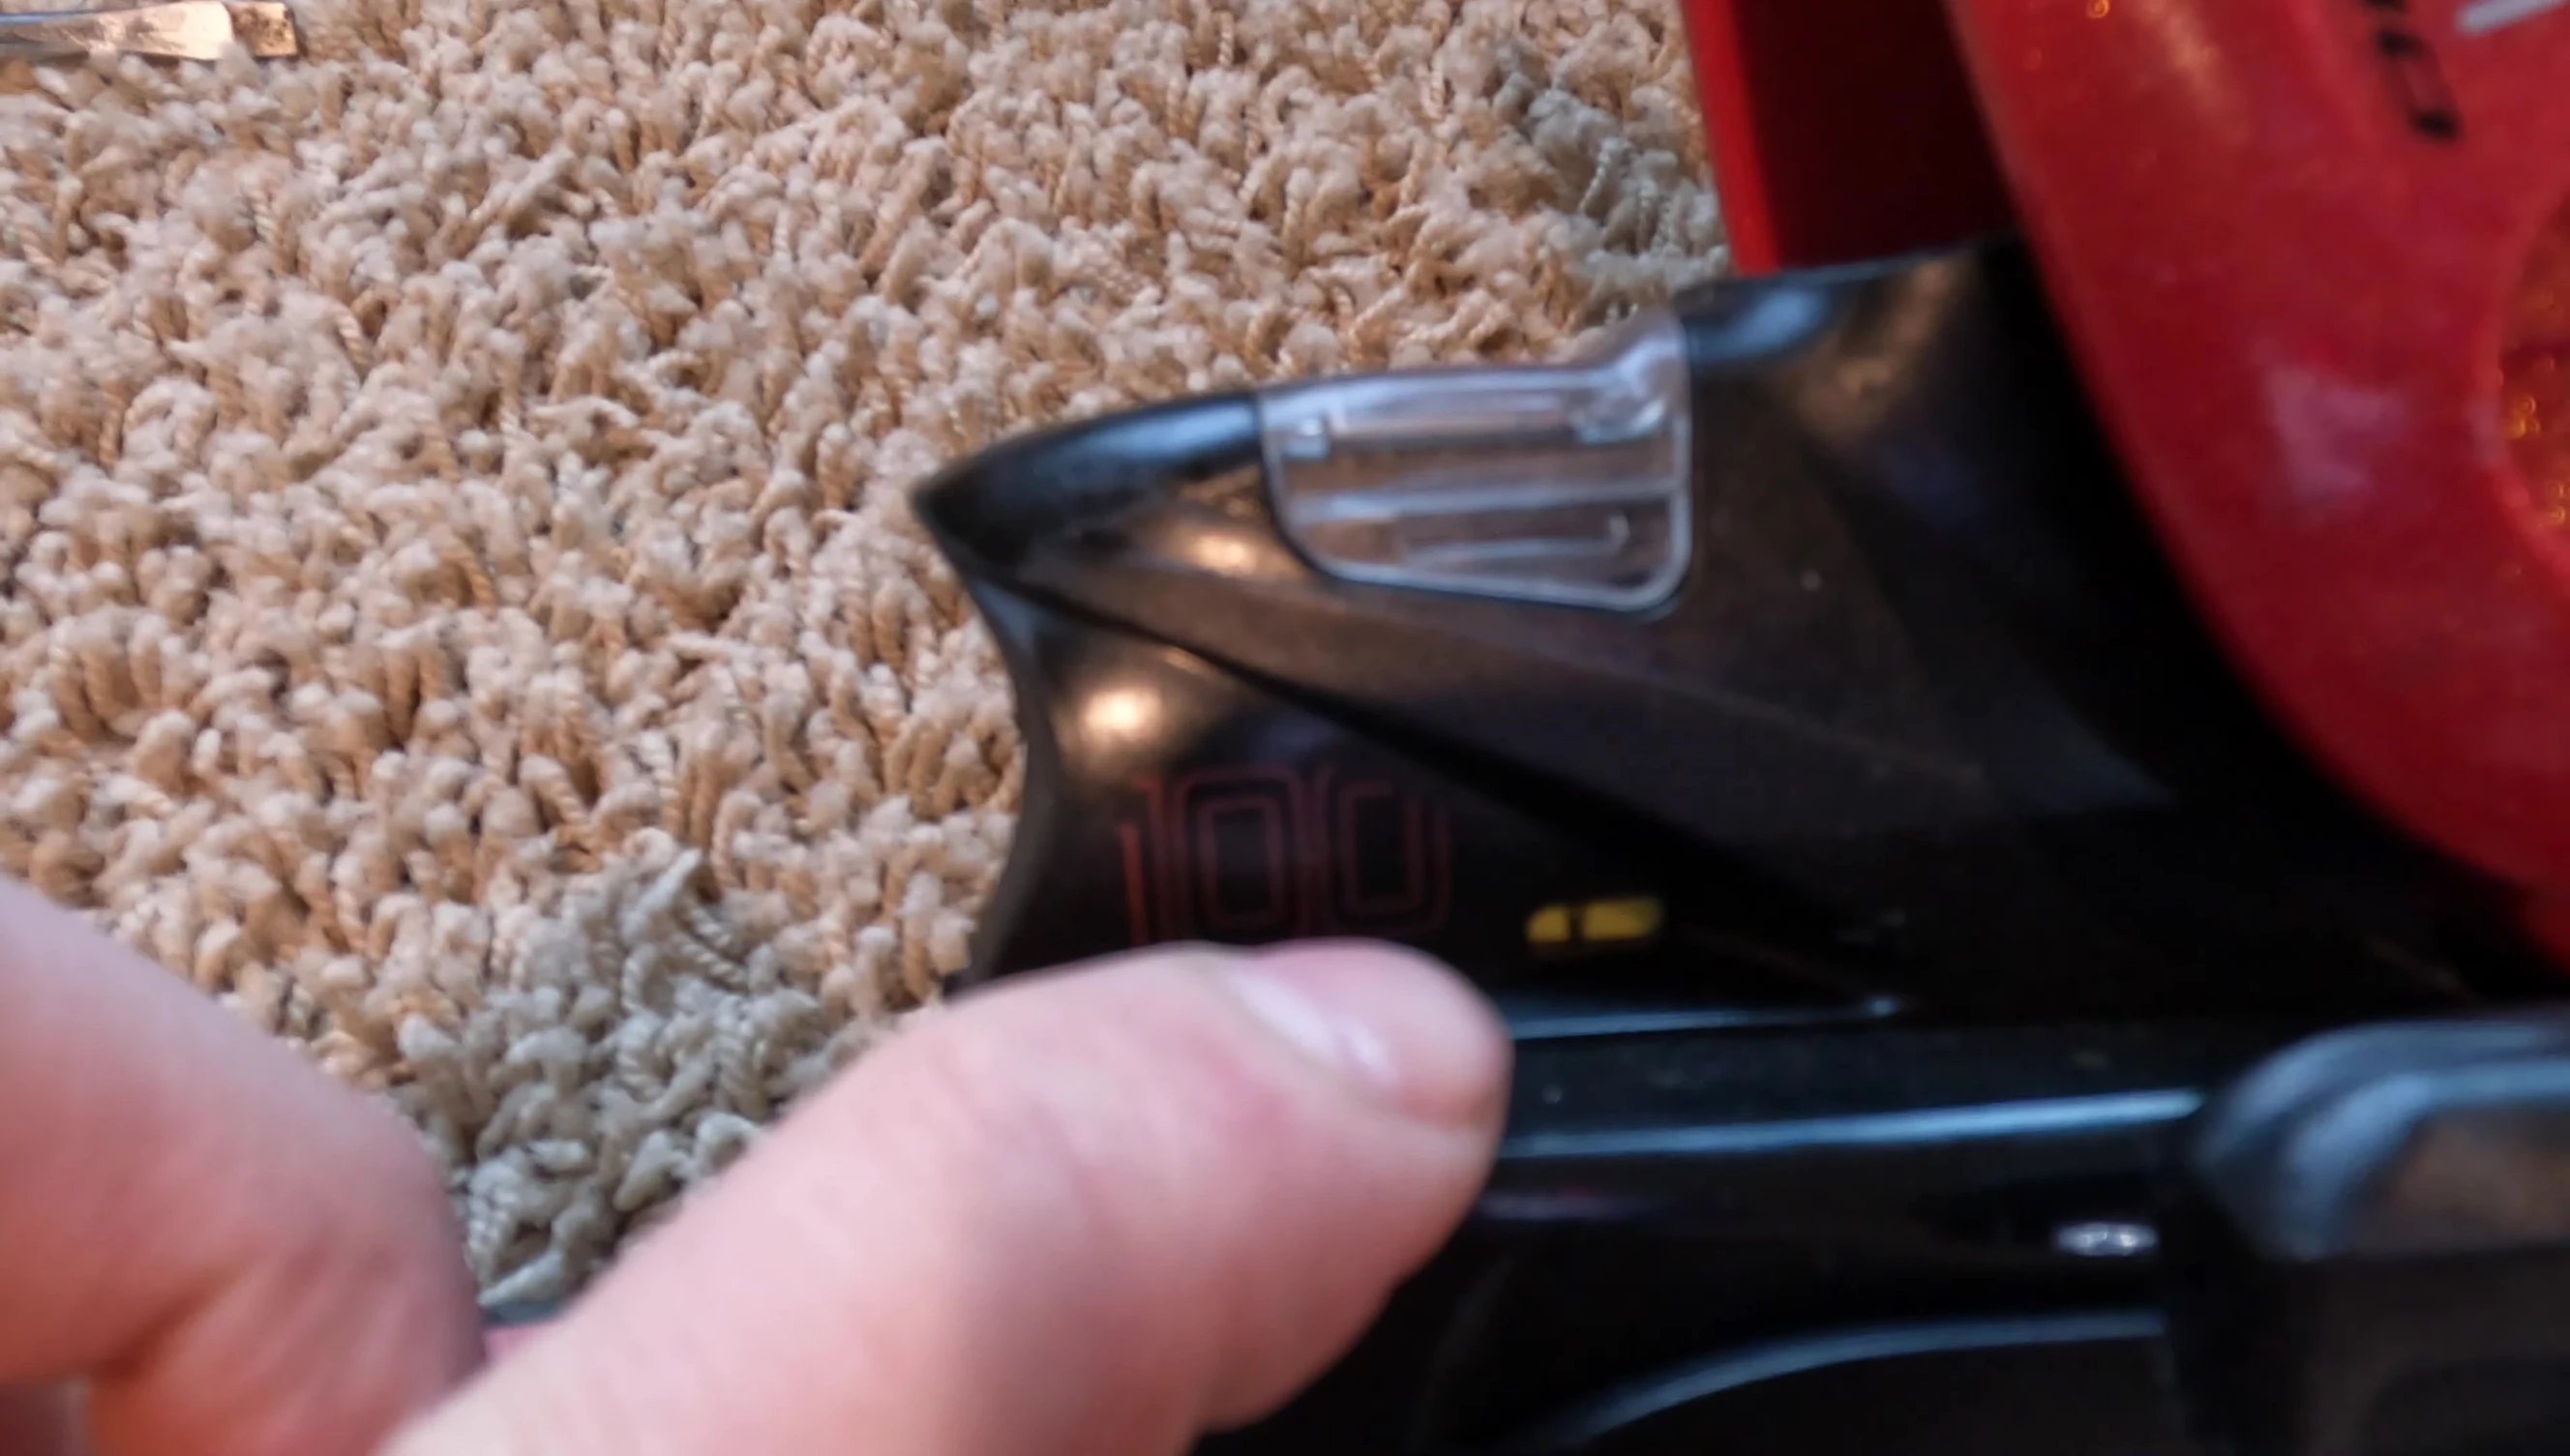
The heel piece adjustment is unique to the Axium 100. Use a flathead screwdriver to release a small lever on the back of the heel piece.
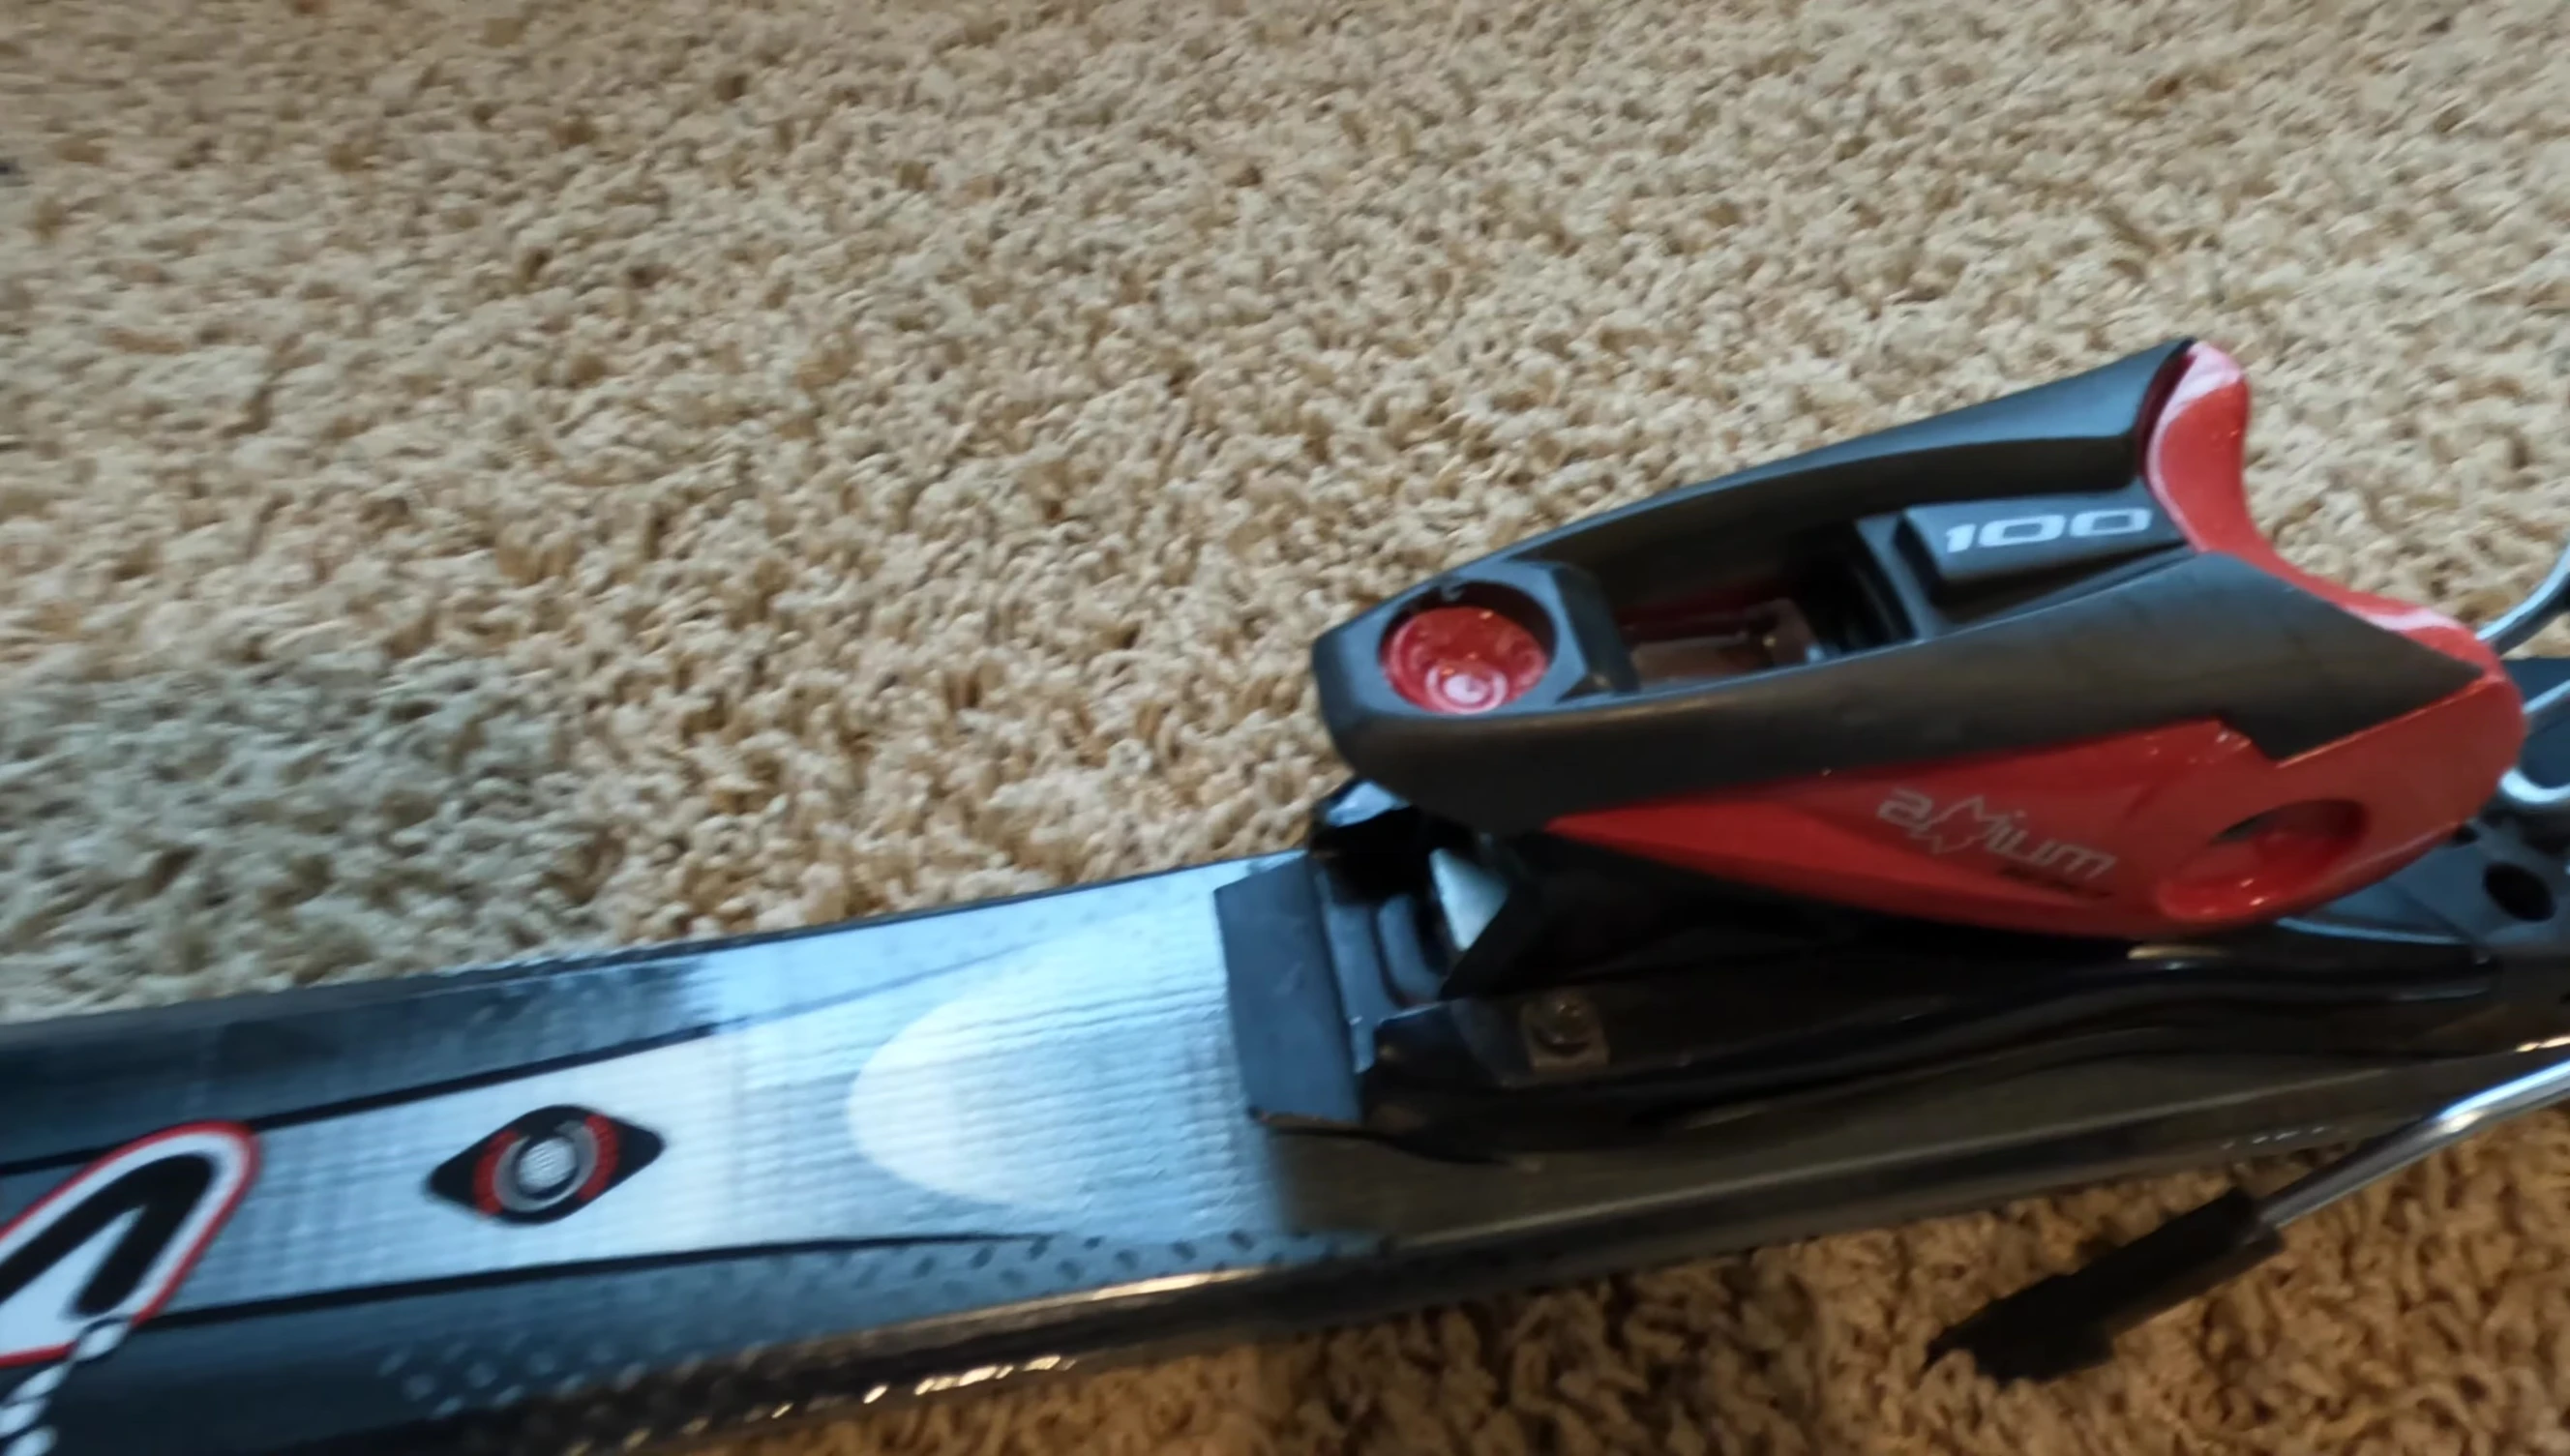
Slide the heel piece forward or backward to adjust the forward pressure according to your boot length. This process is visually guided by a yellow window with a black vertical line.
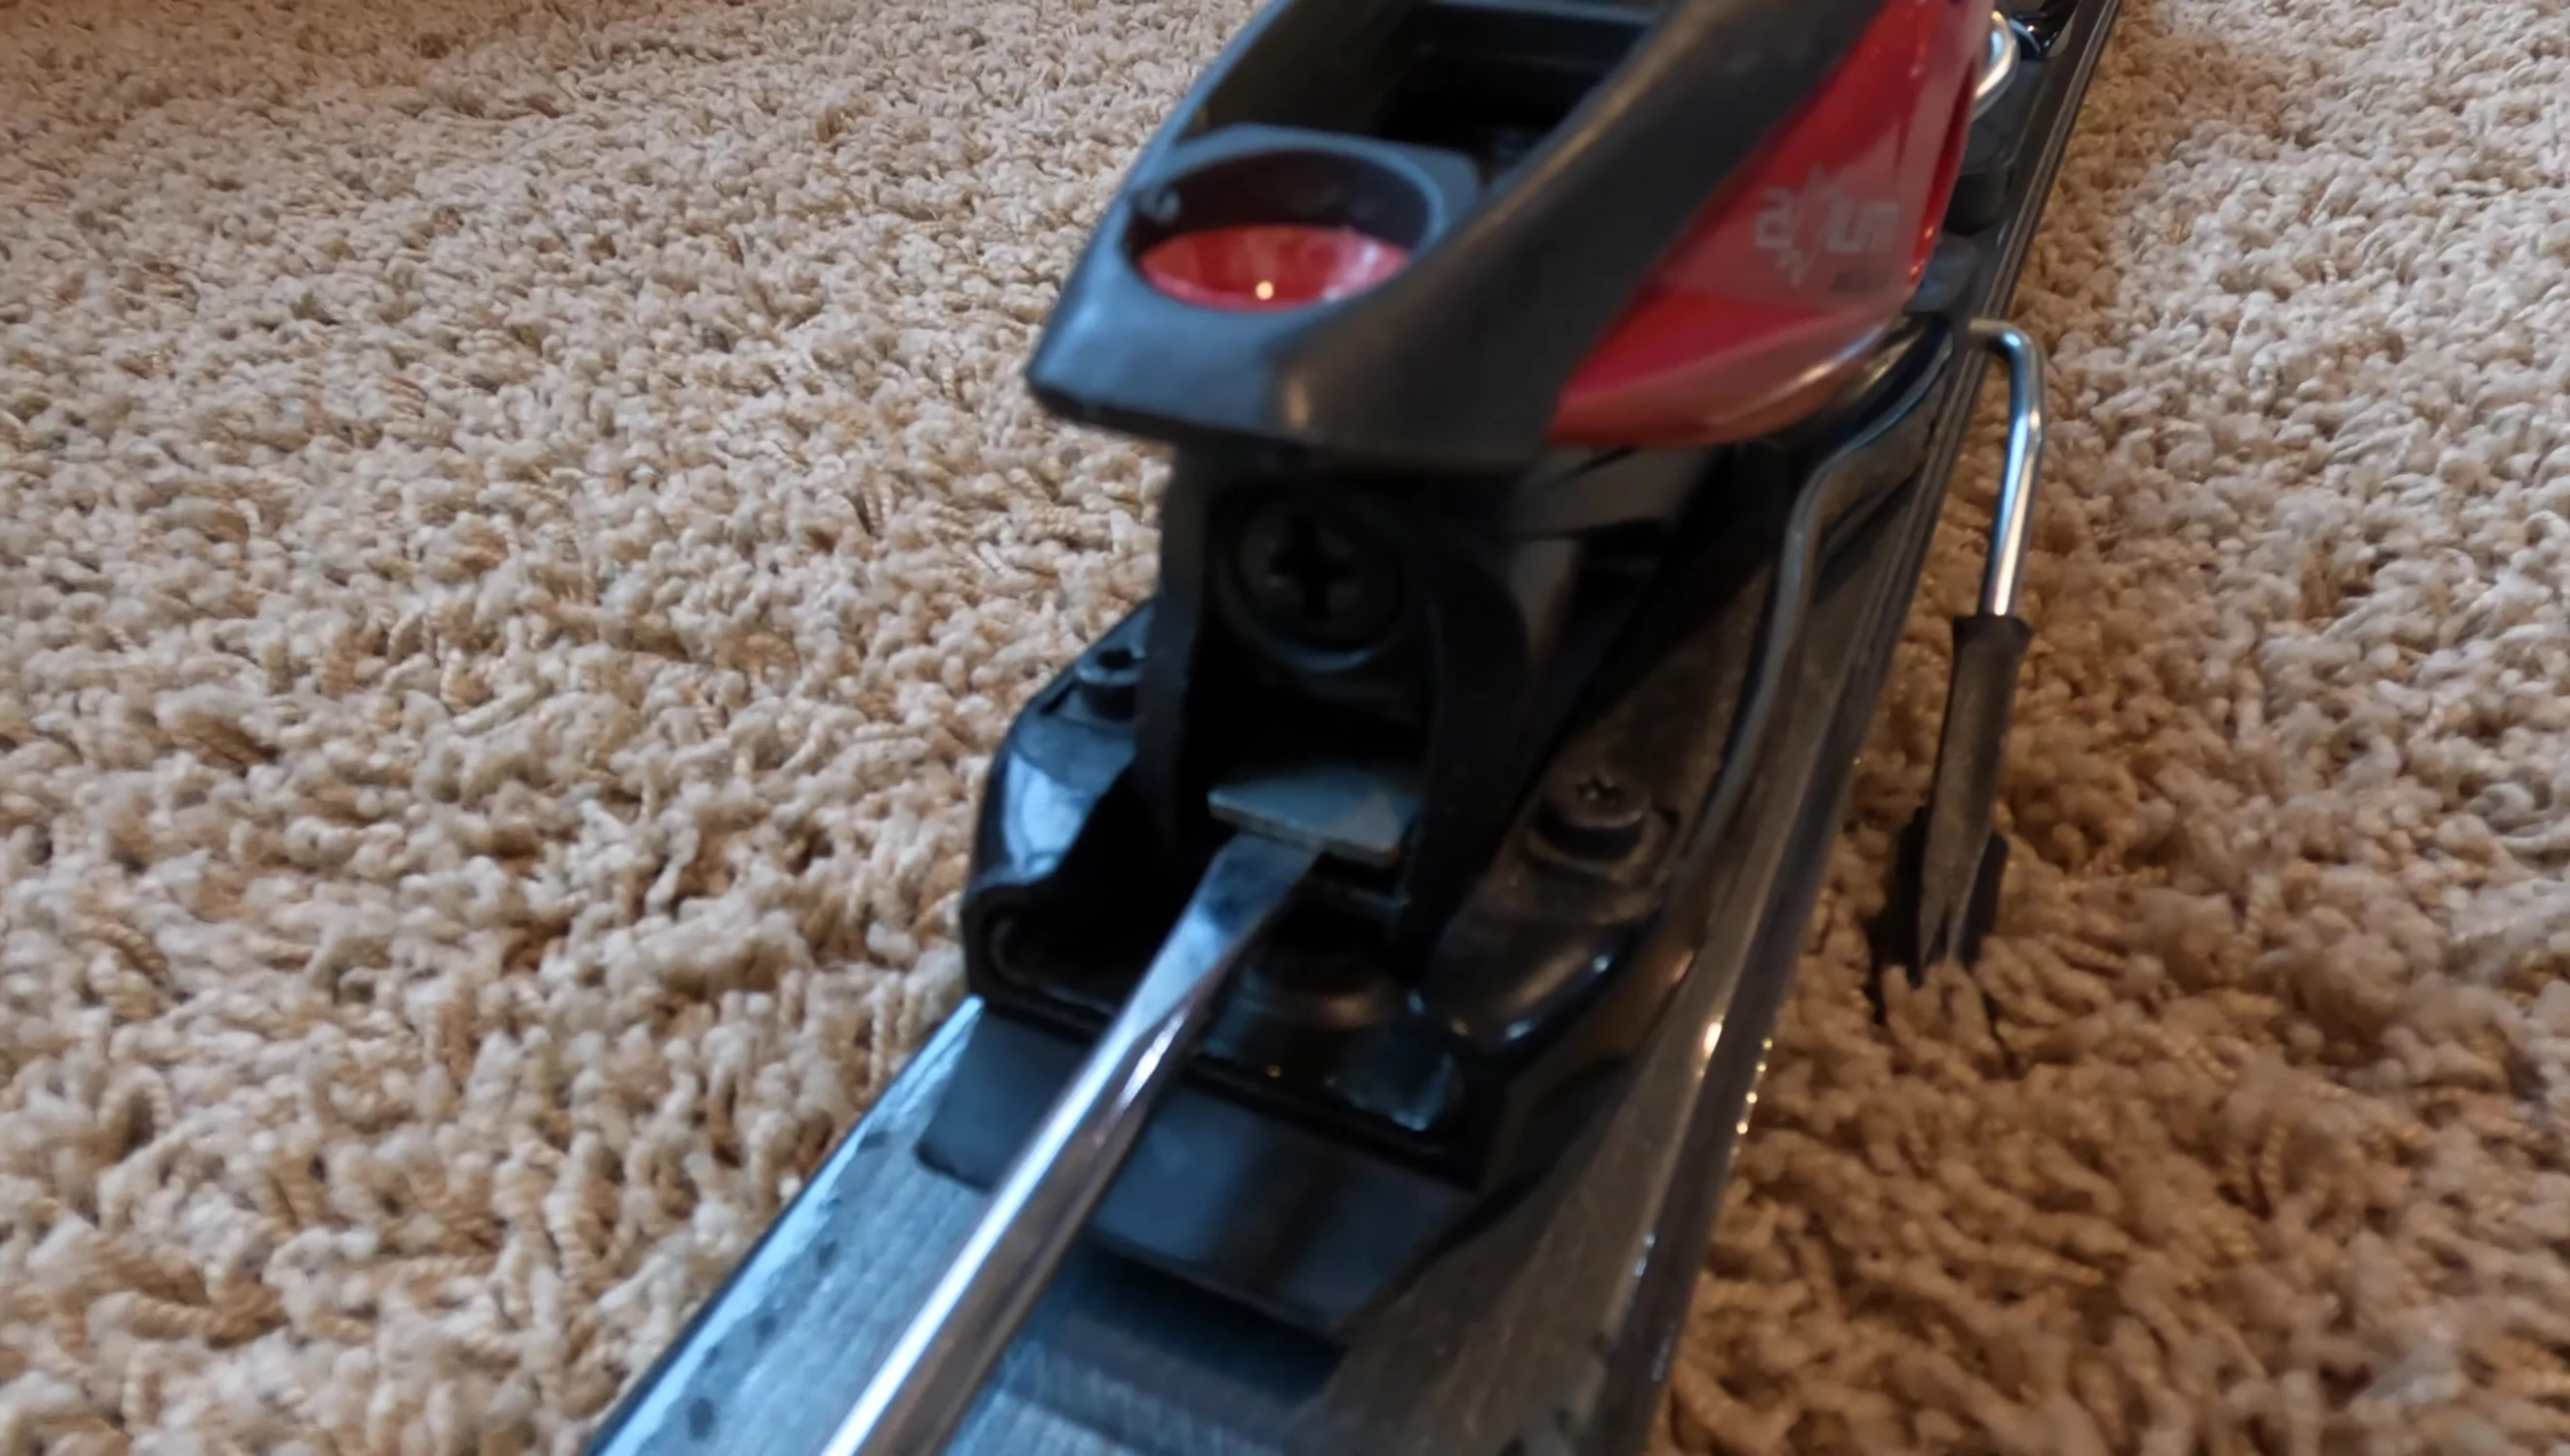
The ideal position is for the black line to be centered or slightly forward within the window. You may need to adjust multiple times to achieve the proper placement.
Setting the DIN Pressure
The DIN setting is adjusted on both the heel and toe pieces using a Phillips head #3 screwdriver.
The DIN setting is indicated by a white line on a numbered scale. Consult online resources to determine the appropriate DIN value based on your weight, height, skill level, and other factors.
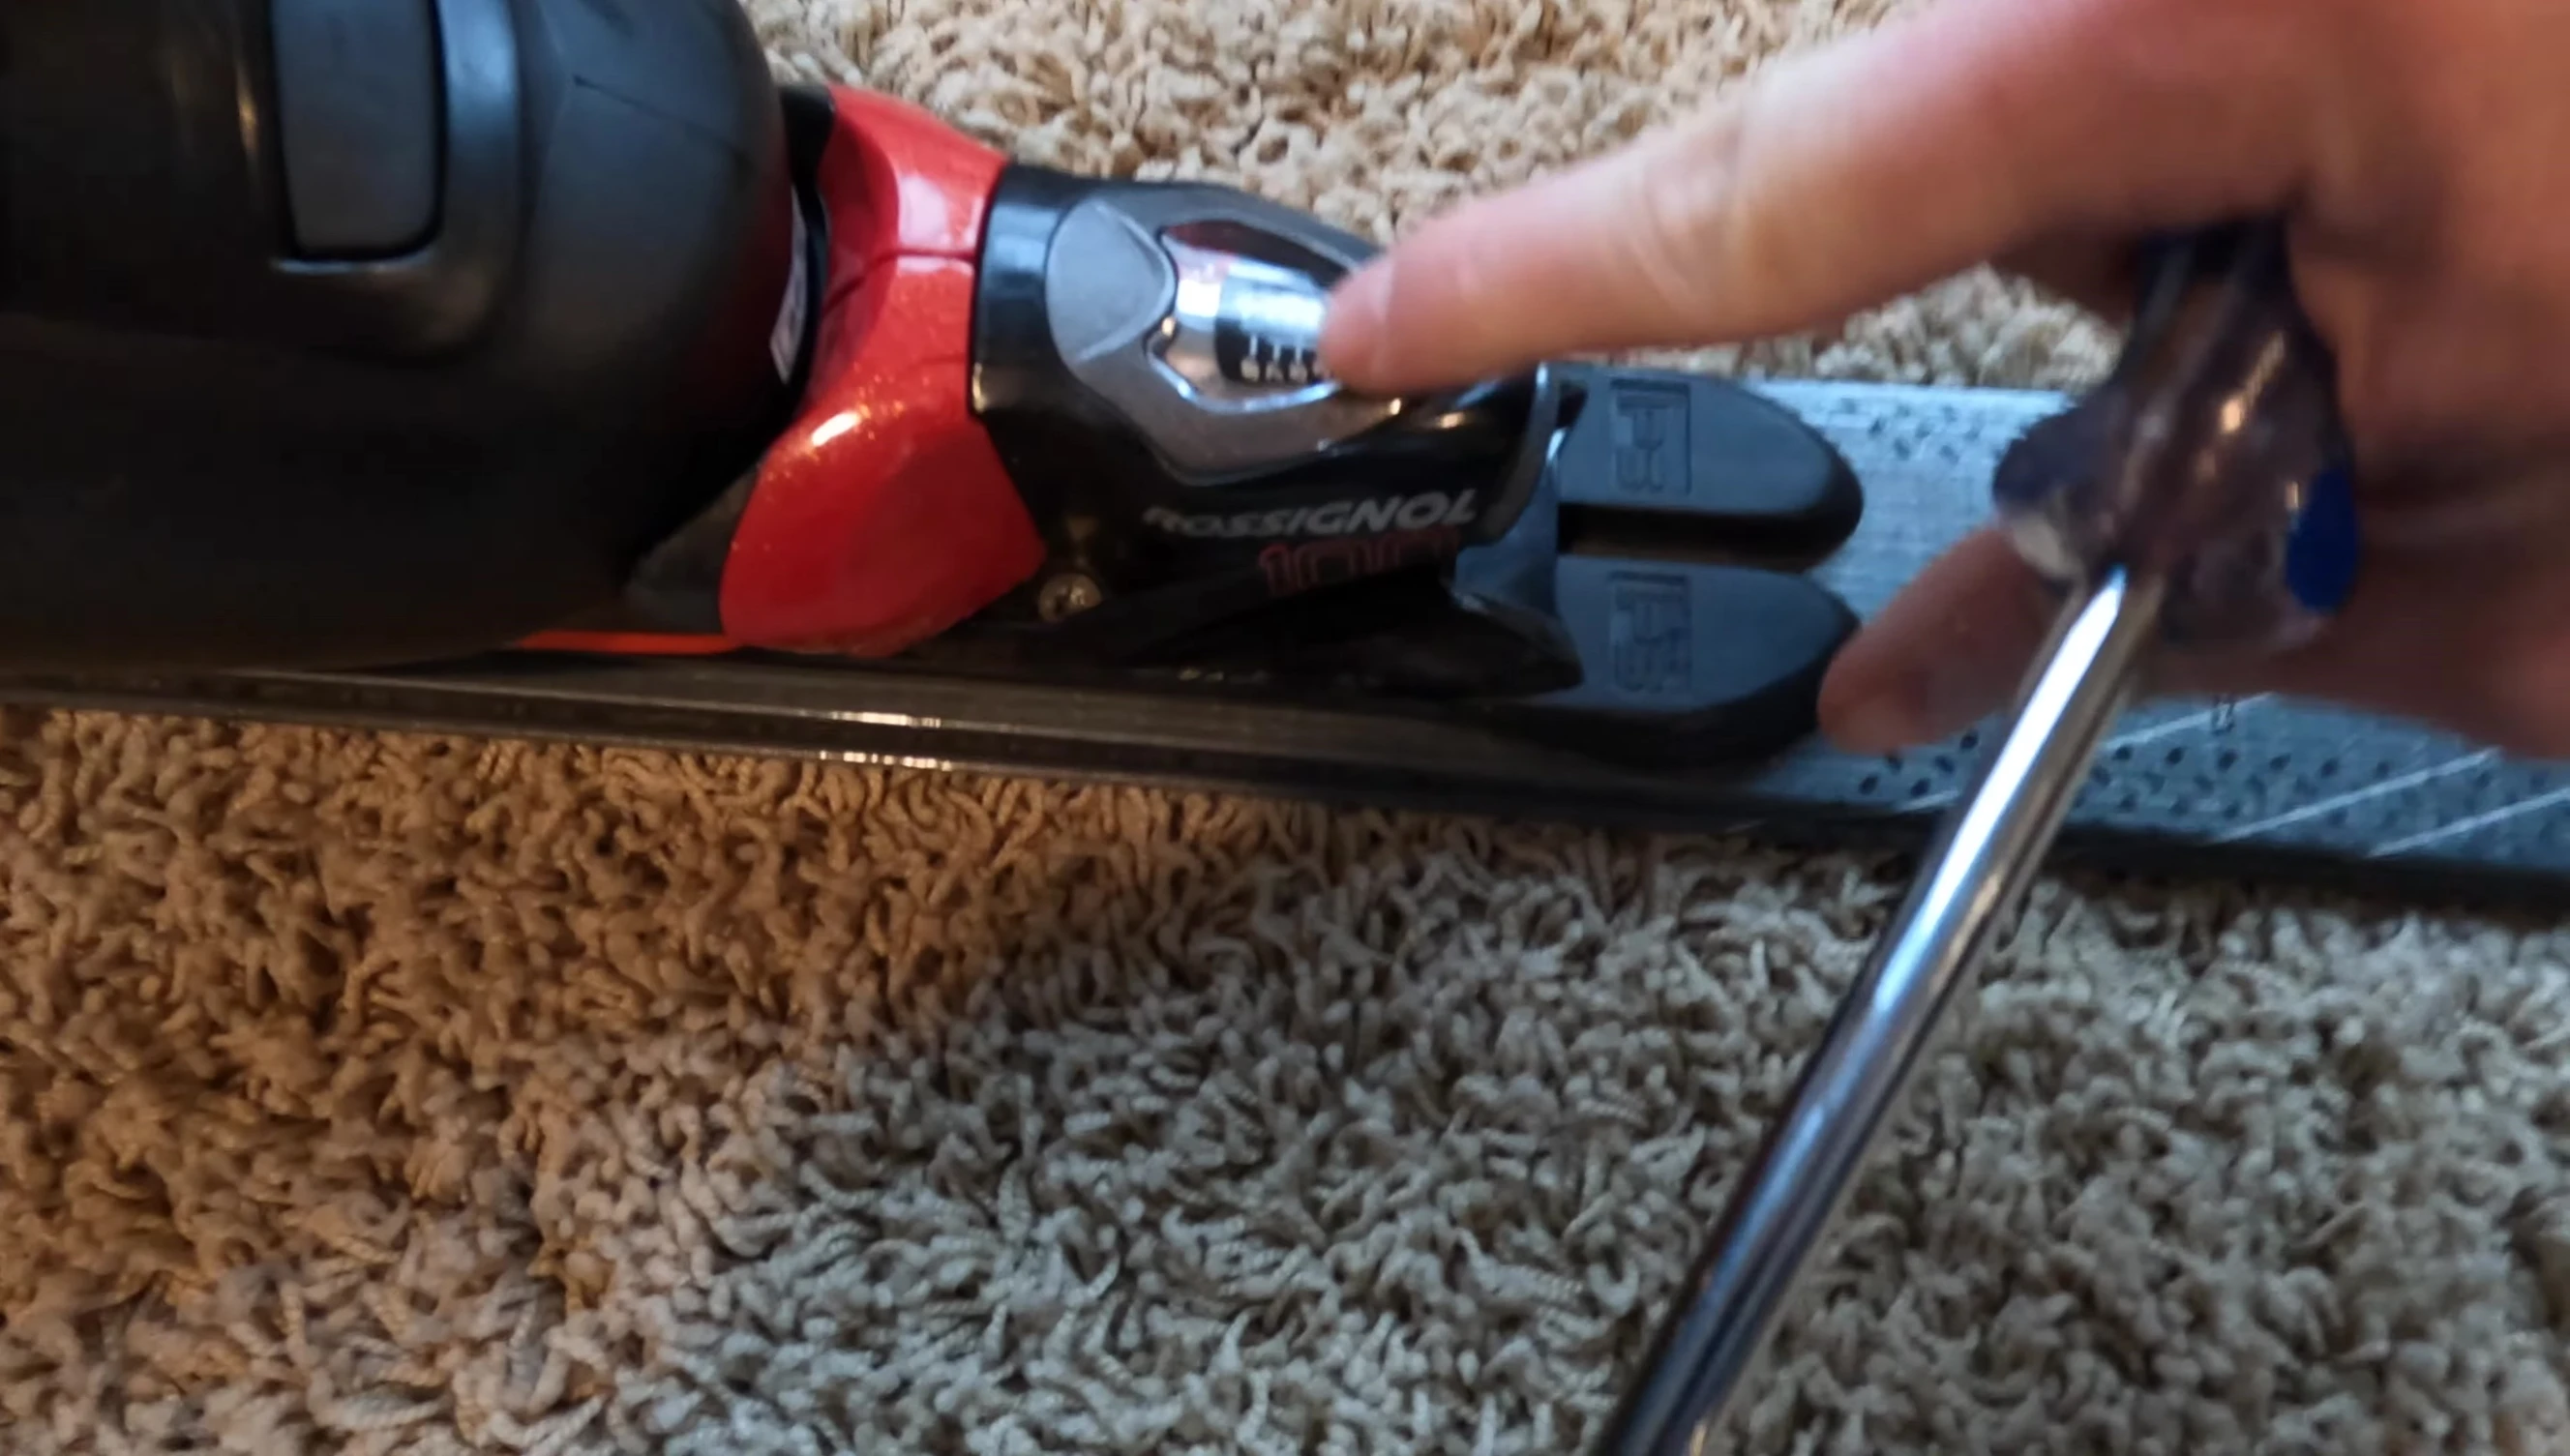
Rotate the adjustment screws to align the white line with your calculated DIN setting on both the heel and toe pieces.
Conclusion
Adjusting Rossignol Axium 100 ski bindings involves several steps, from adjusting the toe piece for boot length to setting forward pressure and finally DIN. Carefully follow the instructions, paying close attention to each step for optimal safety and performance.
While this video addresses older bindings that might not be serviced by shops, the skills learned here may be transferable to other binding models with some adaptations. Precise alignment is crucial for safety and reliable binding function.