This comprehensive guide provides beginners with a step-by-step approach to adjusting their ski bindings. Properly adjusted bindings are crucial for both safety and optimal skiing performance. Incorrect adjustments can lead to unexpected release, hindering your skiing experience or, worse, causing injury. This guide covers the essential steps, from measuring your boot sole length to adjusting the toe and heel pieces and checking the forward pressure. We'll demystify the process, breaking down the adjustments into easily understandable stages.Understanding your binding's mechanism is key, and this guide will help you navigate the various adjustment methods used by different manufacturers, such as Salomon and Marker. While specific mechanisms vary, the underlying principles remain the same. By carefully following the instructions and referring to the manufacturer's manual, you'll gain the confidence to adjust your bindings correctly, ensuring a safe and enjoyable time on the slopes. Remember, regular checks and maintenance are vital for maintaining optimal binding performance and safety.
Read more: Top 5 Burton Ski Bindings: A Buyer's Guide
Determining Boot Sole Length
Before adjusting your ski bindings, you need to determine the precise length of your boot sole in millimeters. This measurement is usually engraved or molded into the boot itself, typically on the heel.
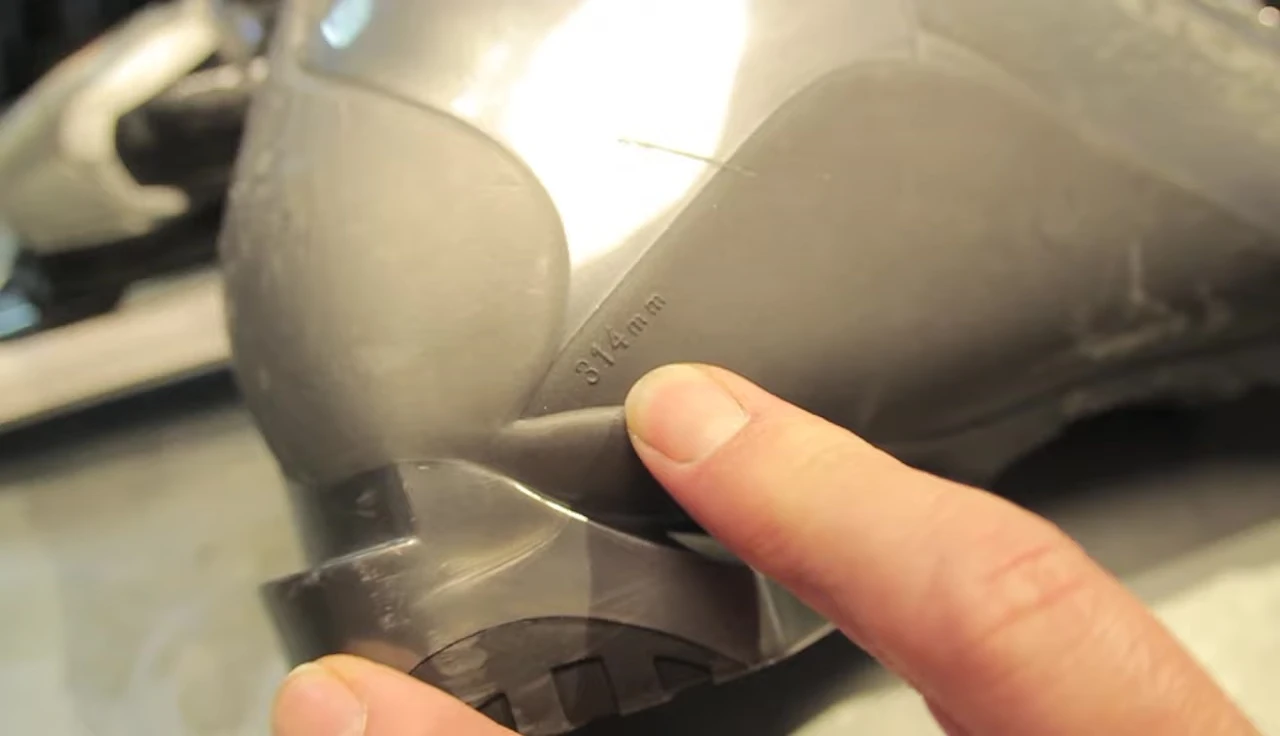
Look carefully on the heel of your boot, either on the inside or the outside. Many rental boots clearly display this information.
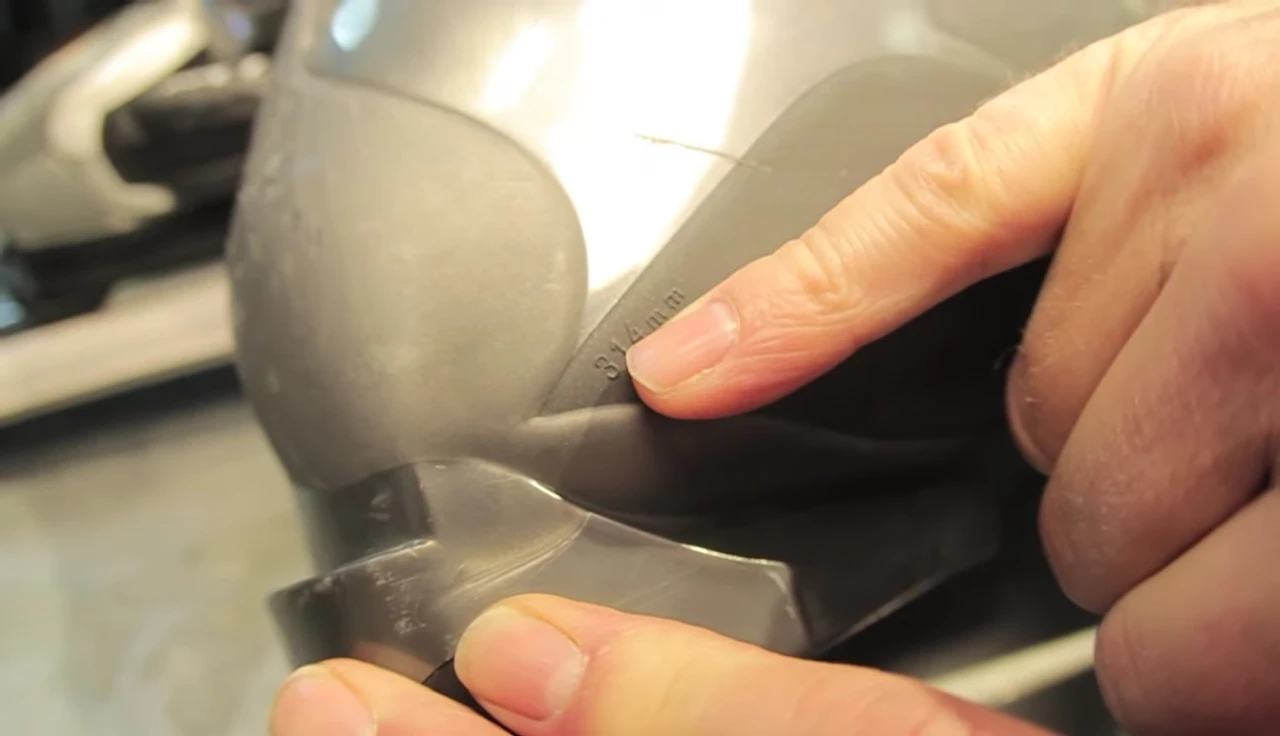
This crucial measurement will guide you through the subsequent adjustment steps. Accurate measurement is critical for proper binding performance and safety.
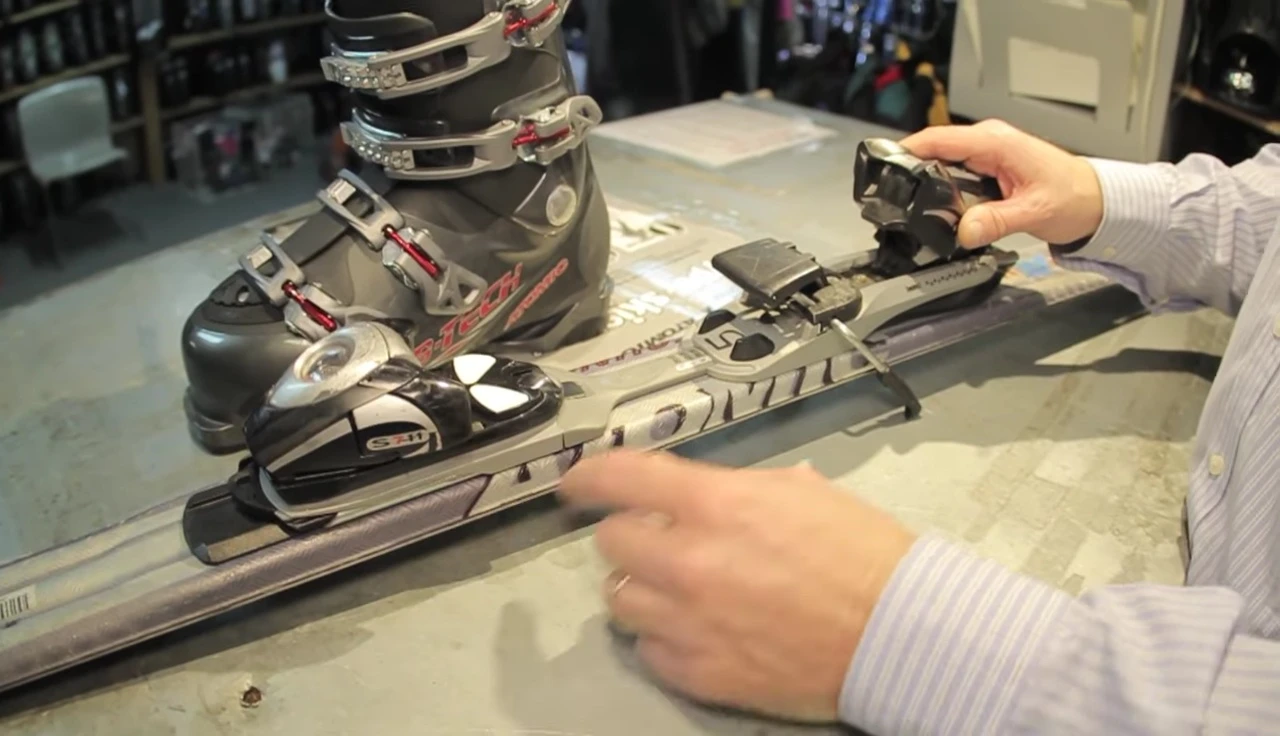
Adjusting the Toe Piece
Once you've determined your boot sole length, you'll need to adjust the toe piece of your ski binding to match. Most bindings have a specific range of boot sizes accommodated.
Locate the adjustment mechanism on the toe piece; this often involves a lever or button that allows you to move the piece forward or backward.

Slide the boot into the toe piece until it sits snugly within the designated range for your boot size.
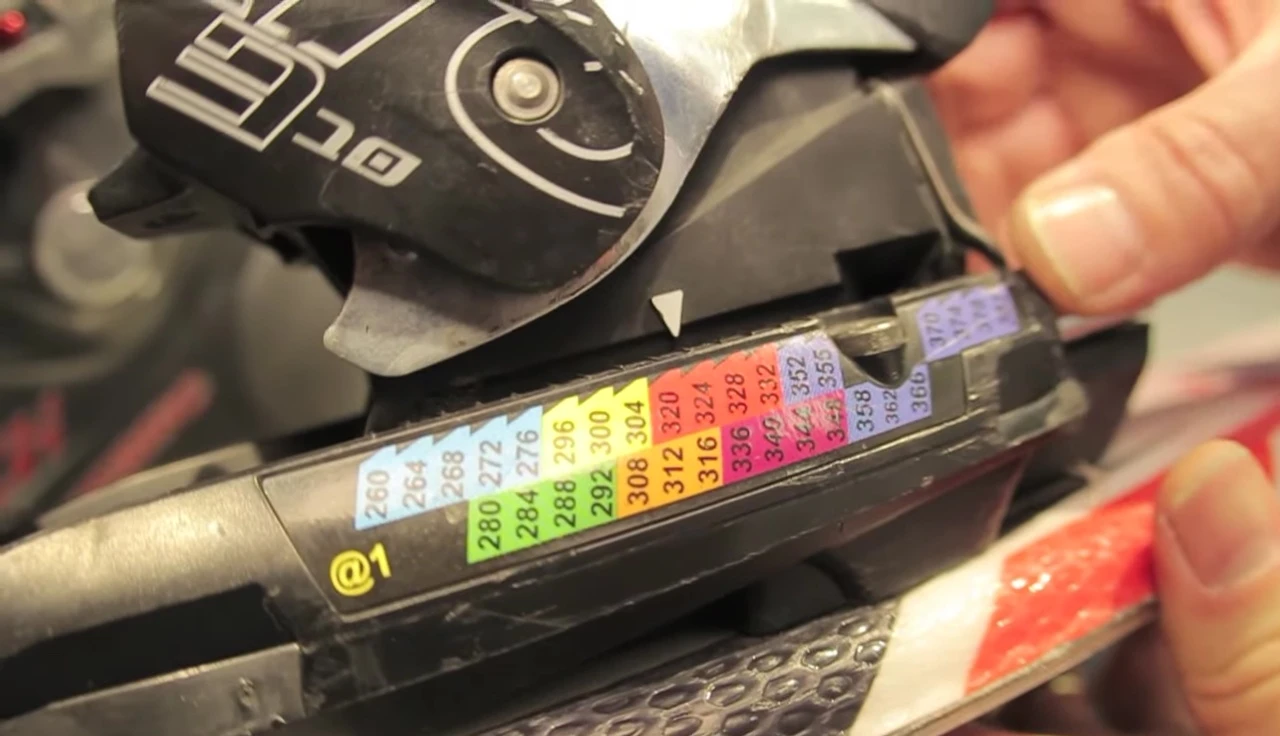
Adjusting the Heel Piece
The heel piece adjustment is equally important for optimal performance and safety. This usually involves an adjustment mechanism to match the boot sole length.

Align the heel piece's indicator with your measured boot sole length. Ensure the boot fits securely into both the heel and toe pieces.
Check for a smooth, secure fit. The heel should not be loose or excessively tight.
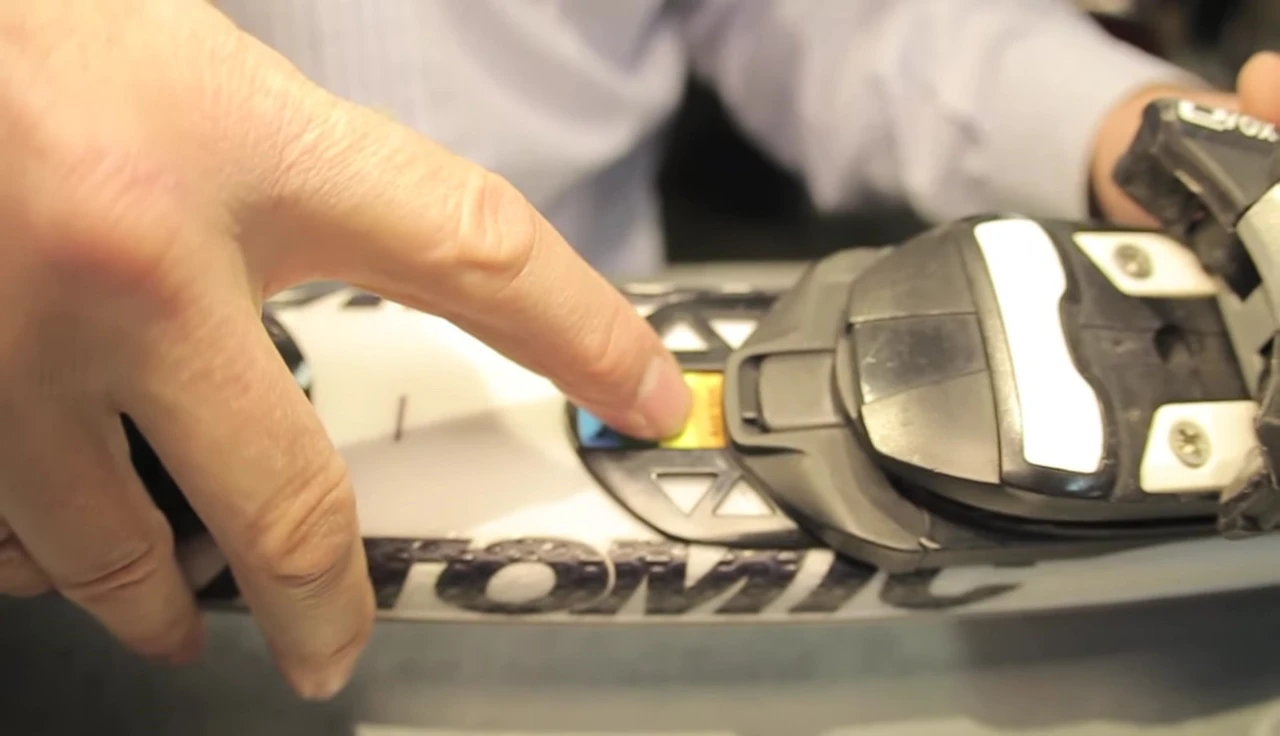
Verifying Forward Pressure
After adjusting both the toe and heel pieces, you must check the forward pressure. This ensures proper transfer of power from your leg to the ski.
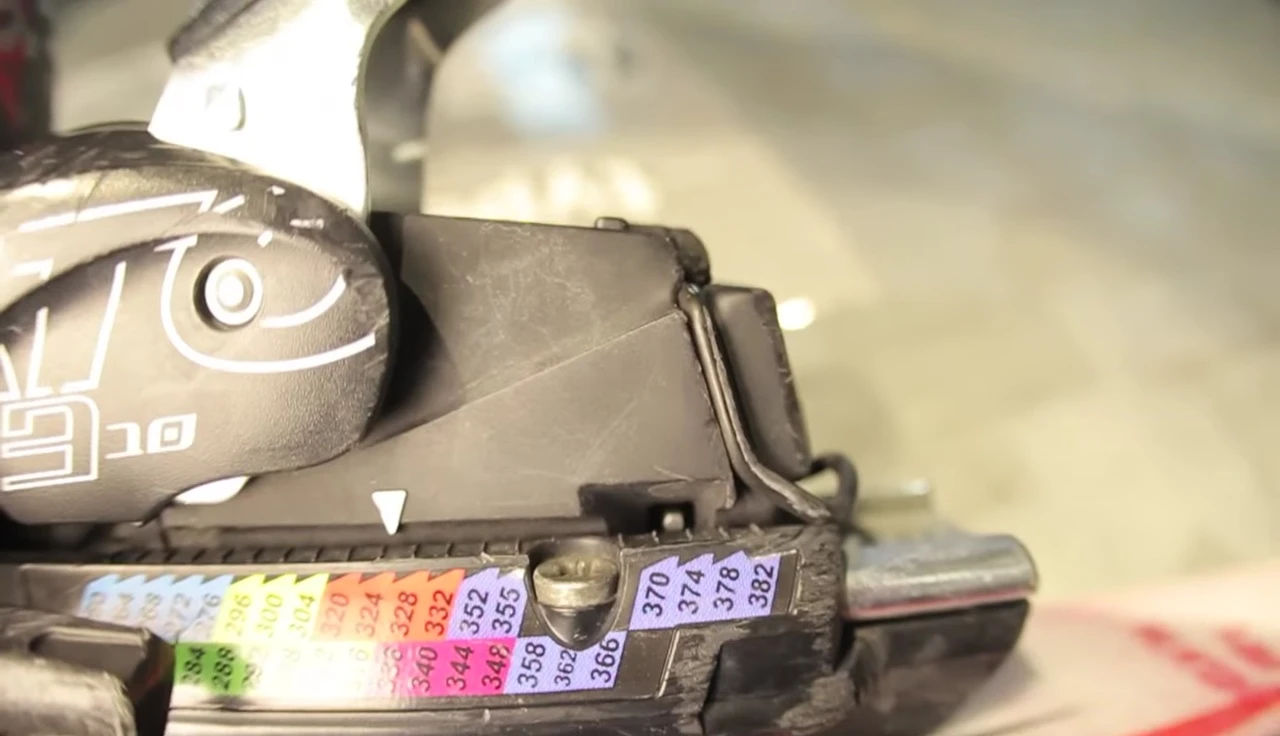
Most bindings have a visual indicator to check for proper forward pressure. This is often a small metal tab or mark visible through a window in the binding.
The indicator should be correctly positioned; If not, readjust the binding until the indicator is properly aligned. This is crucial for preventing pre-release issues.
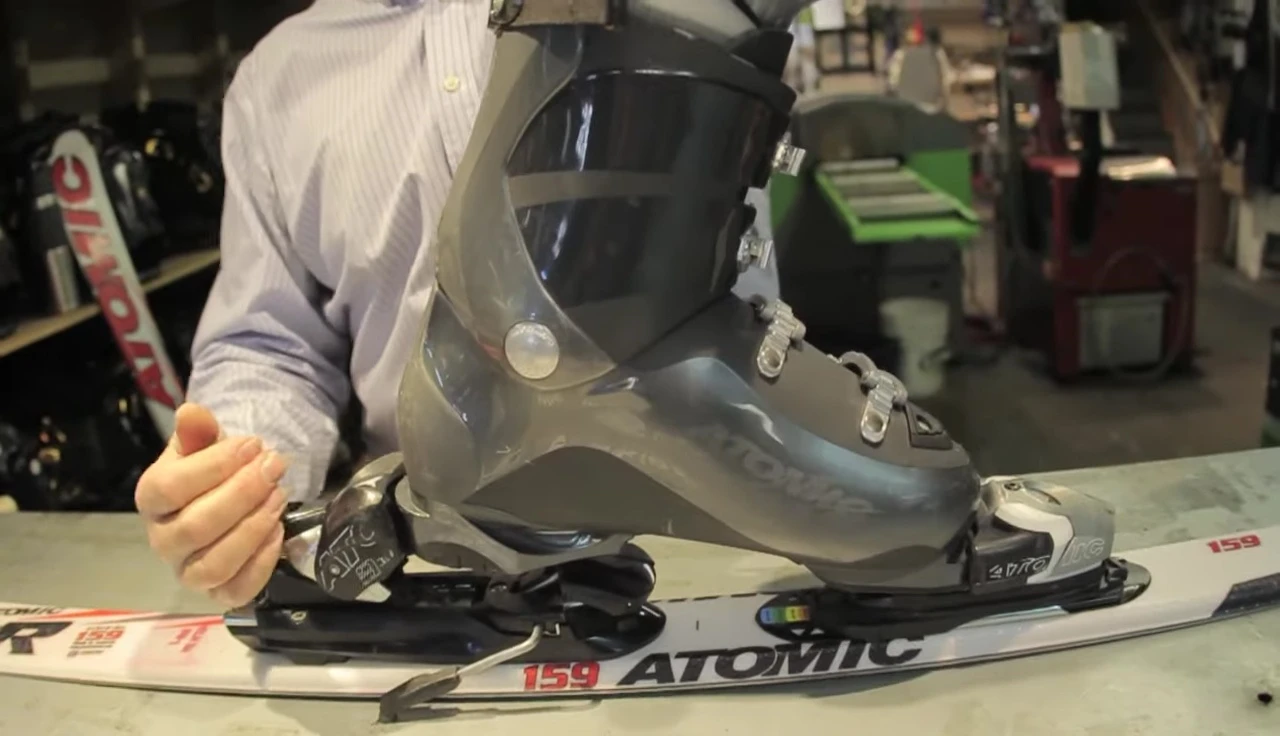
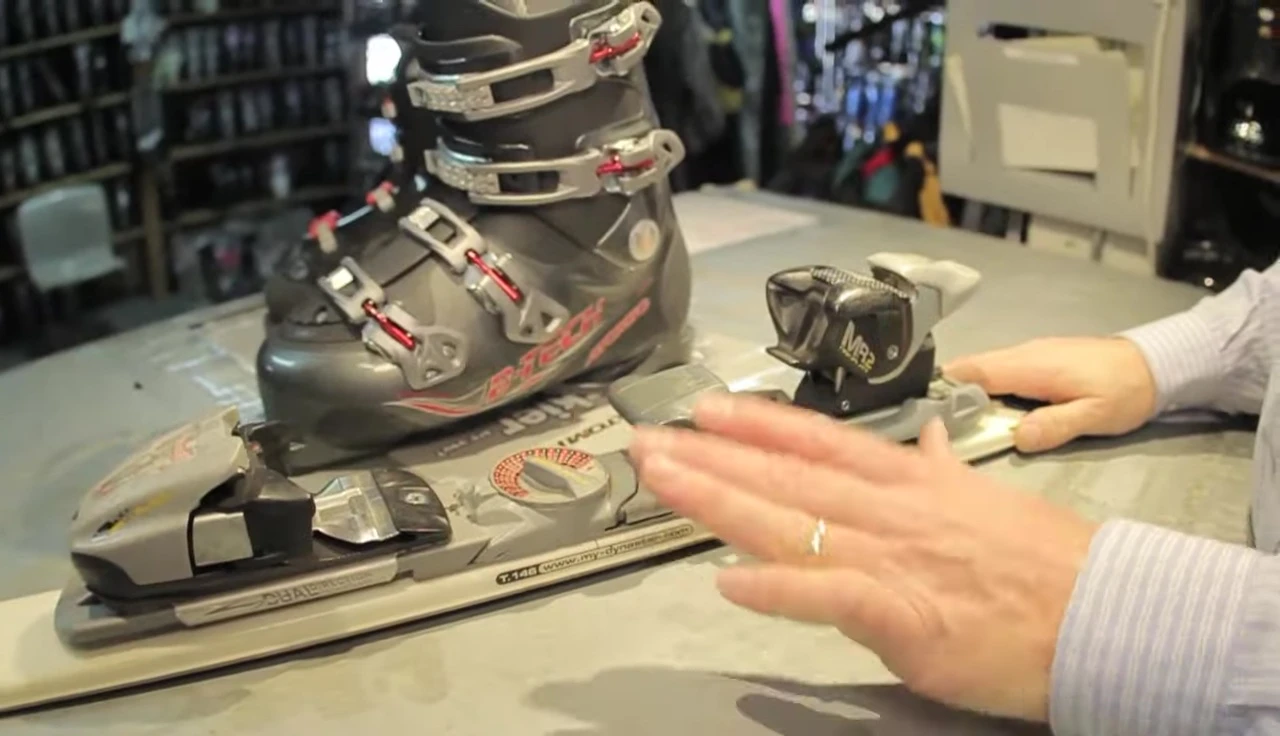
Different Binding Types and Adjustments
Various ski binding brands and models employ different adjustment mechanisms. However, the fundamental principles remain consistent.
The video demonstrates adjustments for several binding types (e.g., Salomon, Marker), highlighting the unique features of each.
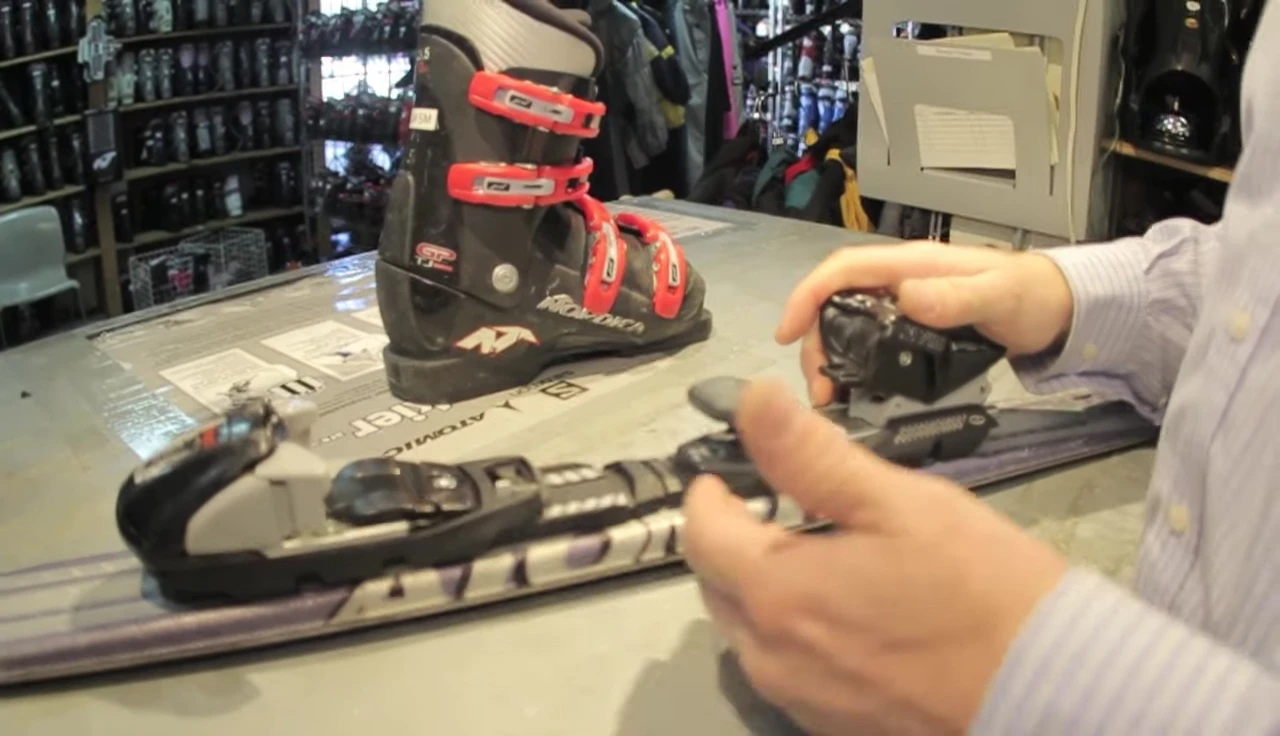
Familiarize yourself with the specific adjustment procedure for your particular binding. Always refer to the manufacturer’s instructions.
Conclusion: Importance of Proper Adjustment
Correctly adjusted ski bindings are essential for safety and performance. Improper adjustments can lead to premature release or binding failure.
Take your time; review the manufacturer's instructions, and practice your adjustment skills. Become confident in your ability to achieve optimal binding settings.
Always ensure the bindings are properly adjusted for every skier to maximize safety and ski performance. Regular checks and maintenance are vital.