This guide provides a step-by-step approach to adjusting your ski bindings, focusing on both boot fit and the crucial DIN setting. Properly adjusted bindings are paramount for safety and performance on the slopes. Incorrect settings can lead to premature release, resulting in falls, or conversely, failure to release during a crash, potentially causing serious injury. This guide will empower you to confidently assess and adjust your bindings, ensuring a secure and enjoyable skiing experience. Whether you're dealing with new boots, used skis, or simply need a refresher, mastering these adjustments is a critical skill for every skier.Understanding the relationship between boot fit and DIN setting is key to preventing accidents. We'll walk you through checking your boot's fit within the binding, adjusting the binding width for a snug but not overly tight connection, and accurately setting the DIN release force based on your individual characteristics. Remember, while this guide provides helpful information, seeking professional assistance from a qualified ski technician is always recommended if you're uncertain about any aspect of the adjustment process. Prioritizing safety should always be your top priority.
Pros And Cons
- Allows for customized fit to the skier's boot size.
- Enables adjustment of DIN settings to match skier's weight and skill level.
Read more: Top 5 Burton Ski Bindings: A Buyer's Guide
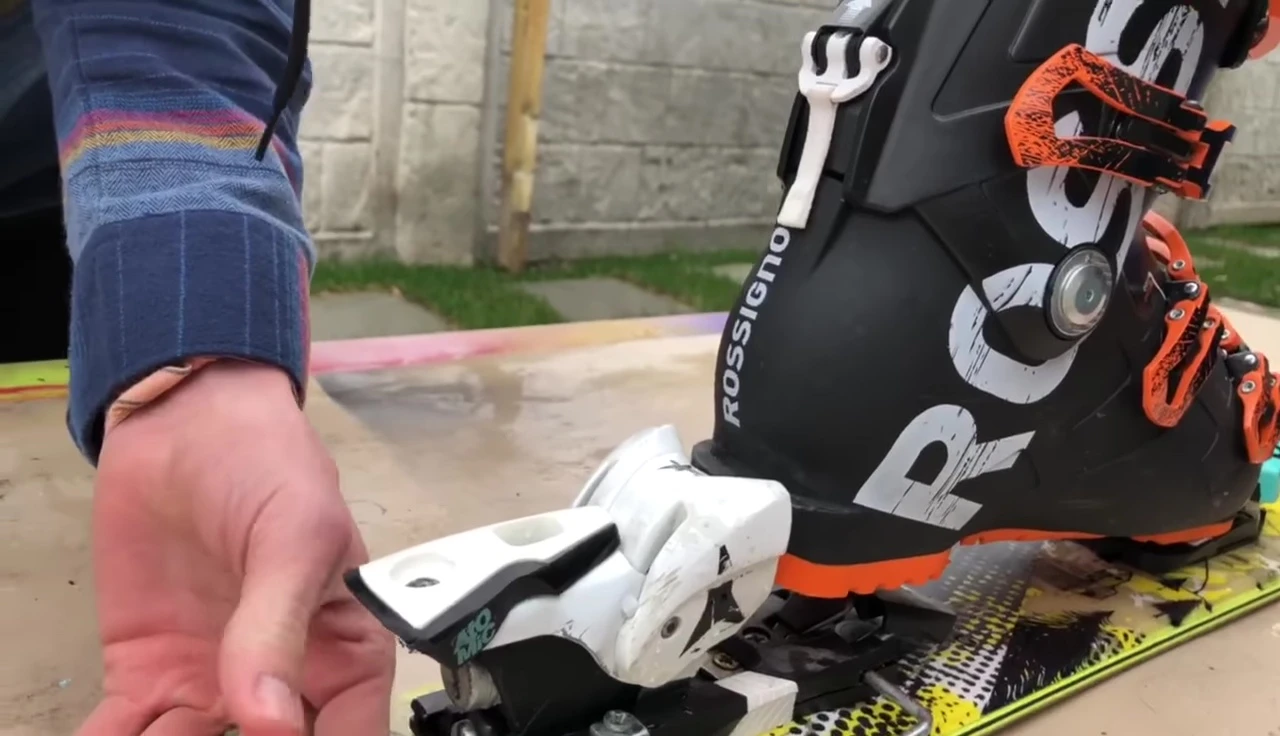
Assessing Binding Fit
Before adjusting your ski bindings, it's crucial to evaluate the current fit of your ski boots within the bindings. A snug fit is essential for both safety and performance. Too much space between the boot and binding can lead to premature release or injury during a fall. Ensure you have the correct tools readily available to make the adjustments.
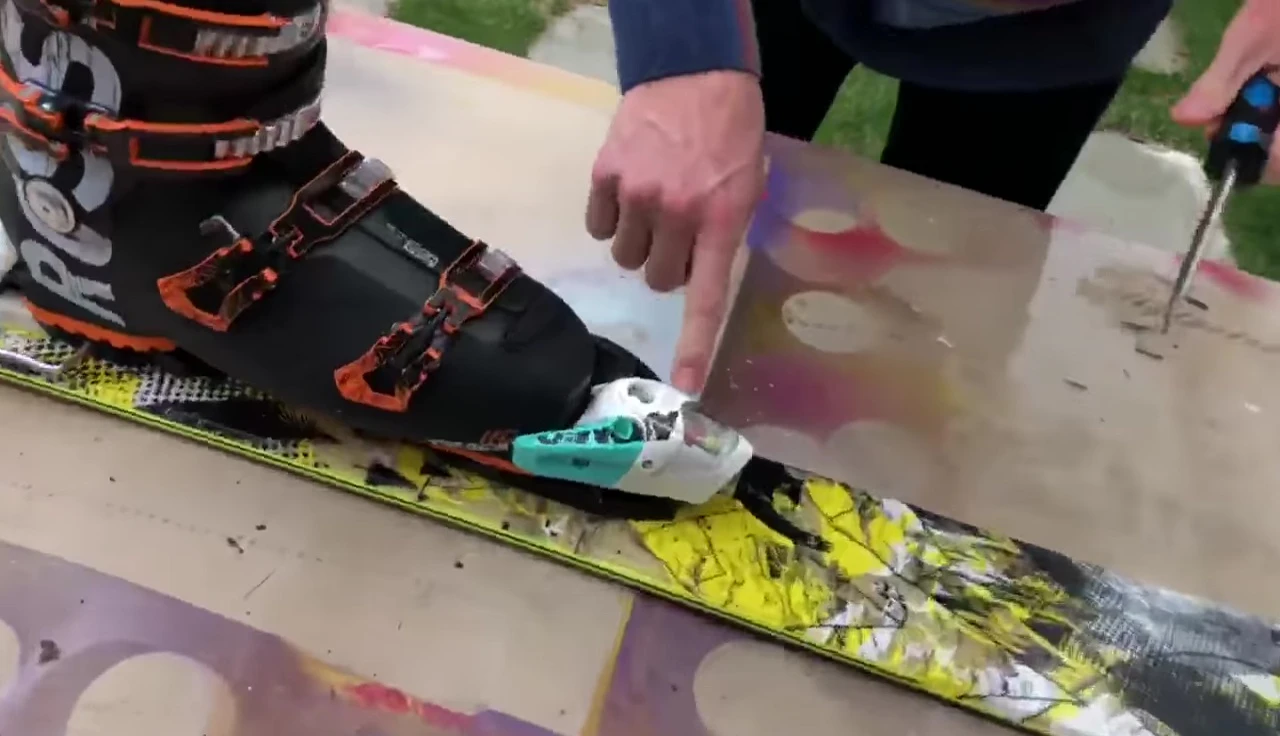
Adjusting Binding Width
The binding width can be adjusted using a screw located on the back of the binding. Turning the screw clockwise will tighten the binding, reducing the gap between the boot and the binding. Conversely, turning it counter-clockwise will loosen the binding. Make gradual adjustments until the boot fits snugly, but not too tightly.

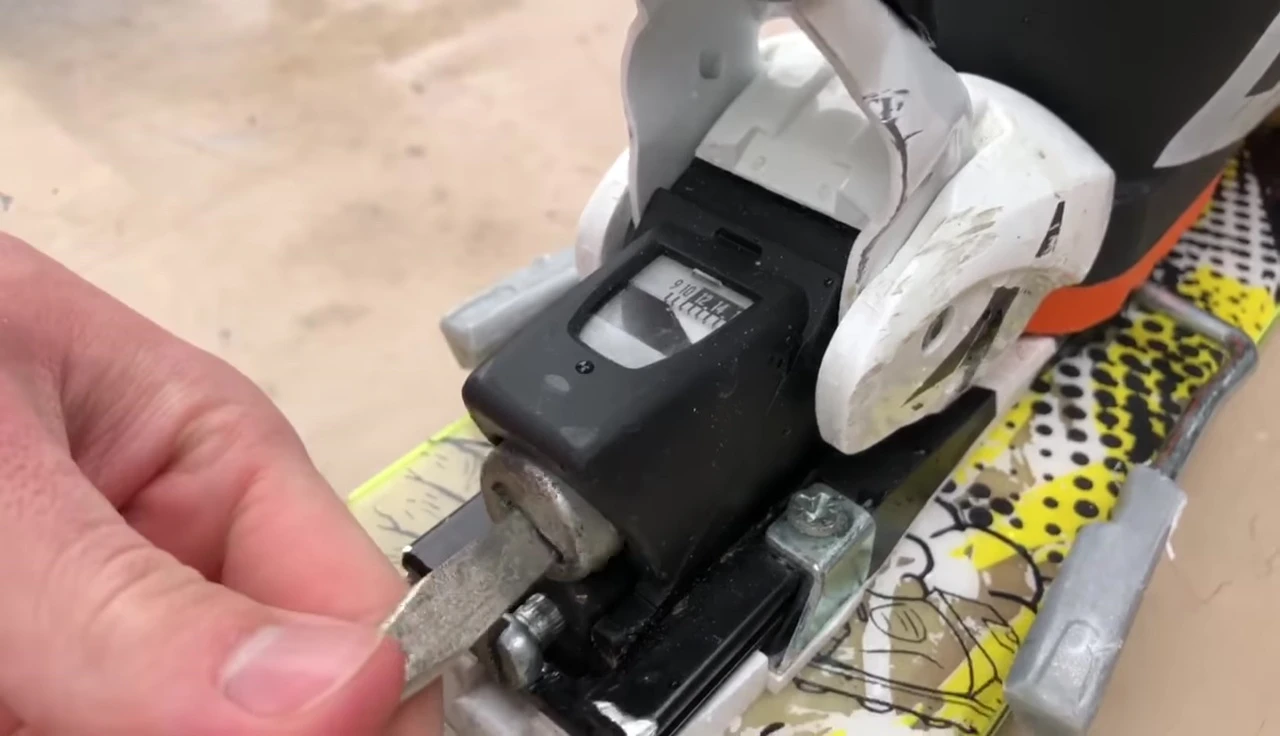
DIN Setting Adjustment
The DIN setting determines the release force of the binding. This setting is crucial for safety and should be adjusted based on your weight, skiing ability, and boot sole length. The DIN setting is usually marked on a scale found on the binding. Use the screw to adjust the setting, making sure to check both the front and rear bindings.

Final Check and Safety
After adjusting both the binding width and DIN settings, it's critical to double-check the fit and the DIN setting. Ensure the boot is securely held within the binding, and the DIN setting is appropriate for your skiing style and ability. If unsure, consult a professional ski technician for guidance. Remember, proper binding adjustments are vital for preventing injuries.

Conclusion
Adjusting your ski bindings and DIN settings is a straightforward process that can save time and money when dealing with used skis or adjusting to different boots. By taking the time to make these essential adjustments, you ensure a safer and more enjoyable skiing experience. Always prioritize safety, and seek professional assistance if you are uncertain about any aspect of the process.