This guide provides a step-by-step tutorial for installing new ski bindings, empowering you to perform this crucial maintenance task yourself. Whether you're a seasoned skier upgrading your equipment or a beginner tackling this for the first time, this detailed walkthrough will equip you with the knowledge and confidence to complete the installation safely and effectively. We cover everything from removing old bindings and drilling pilot holes (where necessary) to securely fastening the new bindings and performing essential final checks.This practical tutorial emphasizes a methodical approach, highlighting the importance of using the correct tools and avoiding common pitfalls. By following these instructions carefully, you can ensure a secure and correctly adjusted binding setup, maximizing both performance and safety on the slopes. Remember, proper binding installation is critical for a safe and enjoyable skiing experience, so take your time and prioritize safety throughout the process.
Read more: Top 5 Burton Ski Bindings: A Buyer's Guide
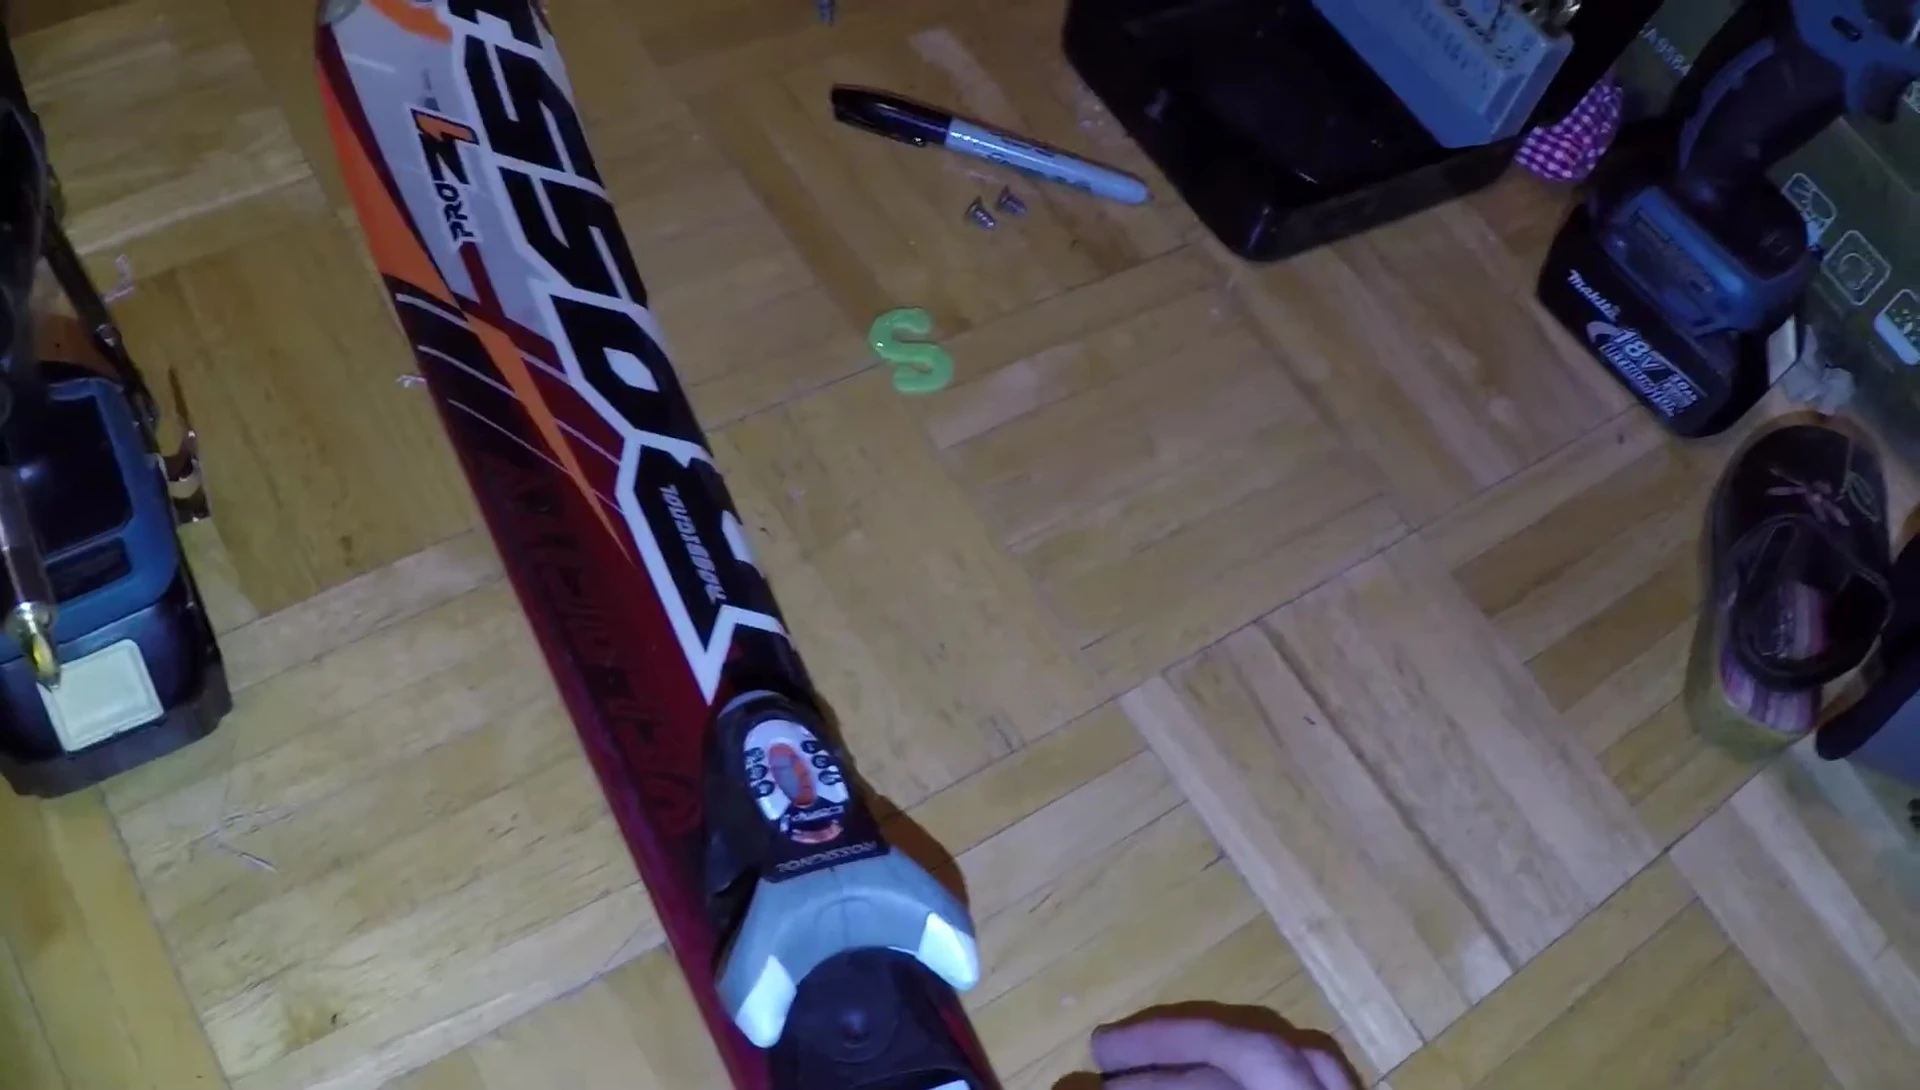
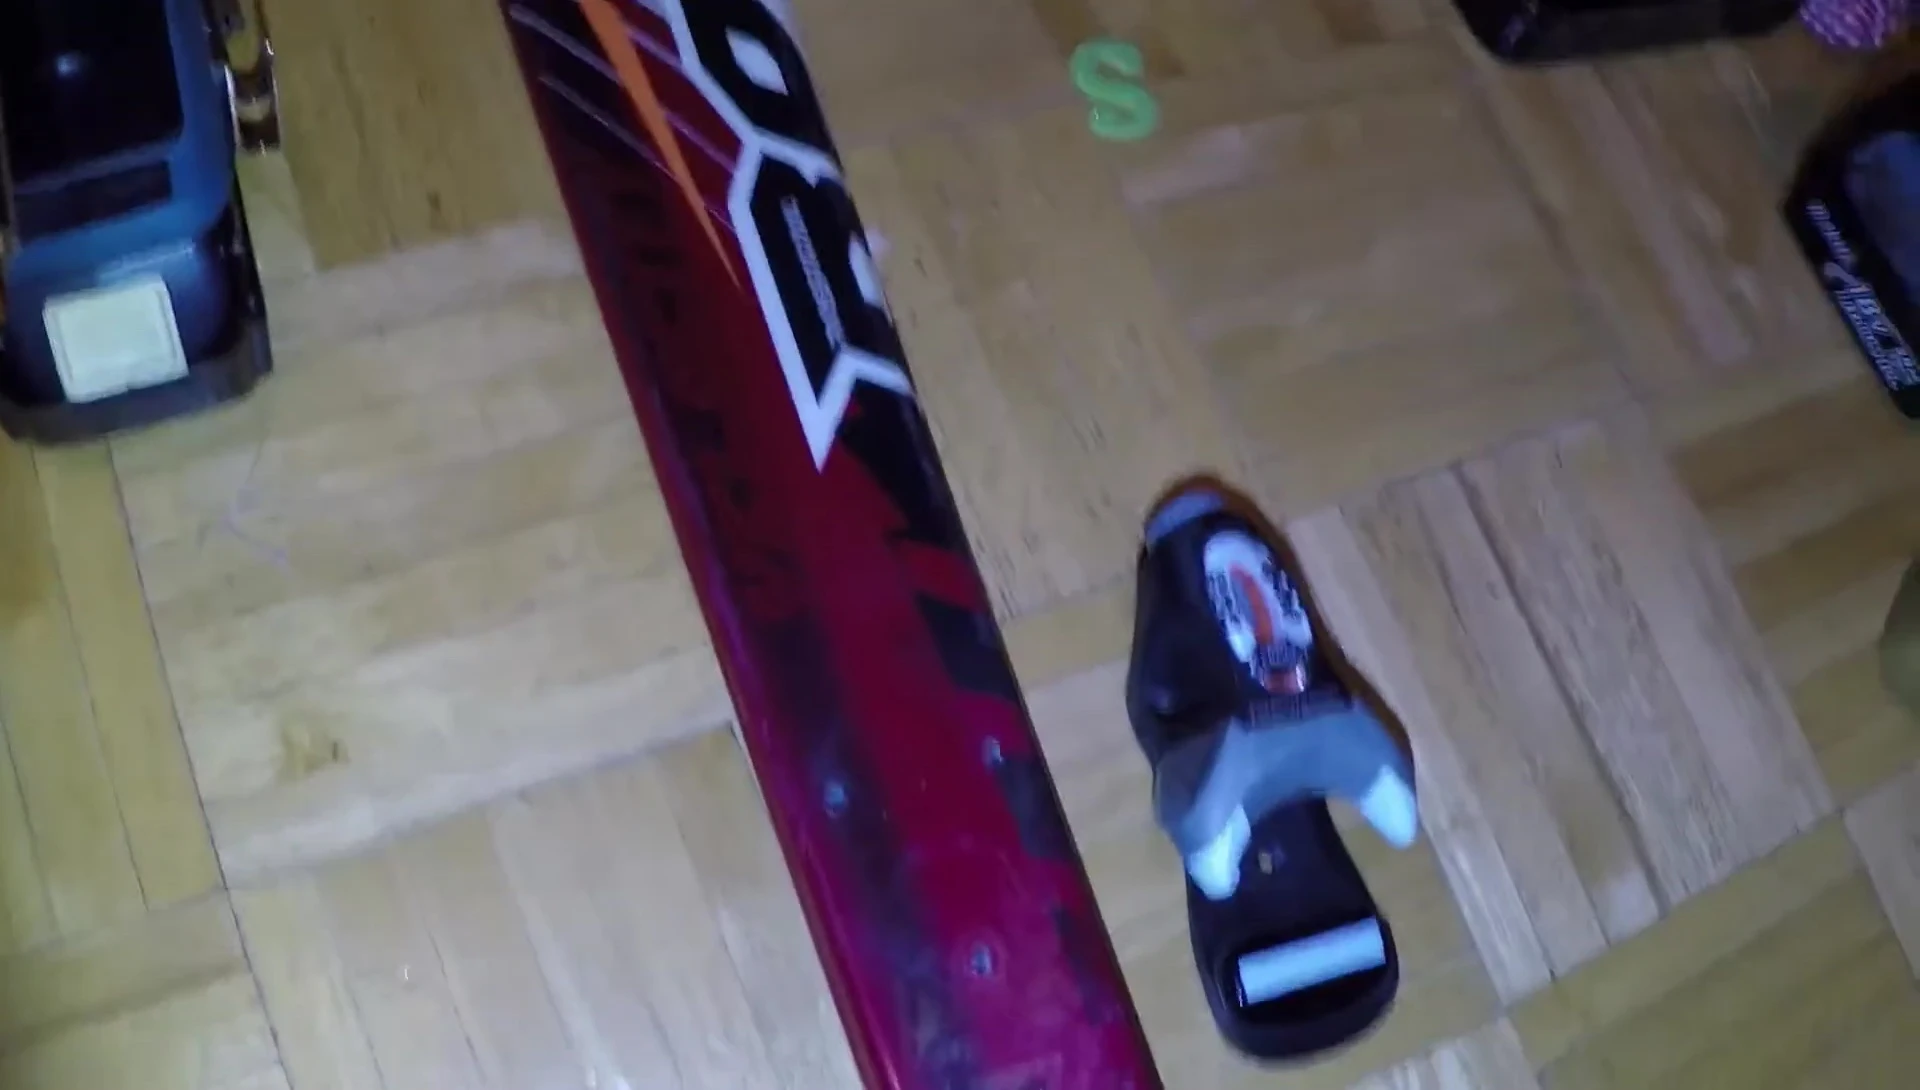
Removing Old Bindings
The first step in installing new ski bindings is removing the old ones. This involves carefully unscrewing the bindings from the skis. Be sure to keep track of all screws and other small parts. Use the correct screwdriver to avoid damaging the screws or the skis. Take your time and work methodically to avoid any accidents.
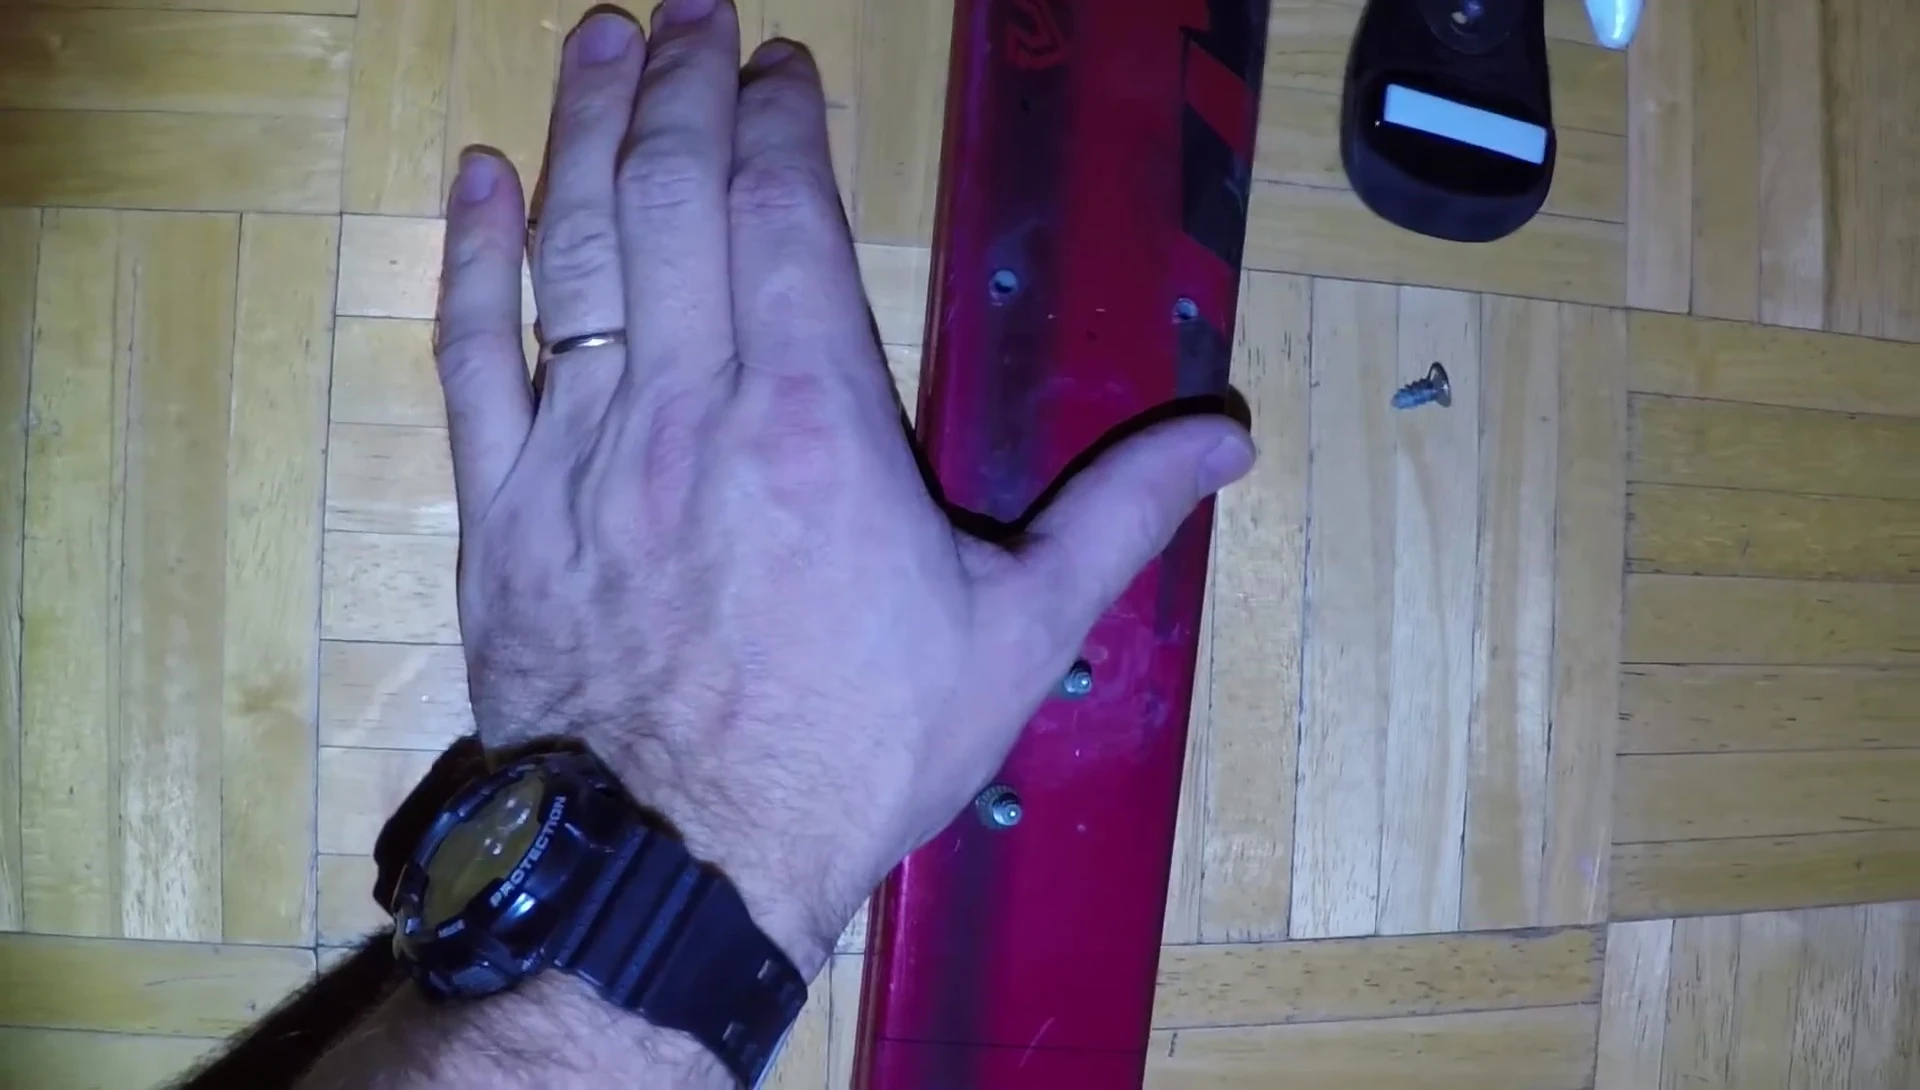
Preparing for New Bindings
Before installing the new bindings, you may need to drill pilot holes. This is especially true if you're moving the bindings to a new location on the ski. The size of the bit you use will depend on the type of screws and the material of the ski. Always use caution when drilling to avoid damaging the ski itself.
For fiberglass skis, the screws will create their own threads as they are turned in. Make sure the holes are not too deep to prevent damage. It is helpful to have a pre-existing reference point for the depth of the hole if possible
Installing New Bindings
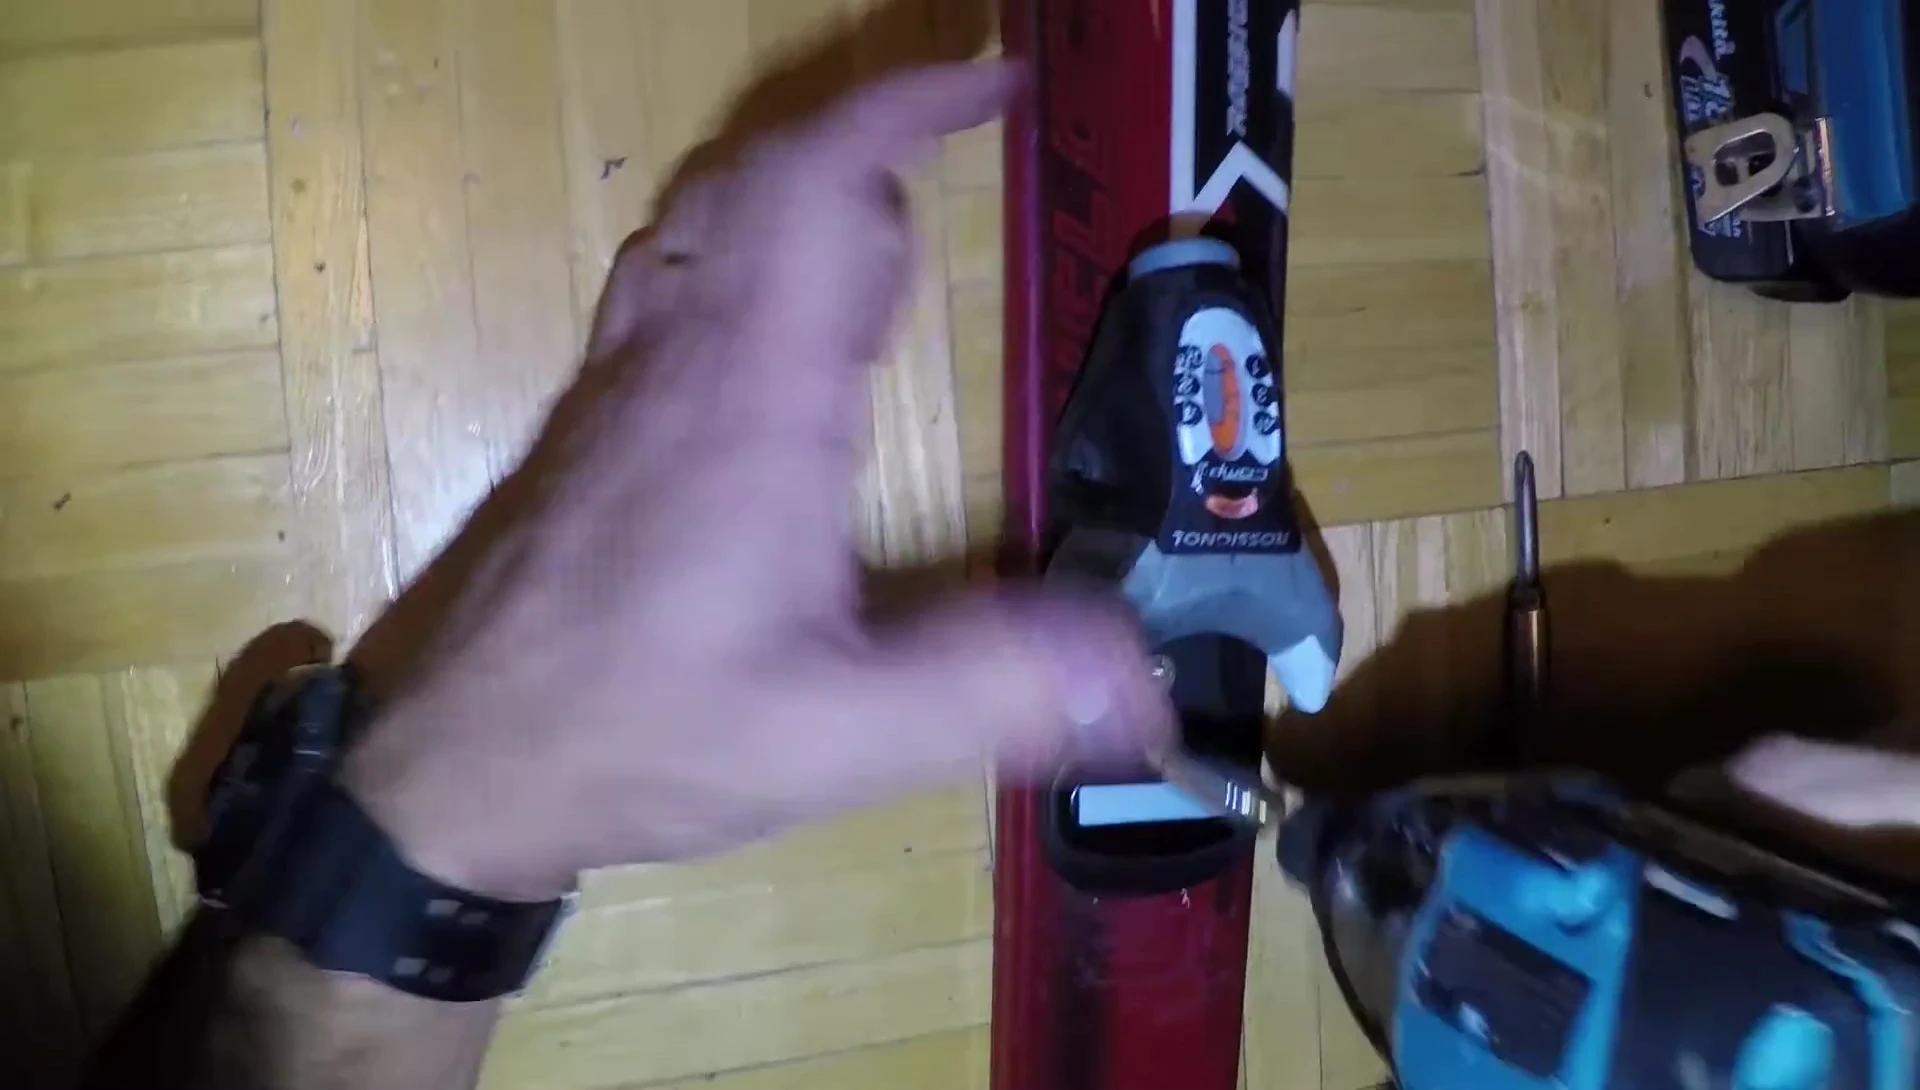
Once the pilot holes are drilled, carefully install the new bindings. Start by hand-tightening the screws to ensure they are going in straight. Then you can use a drill to finish tightening them. Do not overtighten the screws as this could damage the bindings or the skis. It is recommended to do the final tightening by hand.
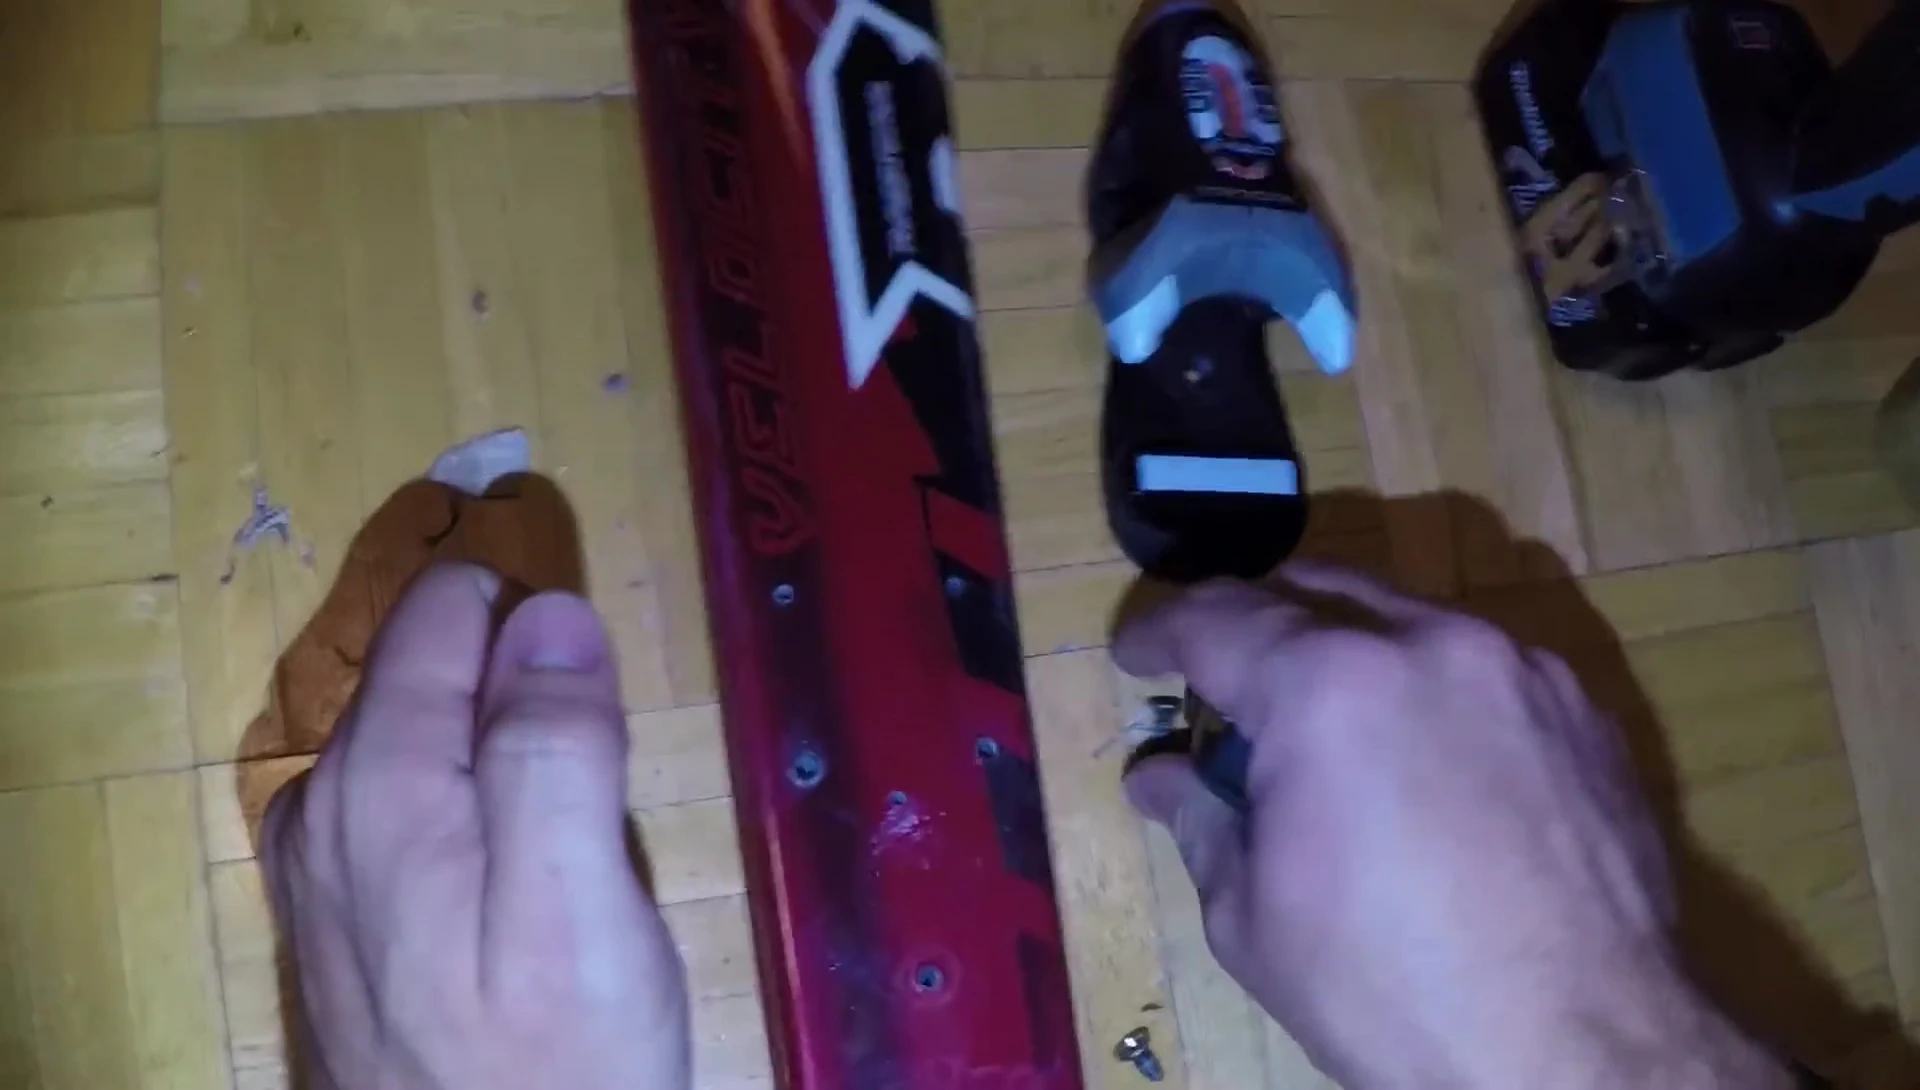
After all the bindings are secured, use the included hardware to firmly secure the bindings in place. Once in place, adjust the bindings based on the length of the boot you will be using so that it fits correctly
Testing and Adjustment
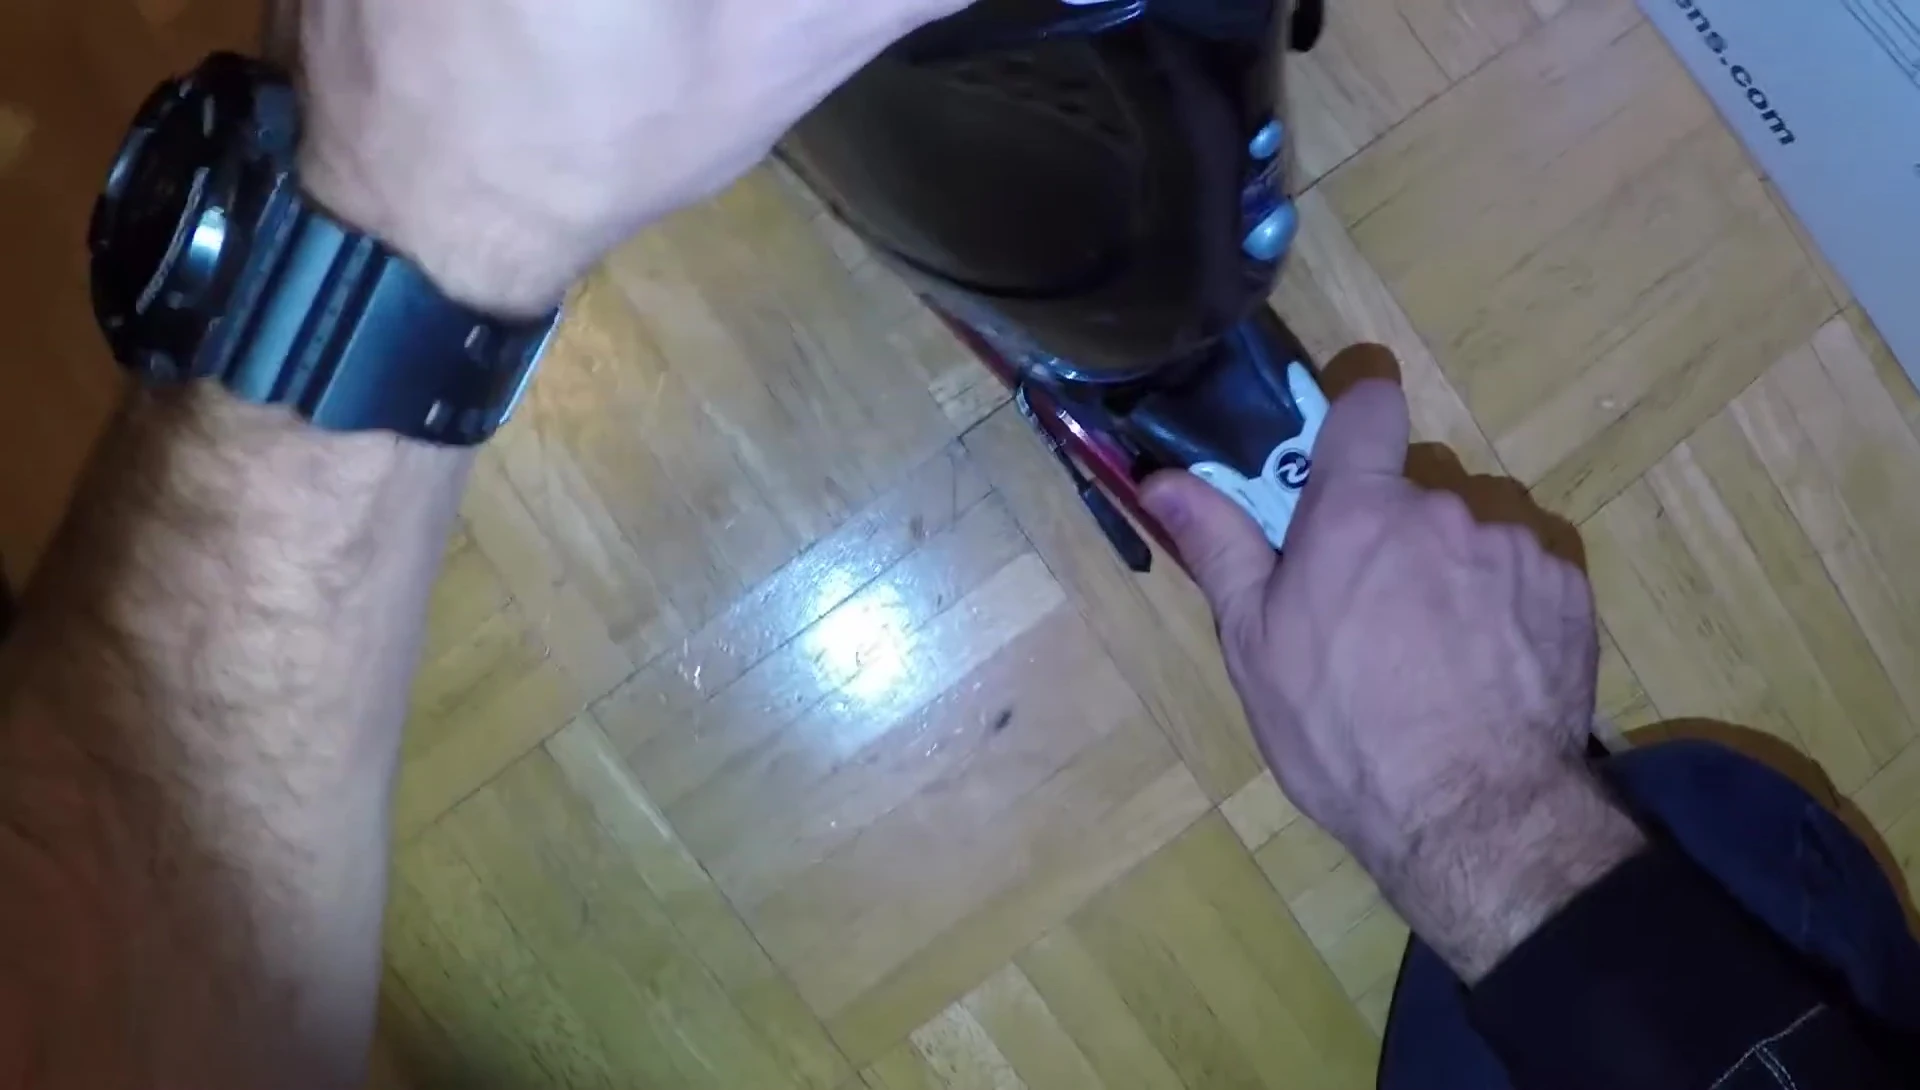
After you've installed the bindings, you'll need to test them to make sure they're working correctly. Fit your ski boots into the bindings to ensure a proper and secure fit. If you need to adjust the bindings to accommodate different boot sizes, follow the instructions provided with your bindings.
Conclusion
Installing ski bindings can seem daunting, but by following these steps, you can do it yourself. Remember to take your time, use the correct tools, and always prioritize safety. Regular inspection and maintenance of your bindings are essential for optimal performance and safety on the slopes.