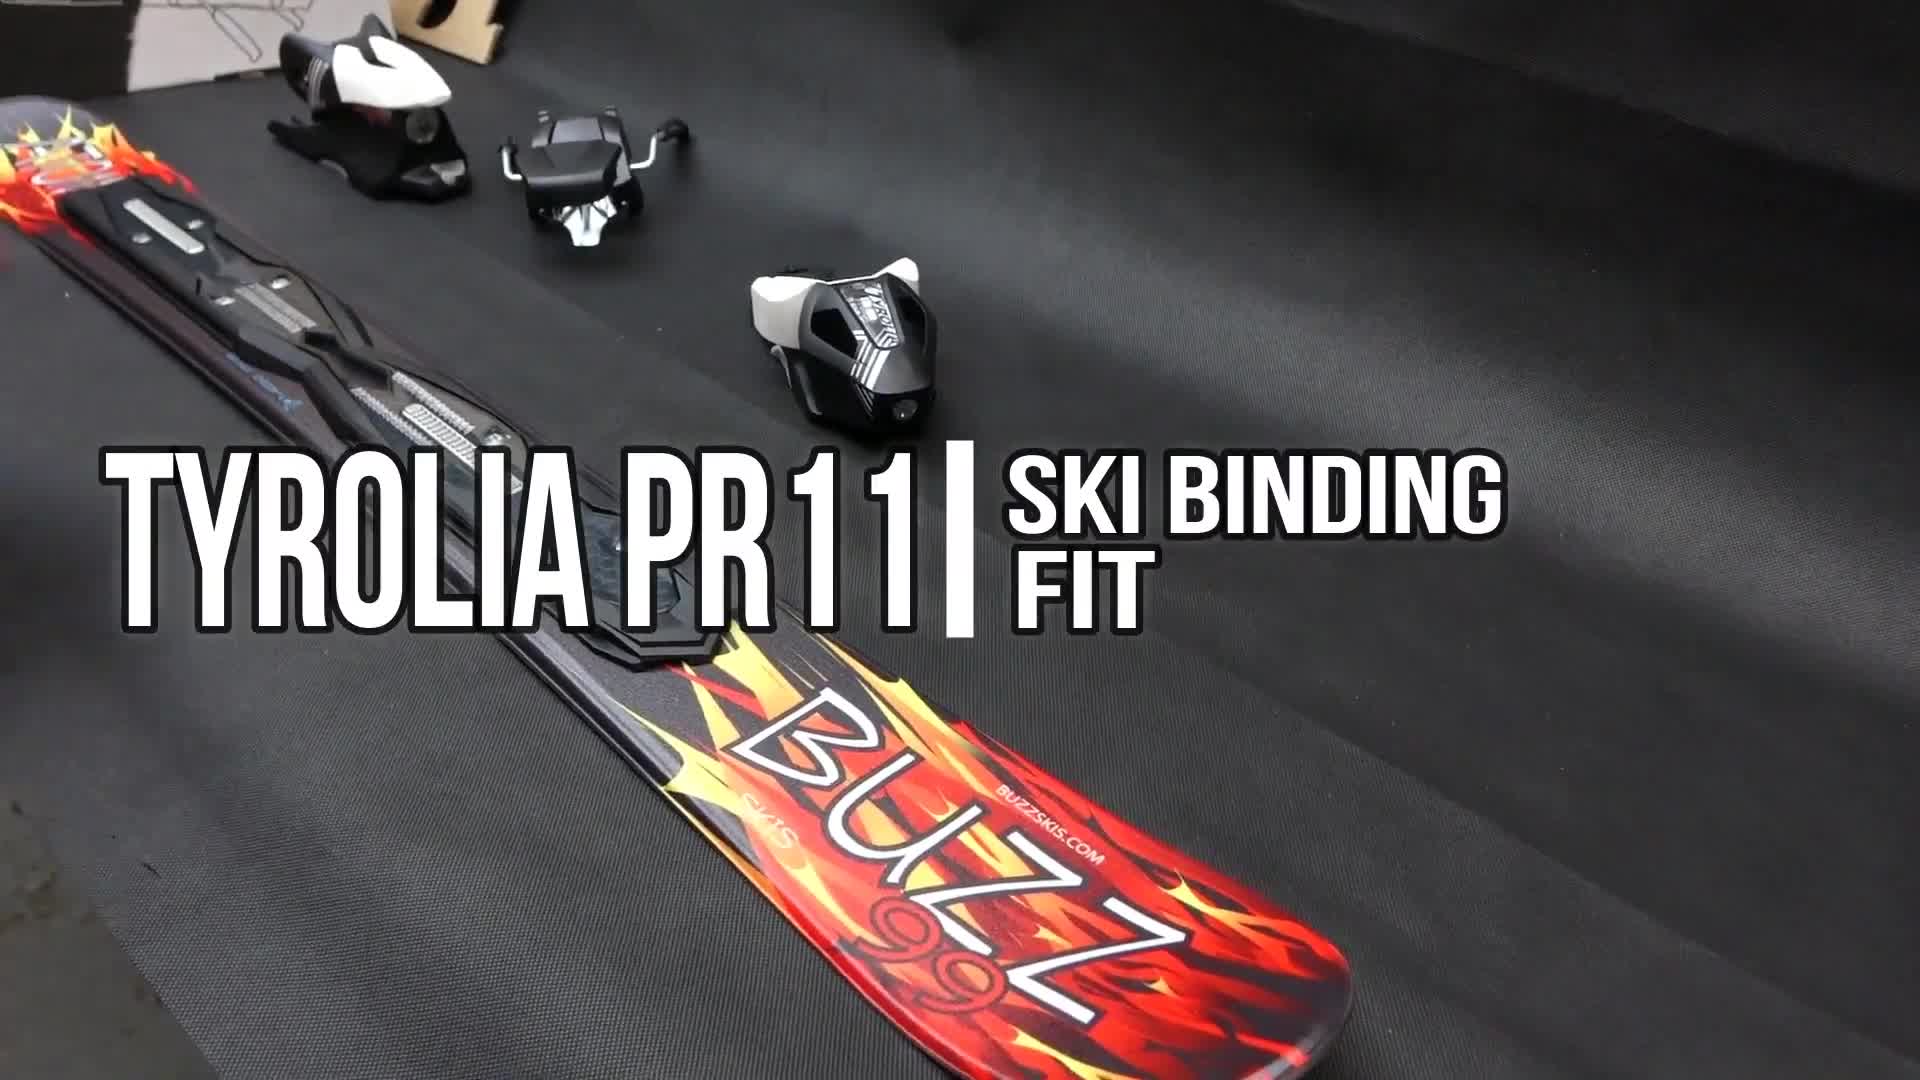
Installing your new Tyrolia PR11 ski bindings doesn't have to be a daunting task. This simple guide will walk you through the process step-by-step, ensuring a safe and secure mounting experience. Whether you're a seasoned skier or a first-time installer, these instructions will equip you with the knowledge to confidently attach your bindings and get ready for the slopes. We'll cover the installation of both the toe and heel pieces, including the slightly more intricate brake assembly, providing clear instructions and helpful tips along the way.This guide focuses on the ease of installation that the Tyrolia PR11 bindings offer, highlighting their user-friendly design. While some steps require a bit more precision, particularly the brake assembly, the straightforward approach minimizes complexity. We'll also stress the importance of correctly adjusting the release settings based on your individual weight and skiing ability for optimal safety. Remember, consulting a professional is always recommended if you encounter any difficulties. Let's get started and ensure your bindings are perfectly fitted for a worry-free skiing season.
Read more: Top 5 Burton Ski Bindings: A Buyer's Guide
Fitting the Toe Piece
The Tyrolia PR11 ski bindings feature a straightforward installation process. Begin with the toe piece, aligning the grooves on the binding with the corresponding grooves on your ski. Ensure a secure fit before proceeding to the next step.
The toe piece is fitted according to the millimeter markings that correspond to your ski boot sole length. This ensures proper adjustment for optimal performance and safety.

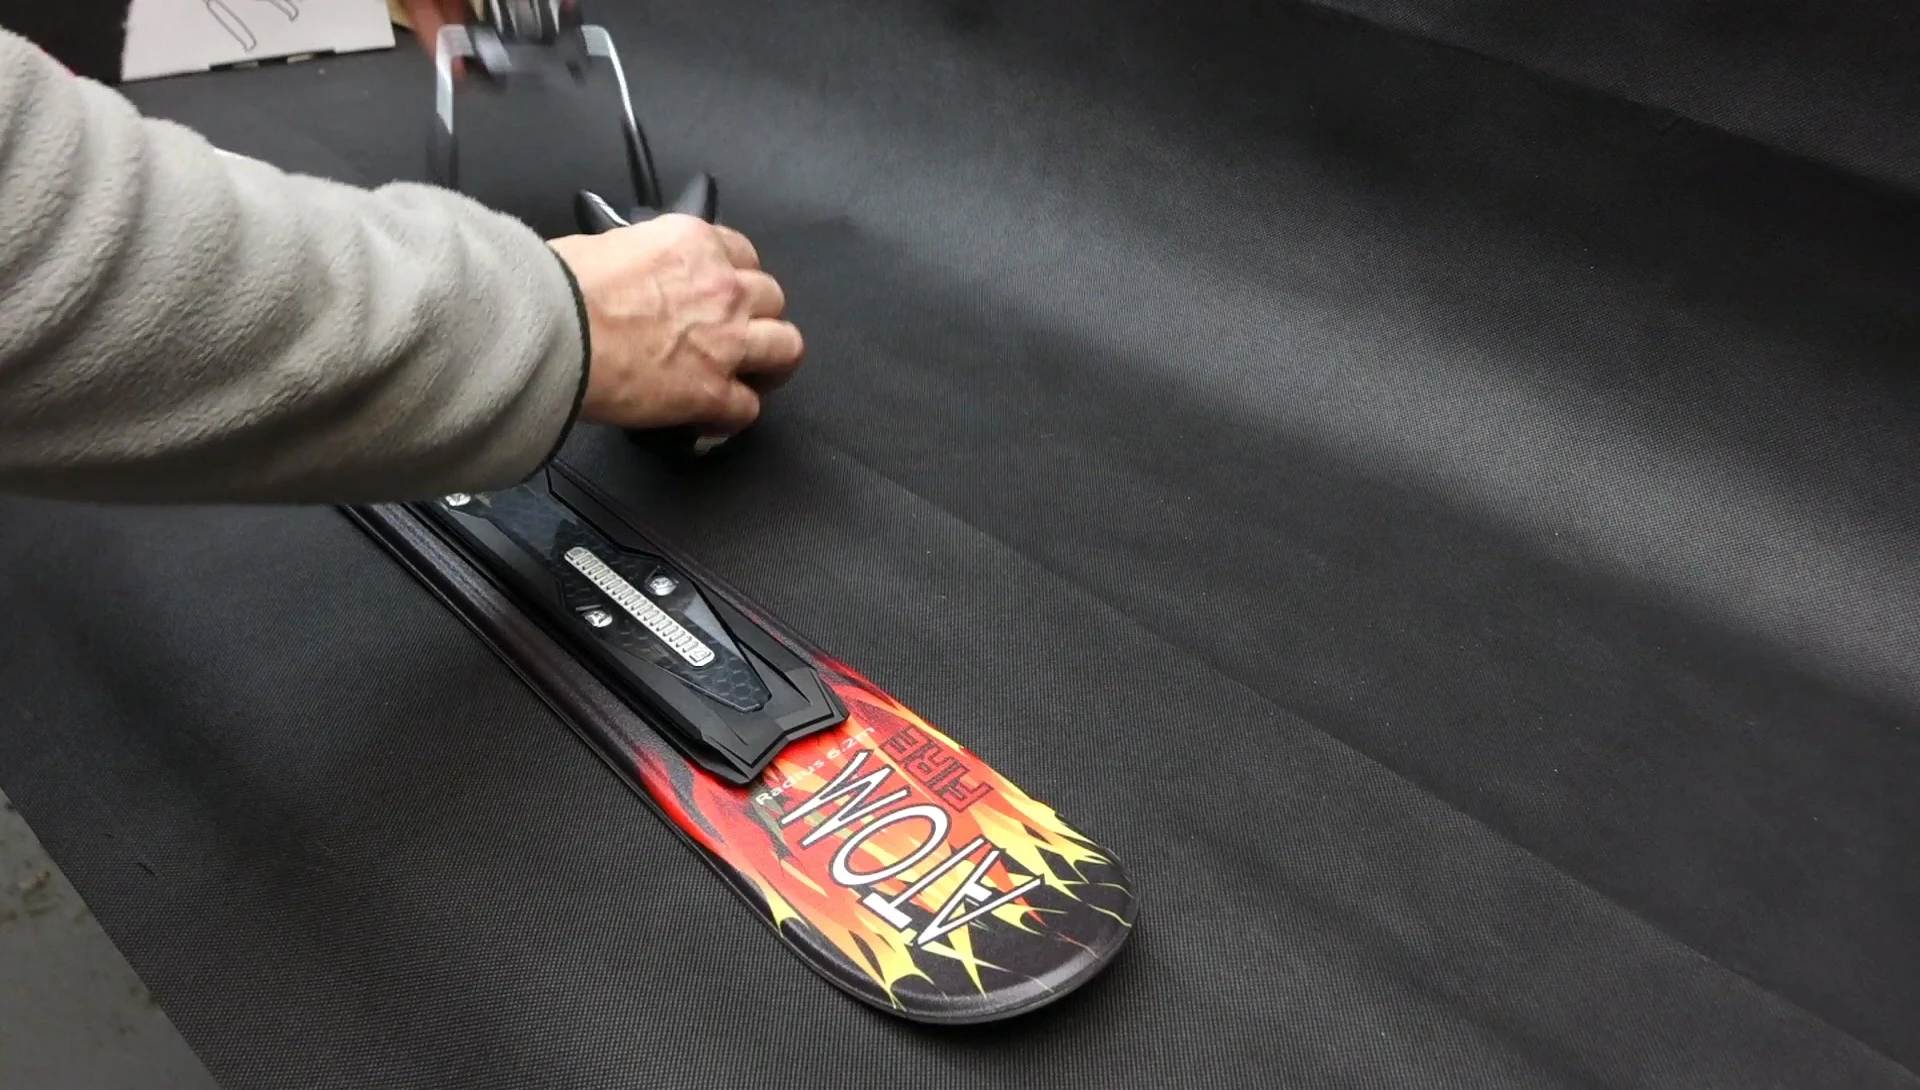
Attaching the Heel Piece and Brake
The heel piece and brake assembly requires a bit more finesse. First, carefully insert the two lugs of the brake into their respective receptacles on the binding.

Next, while holding the brake firmly in place with your fingers, slide it onto the groove at the rear of the binding. There's a small tab; lift it and slide the brake into position.
Final Steps and Considerations
Once the brake is properly seated, ensure it's securely fastened. A firm press should confirm a snug fit. After both the toe and heel pieces are mounted, check that everything is aligned and secure.
Always verify that the binding's release settings are properly adjusted to your weight and skiing ability. Improper adjustment can lead to injury. Consult a professional for assistance if needed.
Conclusion: Are Tyrolia PR11 Bindings Worth It?
The Tyrolia PR11 ski bindings are praised for their relatively simple installation process, making them accessible to a wider range of users. While the brake installation might take a bit more attention, the step-by-step guidance provides a smooth process.
The clear instructions and numbered settings make adjustment straightforward. Whether they're 'worth it' depends on your individual needs and budget. However, if ease of use and a reliable system are priorities, the PR11s are a strong contender.