Ever stared longingly at a seemingly impenetrable Bully glove, its tough leather a fortress guarding its treasures within? The thrill of the break-in, of molding that stiff hide to your hand, is a rite of passage for any serious hockey player. But traditional methods can be slow, agonizing, and sometimes even damaging to your expensive equipment. That's where the Puck Method comes in – a revolutionary approach designed to expedite the break-in process without sacrificing the integrity of your glove. Forget tedious oiling and endless hours of tossing the puck around.
This innovative technique utilizes the very thing you'll be catching with your glove to cleverly soften and shape the leather. Prepare to be amazed as we guide you through a step-by-step process that will transform your rigid Bully glove into a supple, comfortable extension of your hand. Ready to unleash the full potential of your glove and dominate the ice? Let's dive into the detailed instructions of the Puck Method.
Preparation and Safety Guidelines
- Bully glove
- Puck
- Rope or laces/string
- Weights (optional)
- Steamer or hot, steamy shower
- Always use a puck made of a hard, smooth material like a regulation hockey puck. Avoid using anything that could scratch or damage the glove leather.
- Don't over-do it! Excessive force or time can damage the glove's leather and stitching. Listen for the leather softening and stop when you feel resistance decrease significantly.
- Focus on the areas that need breaking in most (e.g., the fingers and heel). Don't just randomly bash the glove with the puck; target specific stiff areas.
Step-by-Step Instructions
Puck Insertion and Securing
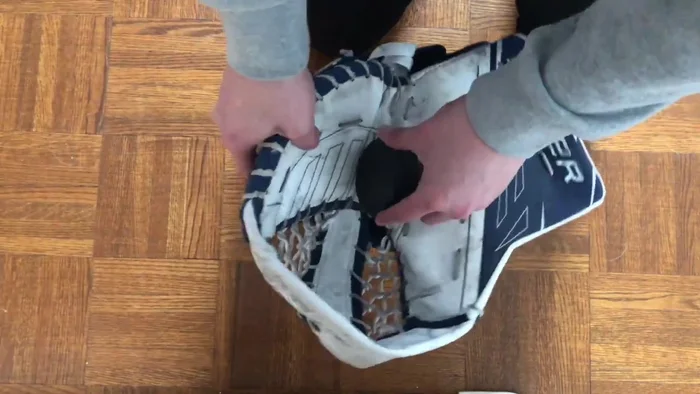
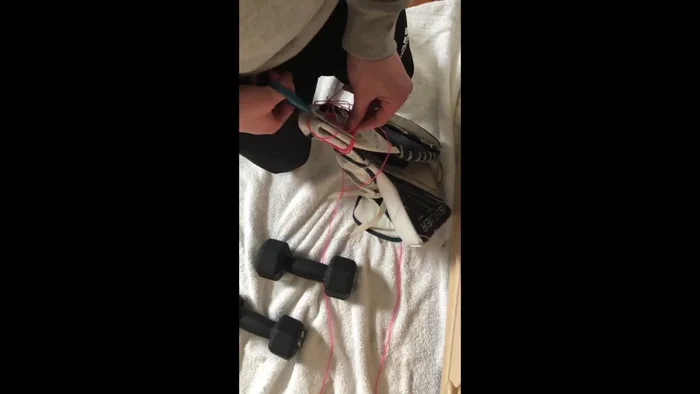
- Insert a puck tightly into the gap between the glove's palm and back.
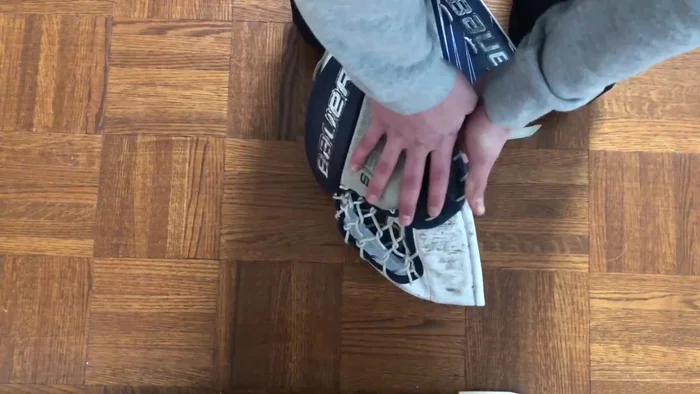
- Close the glove on top of the puck, ensuring it's securely in the gap.
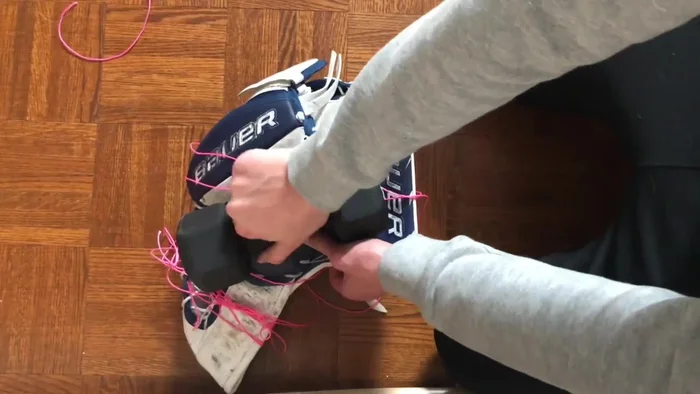
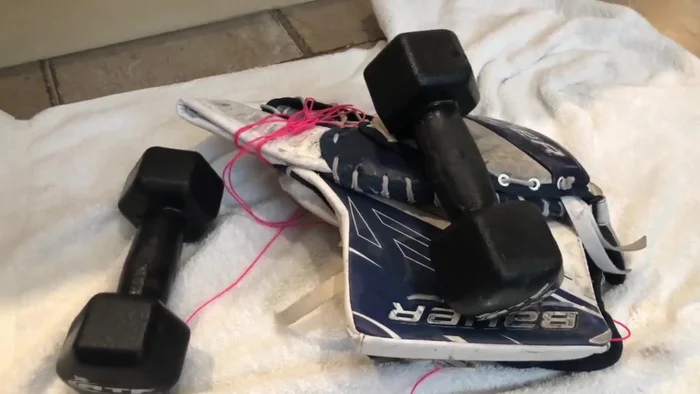
- Tie a rope, laces, or string tightly around the glove to keep it closed and the puck in place.
- Add weights (optional) to further secure the puck and maintain pressure.

Puck Insertion and Securing Heat and Steam Treatment
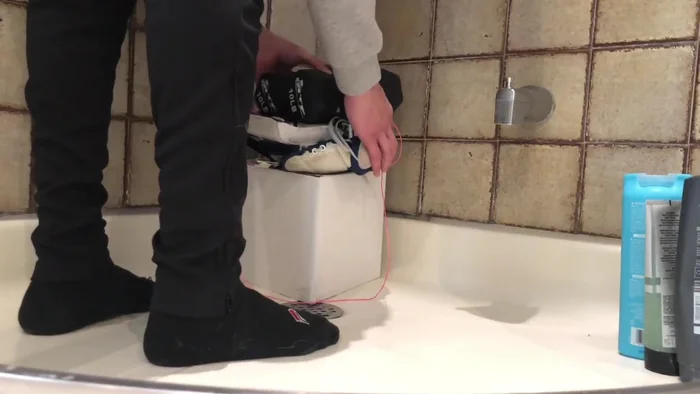
- Place the tied-up glove in a hot, steamy shower or use a steamer to warm the glove for about 10-15 minutes.
Heat and Steam Treatment Drying and Inspection
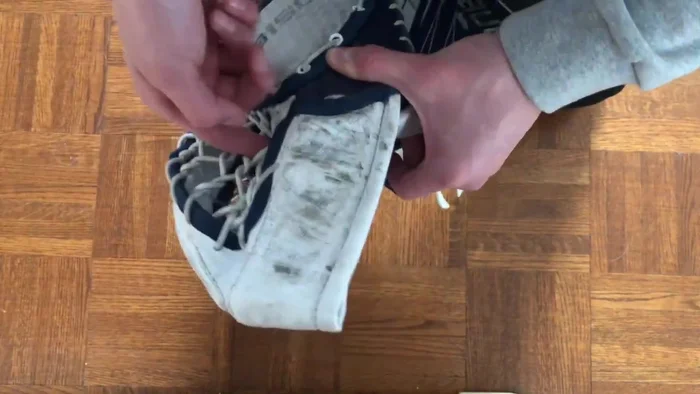
- Let the glove dry completely.
- Remove the string and puck. Check the glove closure. It should close completely, unlike before.
Drying and Inspection
Read more: Top 7 Best Ski Gloves for Unforgettable Winter Adventures
Tips
- Ensure the puck is very tightly in place to prevent it from falling out.
- Elevate the glove while steaming to prevent it from getting soaked.
- The key is to close the entire glove, including the tips, not just the middle, preventing creases and ensuring a proper seal.