A delaminated metal edge on your snowboard can significantly impact performance, turning a smooth ride into a frustrating, potentially dangerous experience. That sharp, precise edge, crucial for carving and control, becomes unreliable when separated from the board's base material, leading to decreased grip and a higher risk of catching an edge. This common snowboard injury, often caused by impacts or wear and tear, doesn't necessarily require an expensive trip to the shop for repair. With the right tools and a little patience, you can tackle this repair yourself and extend the life of your beloved board.
This guide provides a comprehensive, step-by-step approach to successfully repairing a delaminated metal edge on your snowboard. From identifying the extent of the damage and gathering necessary materials, to applying the epoxy and ensuring a proper cure, we'll walk you through the entire process, empowering you to get back on the slopes quickly and confidently. Let's get started!
Preparation and Safety Guidelines
- Capita snowboard
- Wire wheel
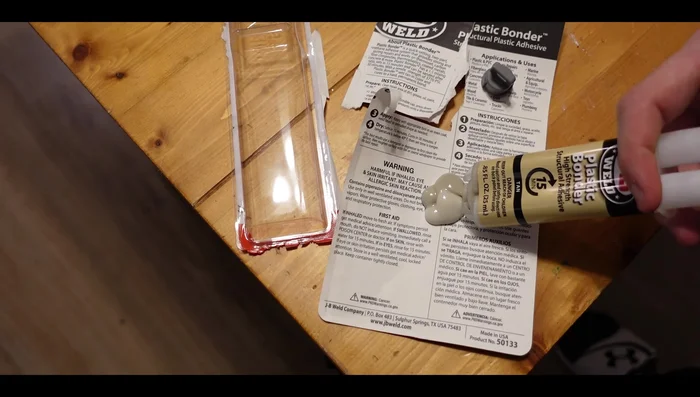
- JB Weld plastic bonder
- Clamps
- Heat gun (optional)
- Always wear safety glasses to protect your eyes from flying debris during filing and sanding.
- Work in a well-ventilated area as epoxy and other repair materials can release fumes.
- Use caution when handling sharp tools like files and saws. Ensure a firm grip and be mindful of your fingers.
Step-by-Step Instructions
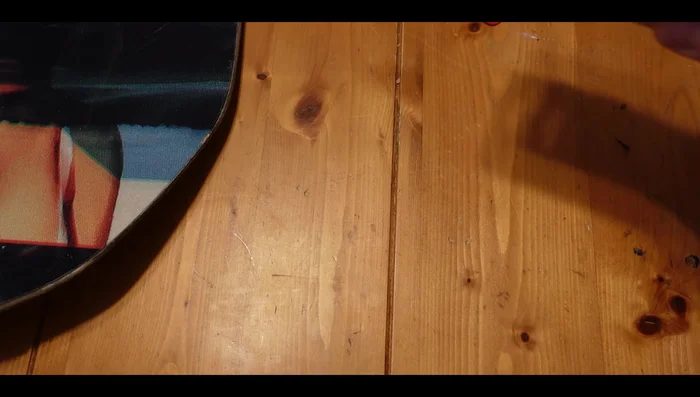
Clean the Damaged Area
- Remove rust and old glue from the metal edge using a wire wheel.

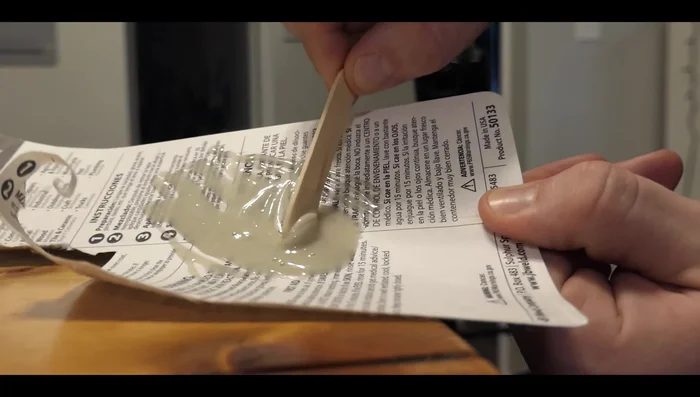
Clean the Damaged Area Prepare the Adhesive
- Mix the two-part JB Weld plastic bonder thoroughly.
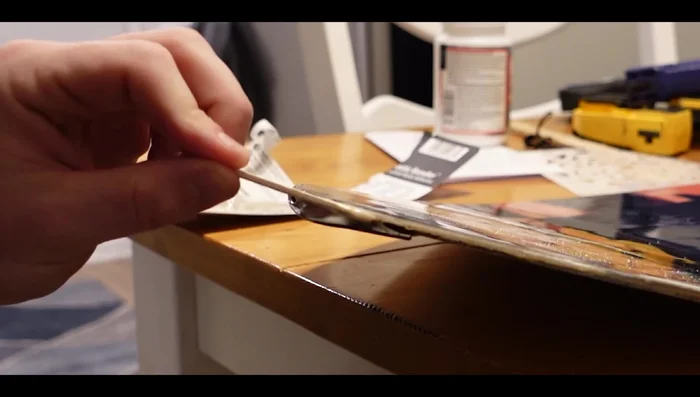
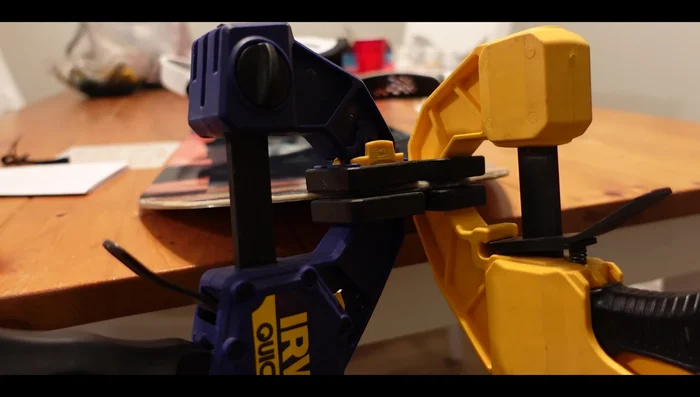
Prepare the Adhesive Apply Adhesive and Clamp
- Apply a frugal amount of adhesive into the cracks where the metal edge meets the board.
- Clamp the board tightly to ensure the metal edge is pressed firmly against the board. Use sufficient clamps for even pressure.
Apply Adhesive and Clamp Optional Heat Application
- Apply gentle heat using a hair dryer or heat gun to aid in the drying and bonding process (optional, but recommended).
Optional Heat Application Cure the Adhesive
- Let the adhesive cure completely according to the manufacturer's instructions. Do not remove clamps prematurely.
Cure the Adhesive

Read more: How to Wax Your Snowboard for Optimal Speed and Longevity
Tips
- Don't use too much adhesive, as it may make it difficult to remove the clamps later.
- Clean up any excess adhesive immediately.
- Leave the clamps on for an extended period to allow for proper curing and prevent the glue from expanding.