The thrill of carving down a pristine slope, feeling the effortless glide beneath your feet – that's the experience every snowboarder craves. A crucial element often overlooked in achieving this perfect ride is proper waxing. A well-waxed snowboard isn't just faster; it also significantly extends the life of your board, protecting its base from damage and wear. Neglecting this essential maintenance can lead to slower speeds, increased friction, and ultimately, a shorter lifespan for your beloved equipment. Regular waxing is an investment that pays dividends in performance and longevity.
This seemingly simple process, when done correctly, can dramatically transform your snowboarding experience. From choosing the right wax to mastering the ironing technique, we'll guide you through each step, ensuring your snowboard is primed for optimal speed and longevity. Let's dive into a comprehensive, step-by-step guide to waxing your snowboard like a pro.
Preparation and Safety Guidelines
- Wax
- Iron
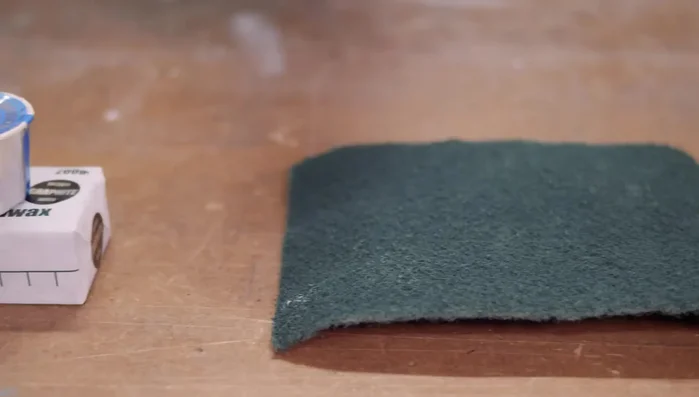
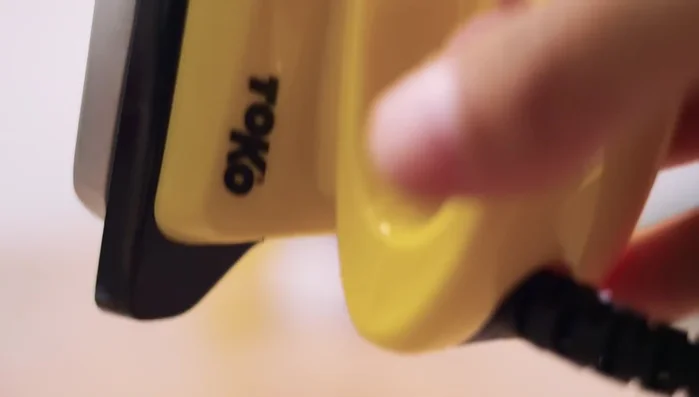
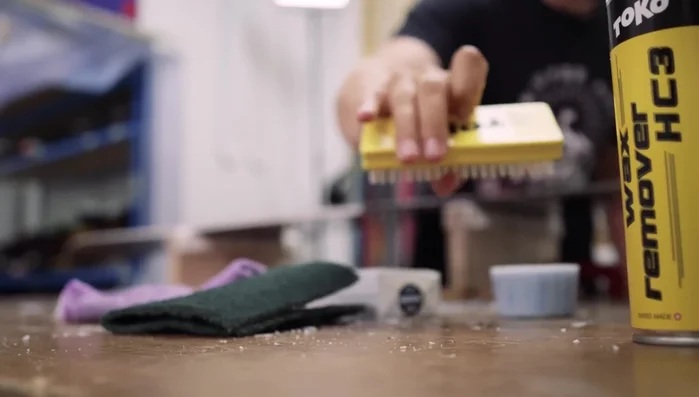
- Base cleaner
- Plastic scraper
- Scourer
- Structuring brush
- Polishing cloth
- Always work in a well-ventilated area. Wax fumes can be harmful if inhaled.
- Use caution when handling hot irons; burns are a serious risk. Allow the iron and wax to cool completely before touching.
- Dispose of used wax and materials responsibly. Avoid contaminating water sources.
Step-by-Step Instructions
Clean the Base
- Clean the snowboard base with base cleaner and a scourer, paying attention to grimy areas. Wipe off residue with a polishing cloth.

Clean the Base Choose the Wax
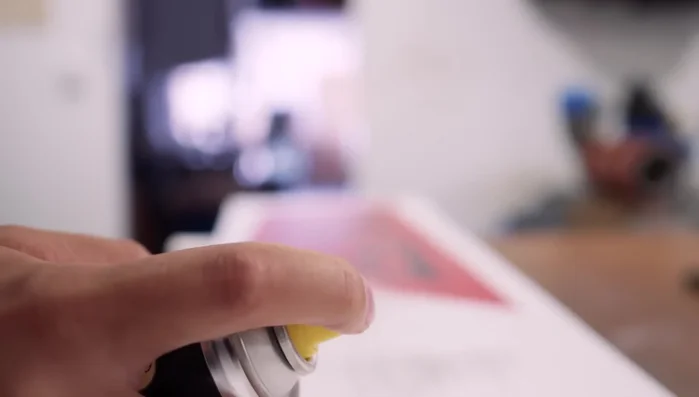
- Choose the appropriate wax for conditions (warm, cold, or universal).
Choose the Wax Apply the Wax
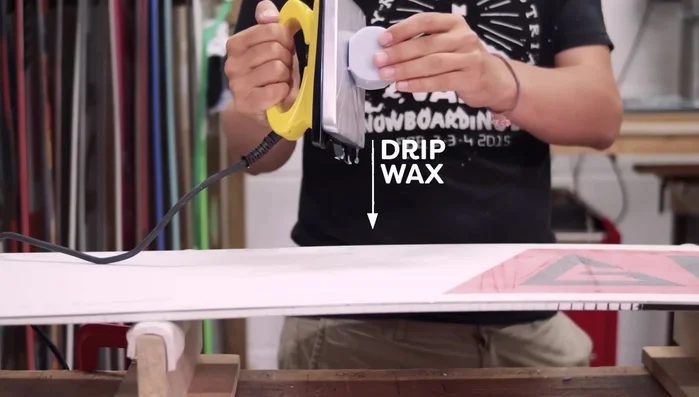
- Melt wax with an iron (specialized waxing iron recommended, but an old clothes iron works if you don't plan to use it for clothes anymore). Start on a low setting and gently press a corner of the wax to the iron, allowing it to melt.
- Move the iron smoothly and steadily across the snowboard base, applying wax in a zigzag pattern, ensuring even coverage. Always keep the iron moving to avoid overheating the base. Pay special attention to the edges.
Apply the Wax Let the Wax Set
- Let the wax set for at least 10 minutes.
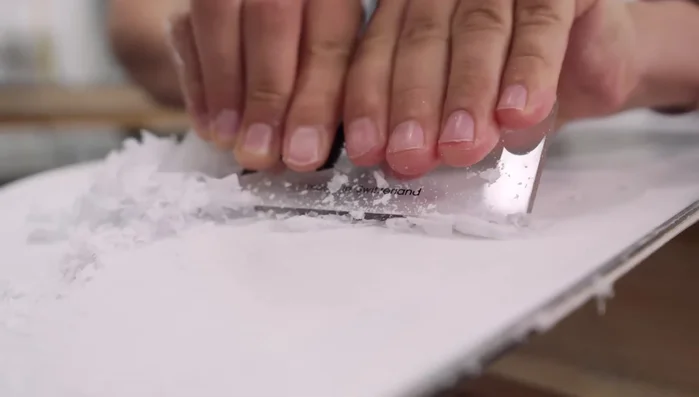
Let the Wax Set Scrape Excess Wax
- Scrape off excess wax with a plastic scraper held at a 45° angle, working from nose to tail in one direction. Use the notch on the scraper for edges. Tackle stubborn areas with the more rigid end of the scraper.
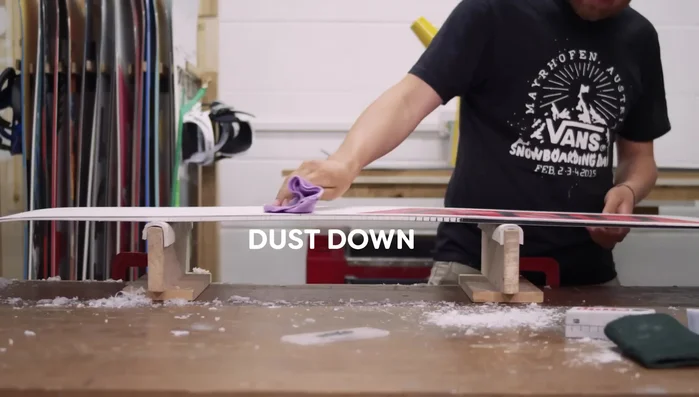
Scrape Excess Wax Clean Up Residue
- Lightly dust the base with a cloth to remove any remaining wax crumbs.
Clean Up Residue Structure the Base
- Structure the base with a structuring brush, firmly stroking from nose to tail across the whole board to create tiny grooves in the wax, reducing friction.
Structure the Base
Read more: DIY Snowboard Repair: Fixing a Delaminated Metal Edge
Tips
- Pay extra attention to any grimy areas when cleaning the base.
- Don't be afraid to take off too much wax when scraping; the base absorbs wax, and a thin layer is ideal.
- Always keep the iron moving to prevent overheating any part of the base.