Hitting a rock or catching an edge can leave your skis with unsightly and performance-hampering gouges. While a trip to the shop is always an option, DIY P-Tex repair is a surprisingly straightforward process, saving you time and money. This affordable and effective method allows you to quickly patch up minor damage and get back on the slopes with minimal downtime. Learning to repair your own skis empowers you to maintain your equipment and prolong its lifespan, ensuring many more exhilarating days on the snow.
This quick guide focuses on efficiently repairing gouges in your ski base using P-Tex, a material specifically designed for this purpose. We’ll cover everything from preparing the ski to finishing the repair, ensuring a smooth and durable finish. Ready to get started? Let's dive into the step-by-step process to fix those frustrating gouges.
Preparation and Safety Guidelines
- P-Tex stick
- Base cleaner
- Scour wipe
- Cloth
- Sharp knife
- Wood or metal scraper
- Bastard file
- Metal or plastic scraper
- Wax candle (for visual aid)
- Lighter or constant flame
- Always work in a well-ventilated area. P-Tex fumes can be harmful if inhaled.
- Use appropriate safety glasses to protect your eyes from flying debris during the melting and application process.
- Allow the P-Tex to cool completely before using your skis. Improper cooling can weaken the repair.
Step-by-Step Instructions
Prepare the Ski
- Clean the damaged area with base cleaner and a scour wipe, then dry it with a cloth.

Prepare the Ski Melt and Apply P-Tex
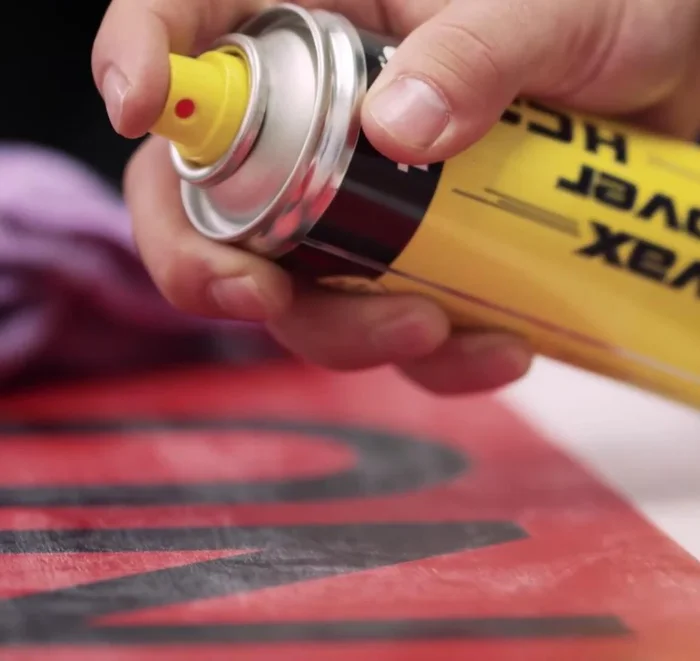
- Prepare your P-Tex stick. Using a constant flame (easier than a lighter), heat the P-Tex until it glows blue and ignites.
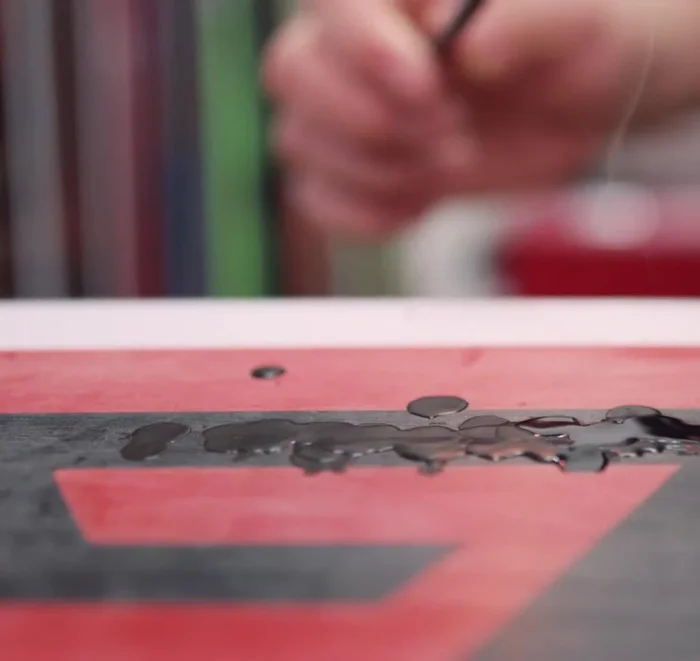
- Carefully melt the P-Tex over the gouge, moving it quickly and allowing drips to fill the space. Keep the flame low to the board to minimize carbon.
- Apply multiple layers if needed, allowing each layer to cool before adding more. Stub out the P-Tex on a scrap of wood or metal to control drips.
Melt and Apply P-Tex Remove Excess P-Tex
- Once cool, remove excess P-Tex from the sides using your knife.
- Use a bastard file diagonally across the repair, working gently and patiently in the same direction to avoid ripping out the filling.
- Use a metal or plastic scraper to further smooth the repair until it's flush with the base.
Remove Excess P-Tex


Read more: How to Wax Your Snowboard for Optimal Speed and Longevity
Tips
- If there are ragged bits of P-Tex, use a sharp knife to tidy the edges of the gouge before starting.
- Molten P-Tex is very hot – be careful not to burn yourself!
- Have a scrap of wood or metal scraper nearby to absorb initial drips.
- For deeper gouges, you will need more layers of P-Tex.